How to Draw Hobgoblin from Marvel
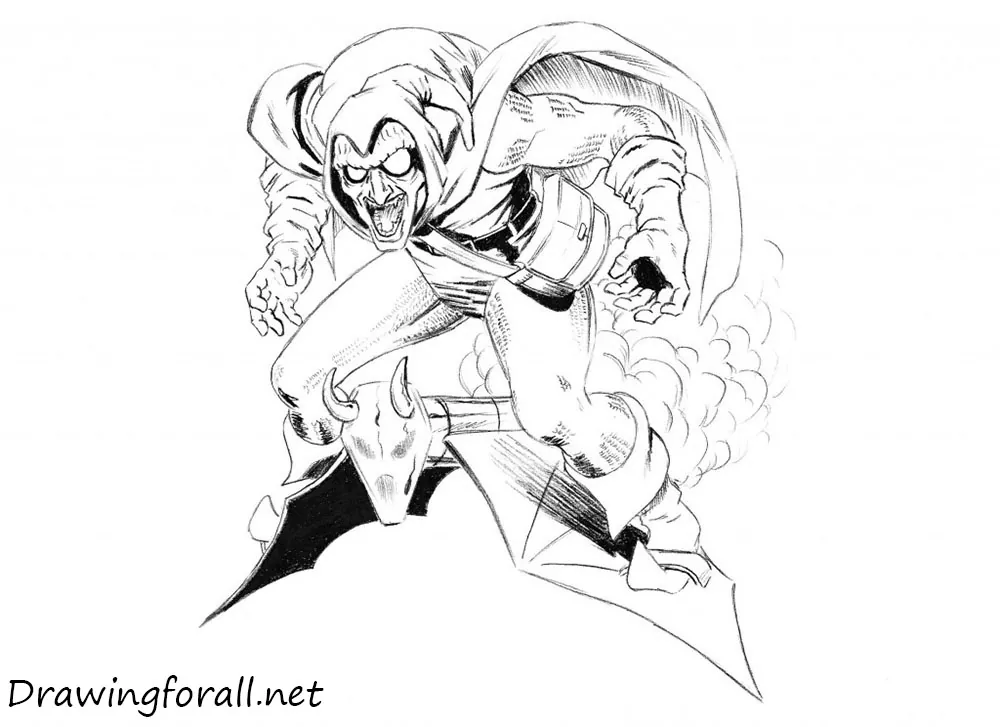
It is time for another Marvel Universe character. We have prepared a tutorial on how to draw Hobgoblin, a colorful and unusual supervillain.
Many people remember him from the Spider-Man animated series released in the 1990s. There, he was drawn in great detail and had all his essential attributes, including pumpkin bombs, a glider, a frightening mask, and an orange cape.
In that animated series, he was very similar to the original Hobgoblin drawn by John Romita Jr. in 1983. Here, we will draw the standard classic version.
How to draw Hobgoblin step by step
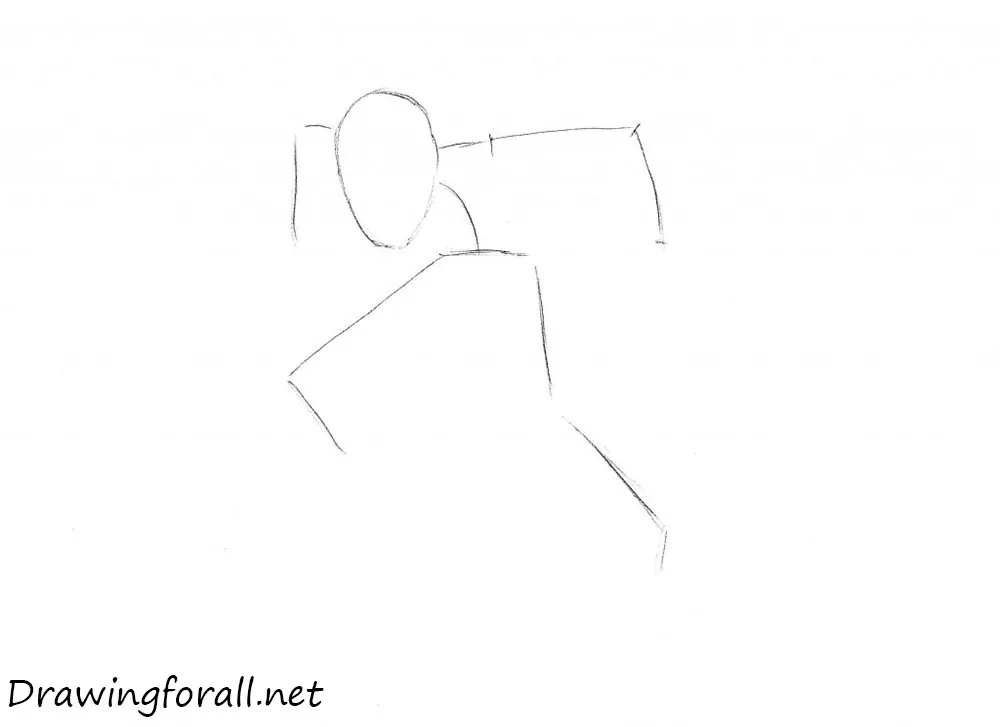
Step 1: Sketch the basic figure guidelines
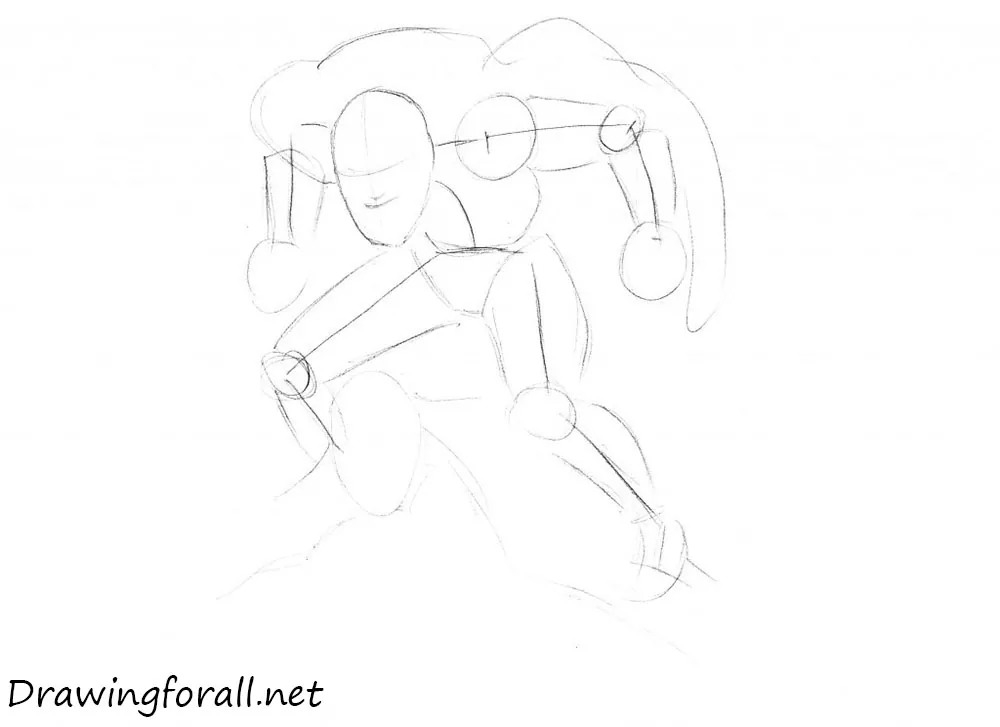
Begin with a stick figure made of lines and circles to establish the character’s basic proportions and position on the paper. Hobgoblin’s torso and legs should be strongly bent. The total body height is approximately seven head lengths, while the legs account for three and a half to four head lengths, depending on the build.
Start with the head and outline it as an oval. Then sketch the body with very light lines.
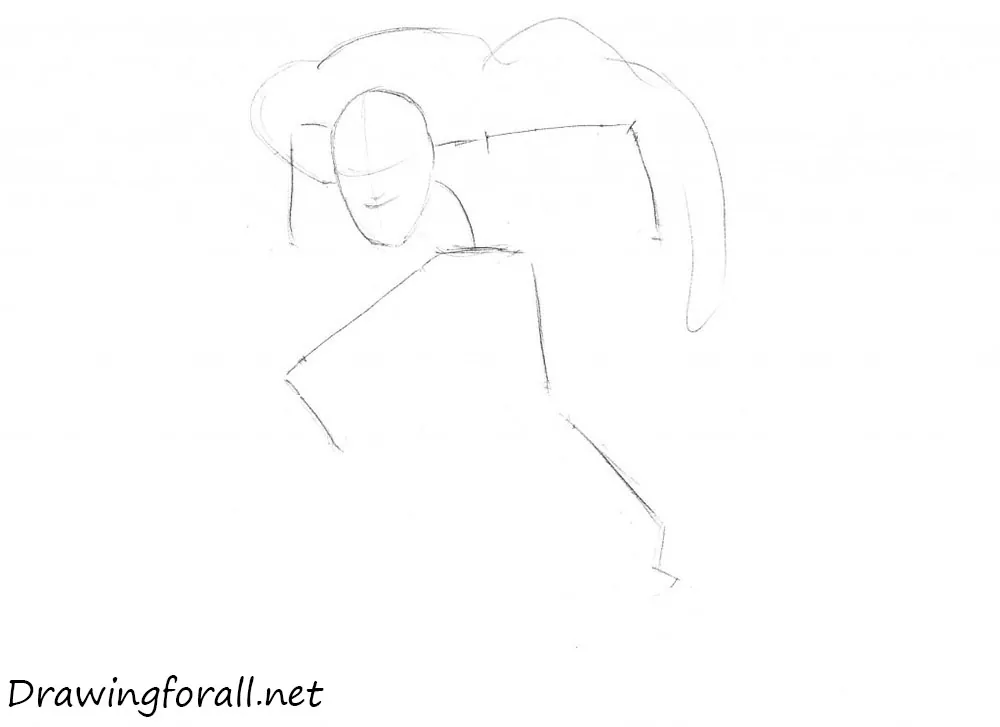
Step 2: Add the villain’s face and cape
Mark Hobgoblin’s face and outline the cape. First, draw two perpendicular guidelines. The vertical line marks facial symmetry and should shift slightly toward the direction of the head turn. The horizontal line indicates the position of the eyes. Place the nose and mouth guidelines below it.
Use smooth, light lines to sketch the cape.
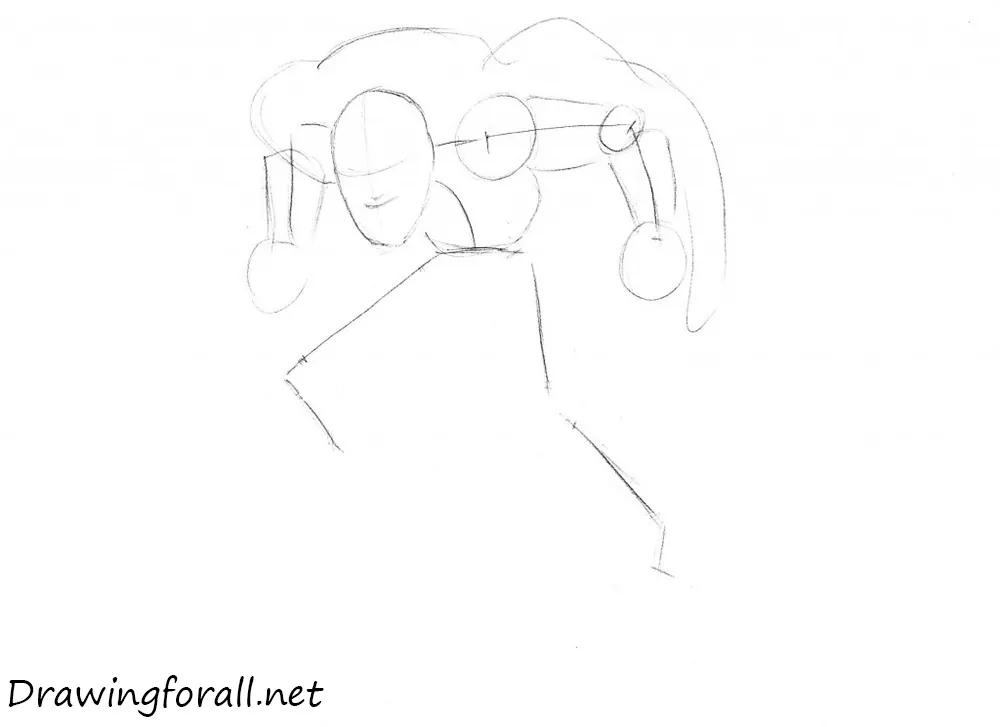
Step 3: Add volume to the upper body
Begin adding volume to Hobgoblin’s body. Outline the visible parts of the torso and construct the arms.
The easiest approach is to represent the body with simple geometric forms. Draw the deltoids, elbows, and fists as rounded shapes, and construct the arms with cylinders.
Step 4: Draw Hobgoblin’s legs and glider
Continue adding volume with simple geometric shapes. Form the groin as a triangle, the thighs and calves as cylinders, and the knees as rounded shapes.
Do not forget Hobgoblin’s vehicle, the glider. Sketch it with light lines. He borrowed this device from the character featured in our tutorial on drawing Green Goblin.
Step 5: Draw the face and hood of Hobgoblin
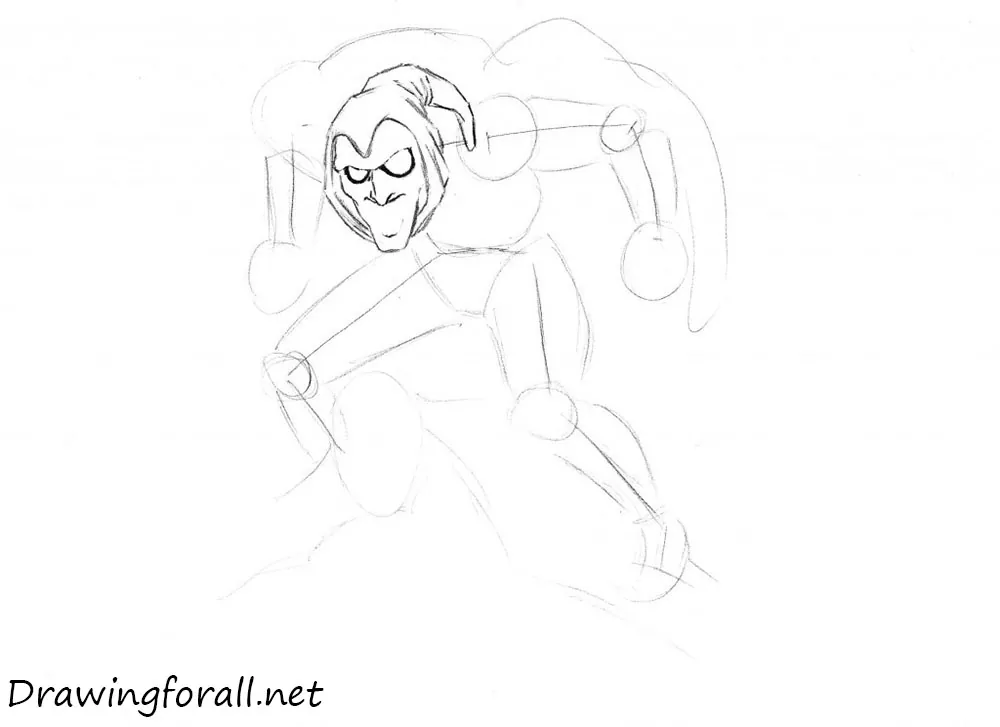
The silhouette is ready, so begin adding the final details from the head downward. Outline the face, which resembles a frightening mask.
Draw the semicircular eyes, long hooked nose, and mouth curved into a grin. When outlining the hood, pay attention to the numerous folds along the sides and the fold extending toward the base of the neck.
Step 6: Detail the frightening mask
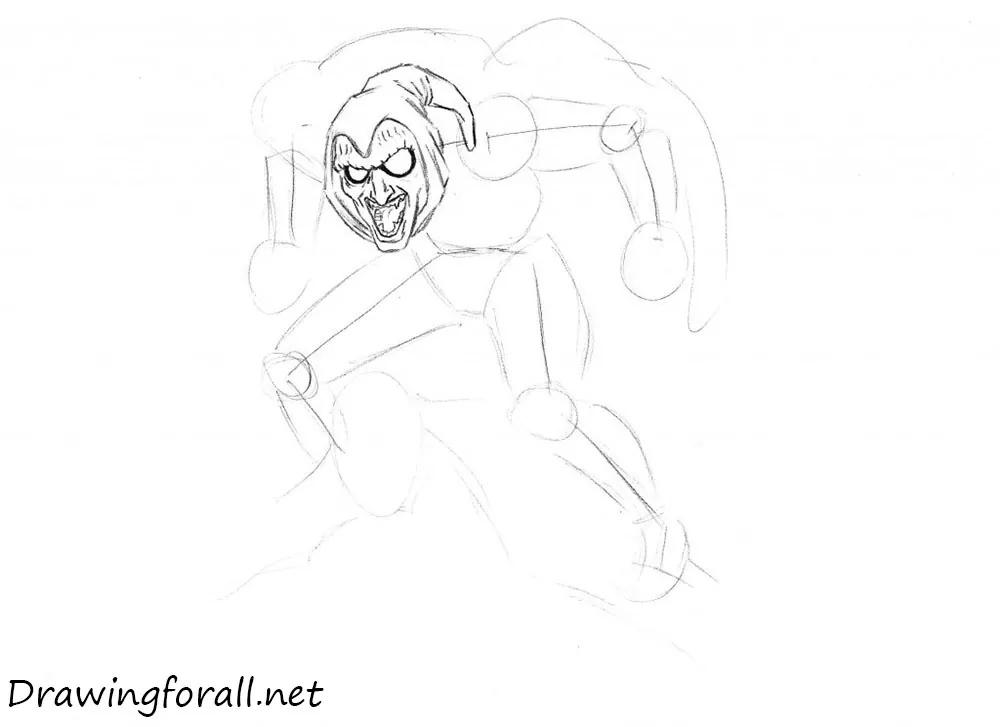
Add the details to the mask. First, draw the seam across the forehead. Add vertical lines along the eyebrows, then continue with the wrinkles. Finish by outlining the row of pointed teeth.
Step 7: Refine the villain’s right arm
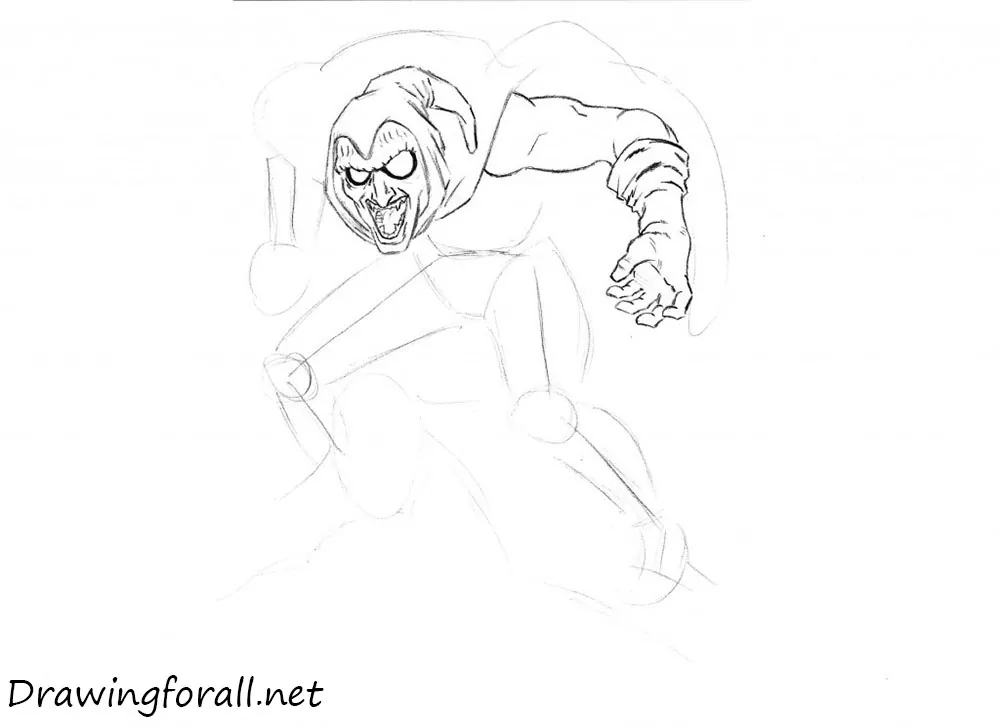
Move to the arm on our right. Before refining it, draw the section of the cape beside the neck. Use the guidelines to outline the hand and shoulder muscles, then move downward and define the forearm inside the long glove.
We discussed the arm muscles in our werewolf tutorial. Note that the glove widens considerably toward the elbow and that this wider section contains short horizontal folds.
Step 8: Refine the left arm and glove
The arm on our left is easier because only the hand and forearm are visible; the cape hides the rest. Carefully convey the folds across the glove, as they create the intended form. Do not forget the folds near the wrist.
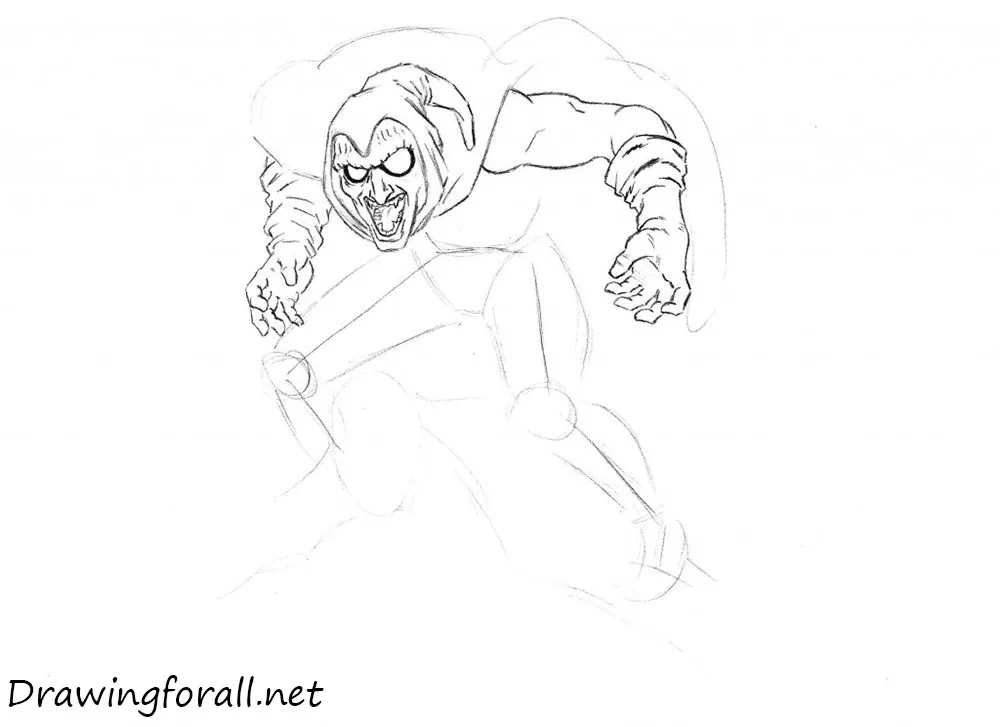
Step 9: Finish the villain’s flowing cape
Continue by drawing the cape behind Hobgoblin’s back. Refine its outer contours and add the fabric folds. The strongest folds appear around the shoulders. Use smooth, confident lines.
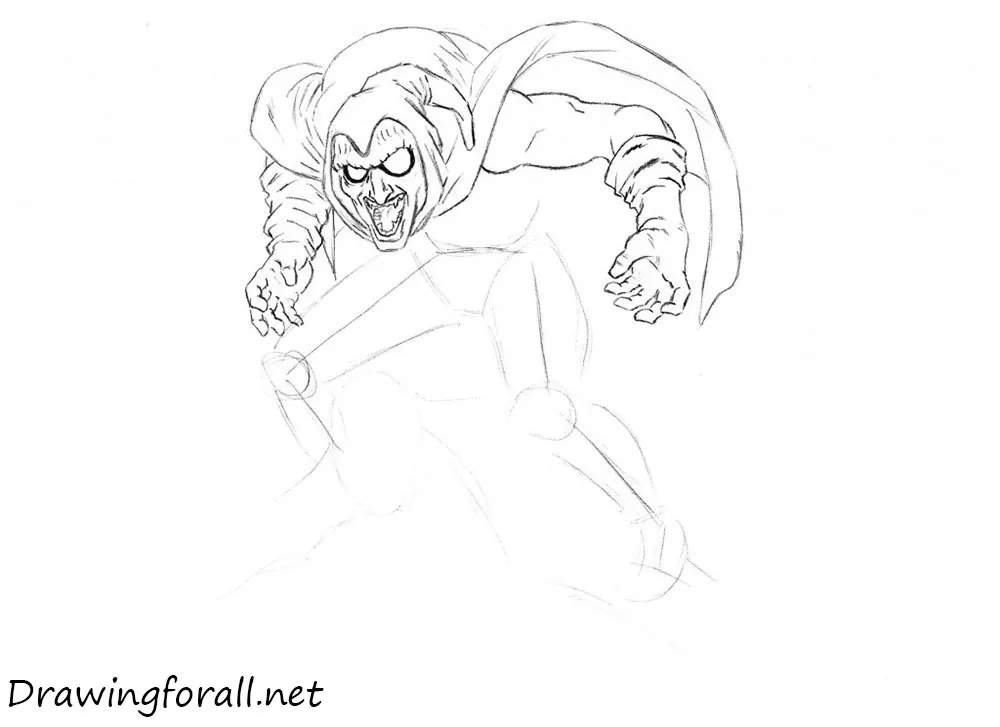
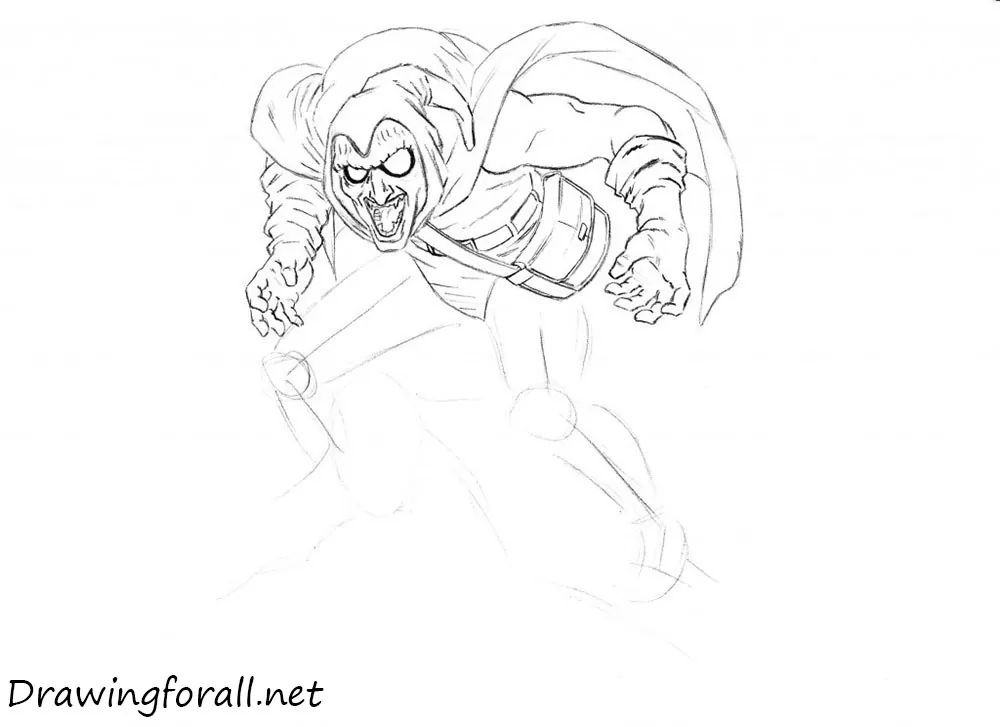
Step 10: Draw the torso and bag of Hobgoblin
Refine the torso and bag. Trace the torso contours and add several folds. Draw the bag strap secured by several smaller straps. Do not forget the central belt buckle, most of which remains hidden.
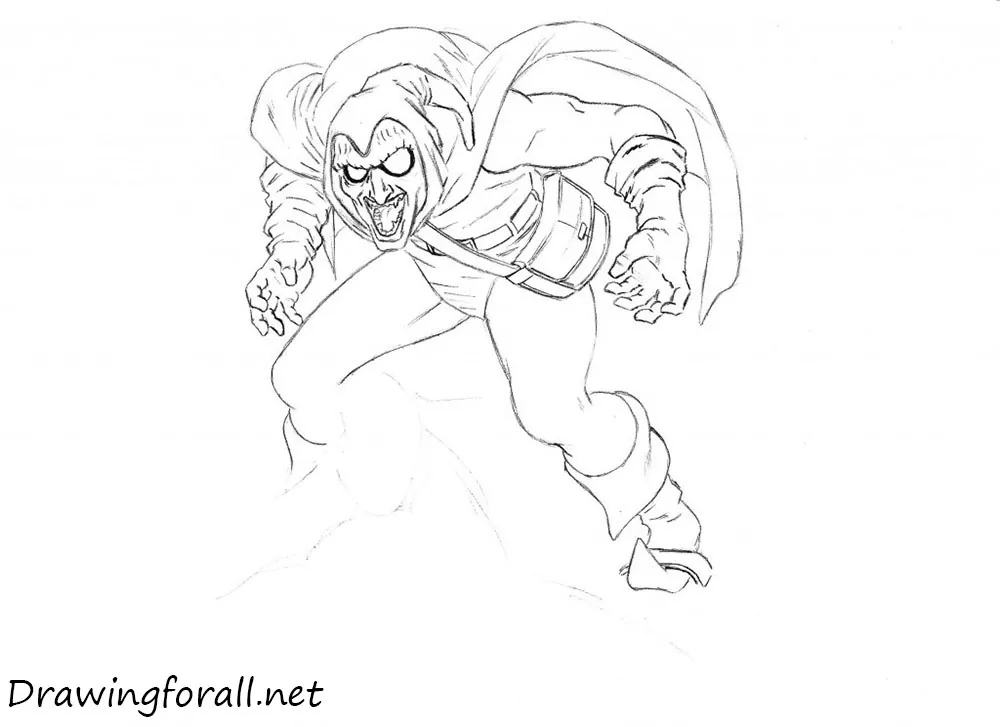
Step 11: Refine the legs and boots
Draw Hobgoblin’s legs by tracing their main contours. Add the boot flap positioned over the calf muscle. Include the few visible wrinkles around the ankles as short horizontal strokes.
Step 12: Finish the glider and draw shadows
Finish Hobgoblin’s legendary glider. Its wings resemble dragon wings. Add smooth vein-like lines along their outer surfaces to strengthen this resemblance. Include the horns mounted at the front of the glider. At the very front, draw three marks that resemble a ghostly face.
Finally, add the shadows in a comic-book style. Use rough, contrasting black shapes and lines.
This drawing tutorial was created by the team at Drawingforall.net. Write your requests for new tutorials in the comments. Goodbye!