How to Draw an Apple

In this step-by-step tutorial, we’ll show you how to draw an apple, giving it a three-dimensional and realistic look using shadows and highlights.
In fine art, the apple is one of the earliest and most significant subjects for developing drawing skills and remains one of the most common elements in still life compositions.
It also serves as an excellent object for studying three-dimensional form, realistic rendering, and the use of shading, midtones, and highlights.
How to draw an apple step by step
Step 1: Sketch a round outline of the fruit
First, lightly draw a clean and even circle. Try to keep it as round as possible since this will be the base of your apple drawing. This basic circle should be light so you can easily correct it later. You can sketch it several times to get a smoother outline.

Step 2: Refine the shape of the apple
Now, using the circle from the previous step as a base, slightly flatten the top and bottom to make the apple look more natural. Add gentle curves to the sides to show its realistic form. Check the symmetry and make sure both sides look balanced. These simple adjustments make the outline of the fruit look more organic.
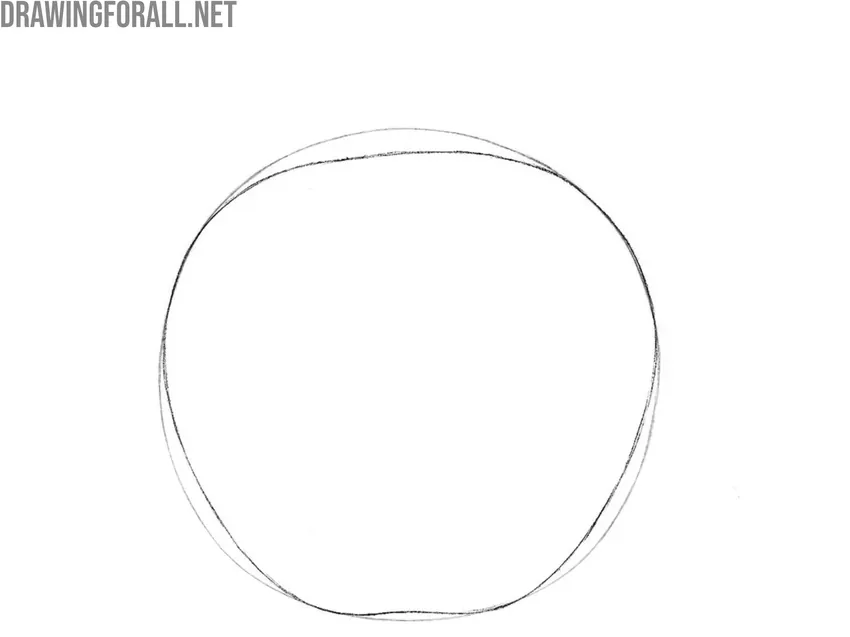
Step 3: Draw the dip and stem of the apple
First, indicate a small dip at the top where the stem will be placed. Then, use a couple of light lines to Indicate the sides of the stem and close the shape with a smaller line. The stem should come from the small dip at the top of apple. Make the apple stem a little curved. One end should be a bit thicker and other thinner.
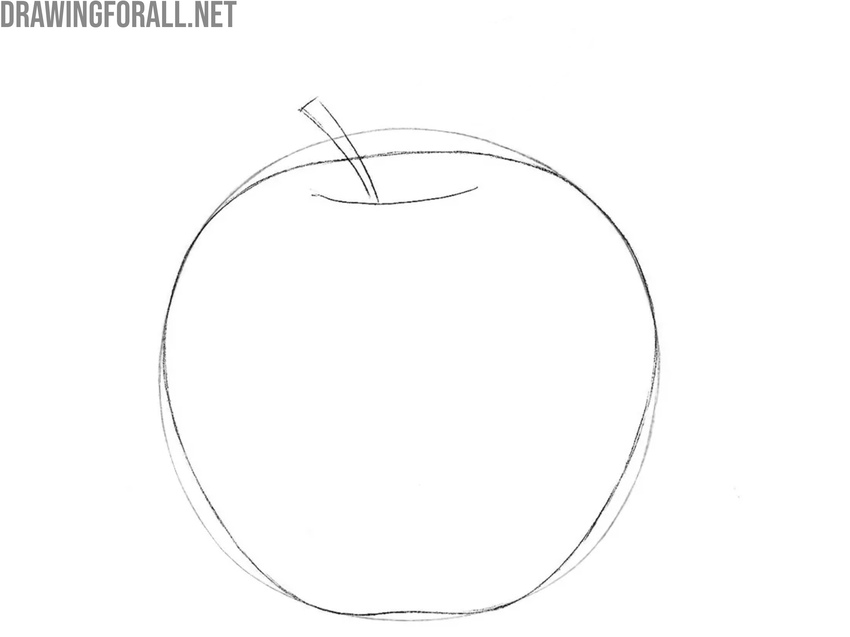
Step 4: Add a leaf to the apple stem
After that draw the leaf, that should grow from side of the apple stem, not from middle. Use smooth lines for outline, a bit curved. Try not to press too hard with pencil so lines stay soft at this stage. You can add another leaf on the opposite side in the same way.
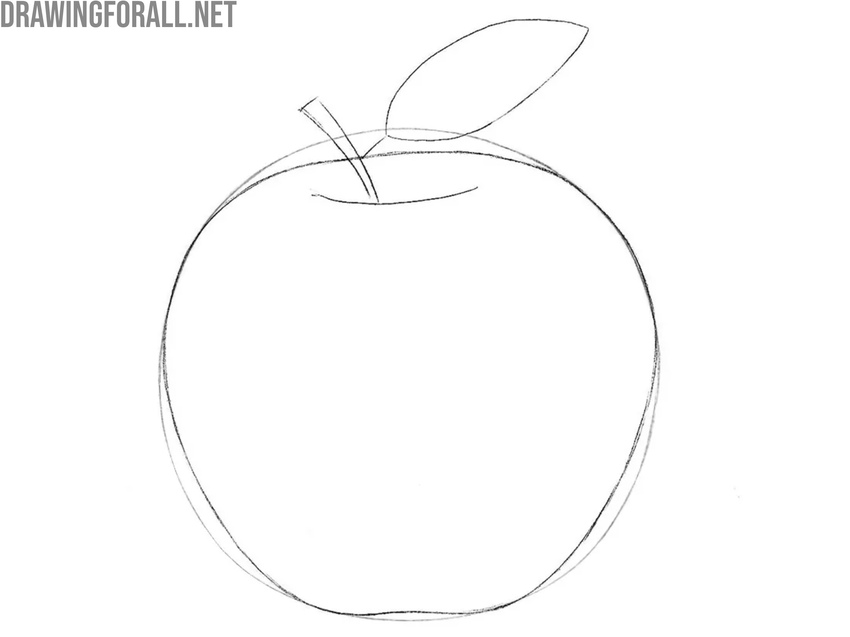
Step 5: Clean up the outlines of the fruit
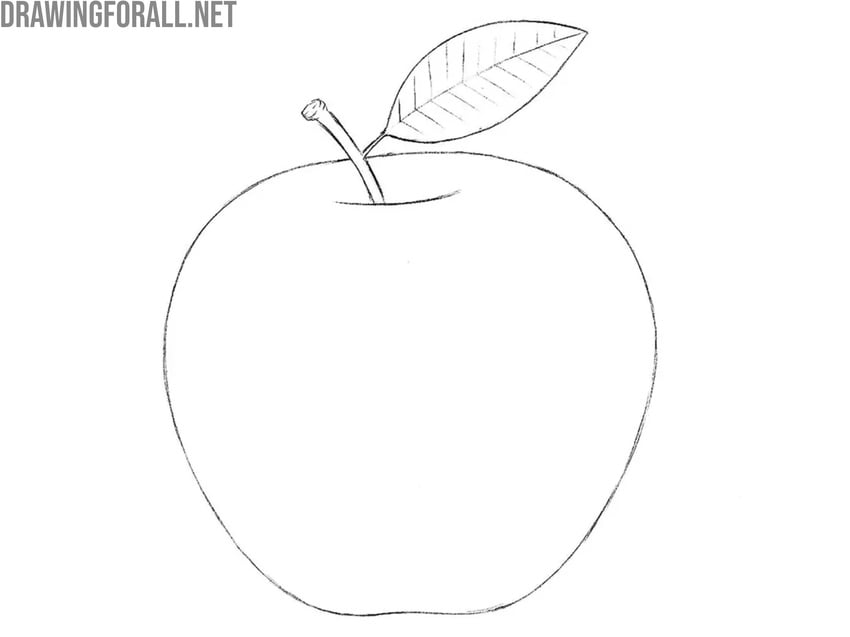
Now, erase all unnecessary construction lines from the apple drawing, sketched in the very first steps. Carefully draw out in detail the outer contour of the fruit to make it neat and smooth. Then draw the stem clearly, giving it a thicker base and more pronounced shape. Make the tip of the stem look more realistic, adding small details. Outline the leaf more confidently.
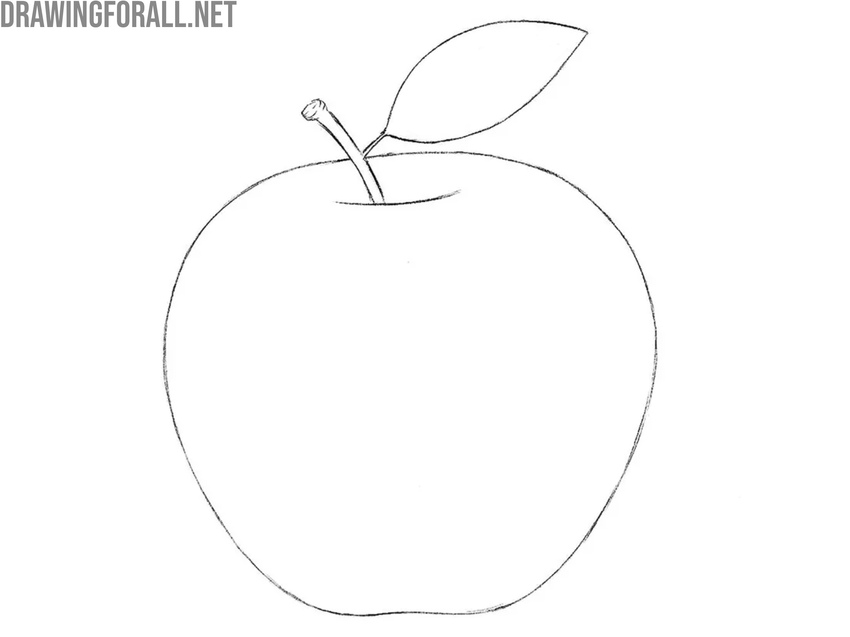
Step 6: Draw the veins on the apple leaf
The apple drawing won’t look realistic and and convincing until you add details. To do this, draw a line through the center of the apple leaf to indicate the central vein. Then, using short, diagonal lines, draw the lateral veins located on either side of the central vein.
Step 7: Add shadows and highlights to the fruit
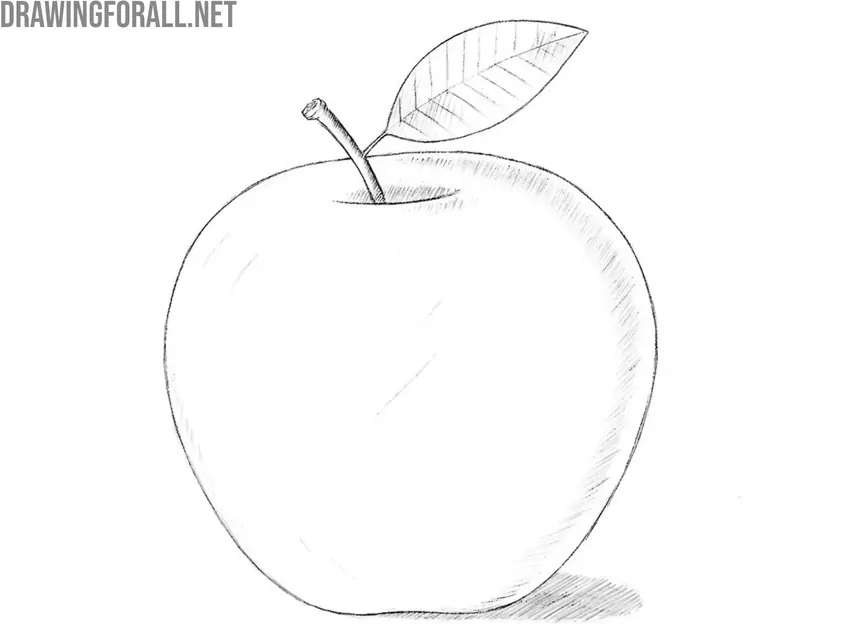
Now add shadows to make the apple look three-dimensional. Use smooth, wide hatching to indicate light and shadow areas. You can also add a light reflected highlight to make the surface appear glossy. You can stop at the previous step, but if you want your apple drawing to be more realistic, you need to work with shadows.
How to draw an apple for beginners
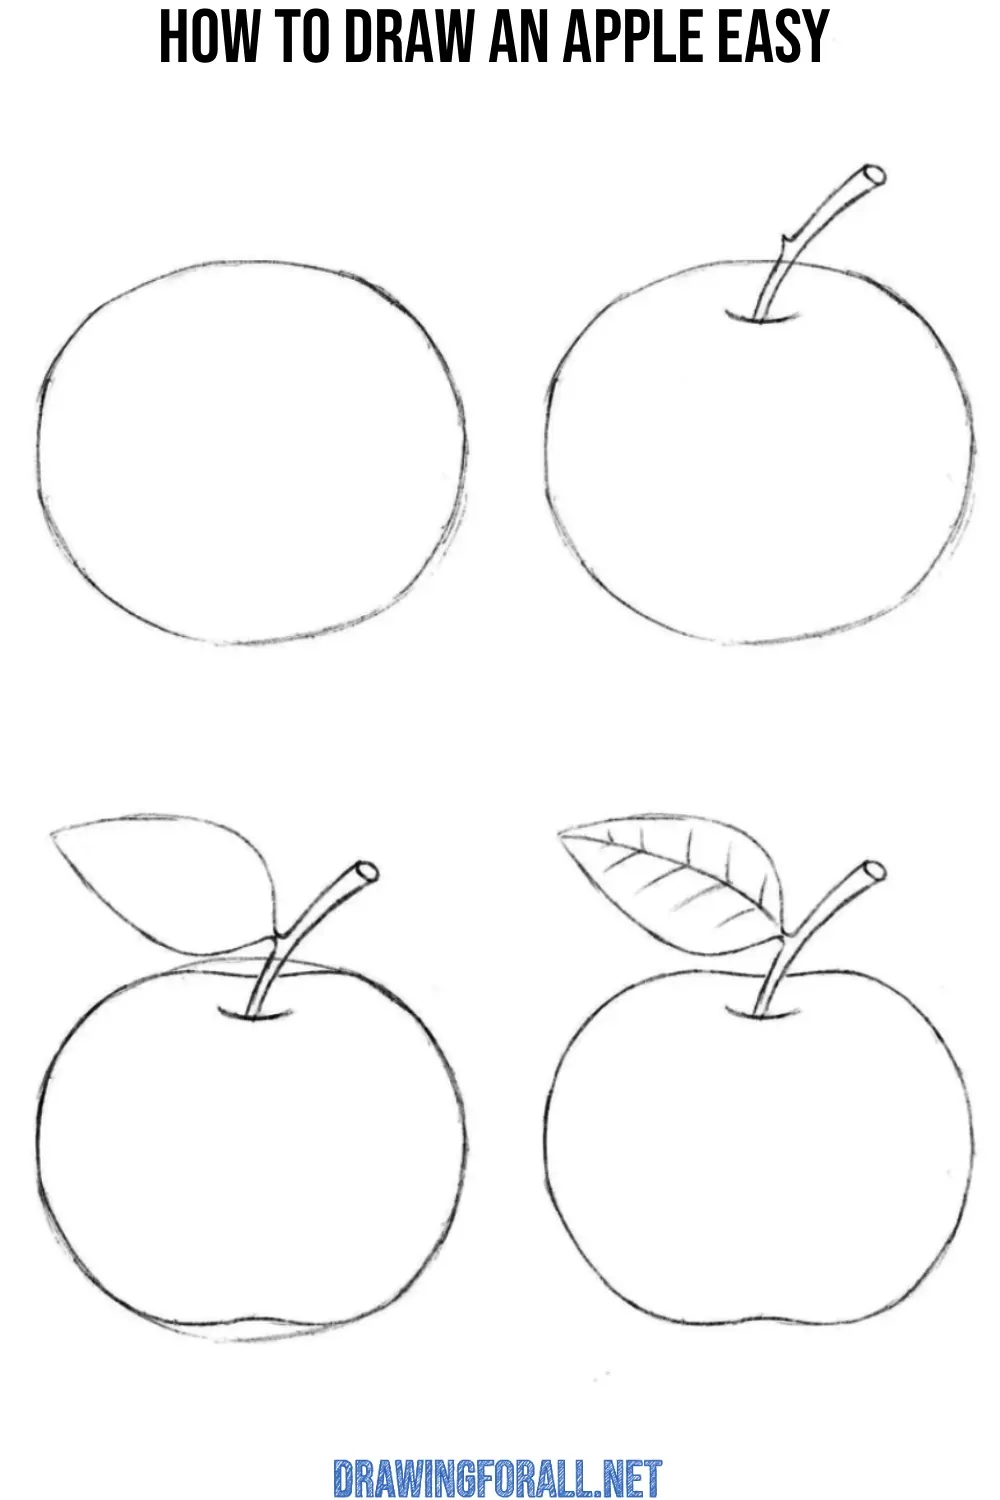
If the previous apple drawing tutorial seemed too advanced, check out this one first. This simple step-by-step guide created by the team at Drawingforall.net will show you how to sketch an apple for beginners.
In this drawing lesson, we’ll focus on building the correct apple shape. Since this tutorial is designed for beginners, we won’t be adding shadows or complex details.
When creating this guide, we made sure that even a complete beginner could follow along easily. In this guide, you’ll learn how to create smooth, accurate circles.
If it doesn’t turn out perfectly on your first try, don’t worry. Keep practicing. Draw, erase, and try again until you’re happy with the shape of your apple.
The apple drawing tutorial was very simple. In fact, the apple is one of those things, that everyones draw, even the youngest children.
Barely taking a pencil in hand, the young artist is trying to illustrate such well-known things, trying to sketch an apple, a draw a pear or a sketch a horse.
In addition, an apple is probably one of the most popular subjects to draw and one of the most common elements in still life compositions throughout the history of art.
So using this tutorial you can draw a still life, giving it a realistic and interesting look. It’s also important to understand how to include such objects in a full composition.
Try creating a detailed still life where the apple becomes one of several elements within the scene. You can draw grapes nearby to make the composition more detailed and visually interesting.
Each fruit in fine art carries a certain symbolic meaning, so practice adding these meanings into your still life drawings by combining different fruits and vegetables.
To continue developing your understanding of sketching realistic apples, try drawing several of them together – on a table or in a basket.
Focus on how they cast shadows on each other and how light and half-tones distribute across their surfaces. You can also draw an apple tree, giving it characteristic shapes of branches and leaves, and add apples lying under it or hanging from the branches
We very much hope that our lesson about the apple has helped you to improve your knowledge and skills in this field of art. We hope that everything worked out perfectly for you. See you on the pages of drawingforall.net.


I love this website, It has all the simplified versions of all kinds of drawing pictures
it did not help me I wish I can show you what my Apple look like it just help me get mad this is bad I hate this pointless you don’t describe how you do it you just show pictures of it half way I hate this not going here again nope
I don’t understand, this tutorial is very straightforward and thorough.
YEAH YOUR CORRECT I”M MAD IN THIS APPLE
Skill issue….
i like apple
I like apple
i found it very useful thnx
Thought it was very helpful. Thanks
BEST
I love apple 🍎🍏🍎🍏
My apple is not the best but not bad either 😃