How to Draw a Shampoo

Today we will draw a bottle of shampoo. This is a very useful thing that is in every bathroom. So let’s start this drawing tutorial in which we will show you how to draw shampoo step by step.
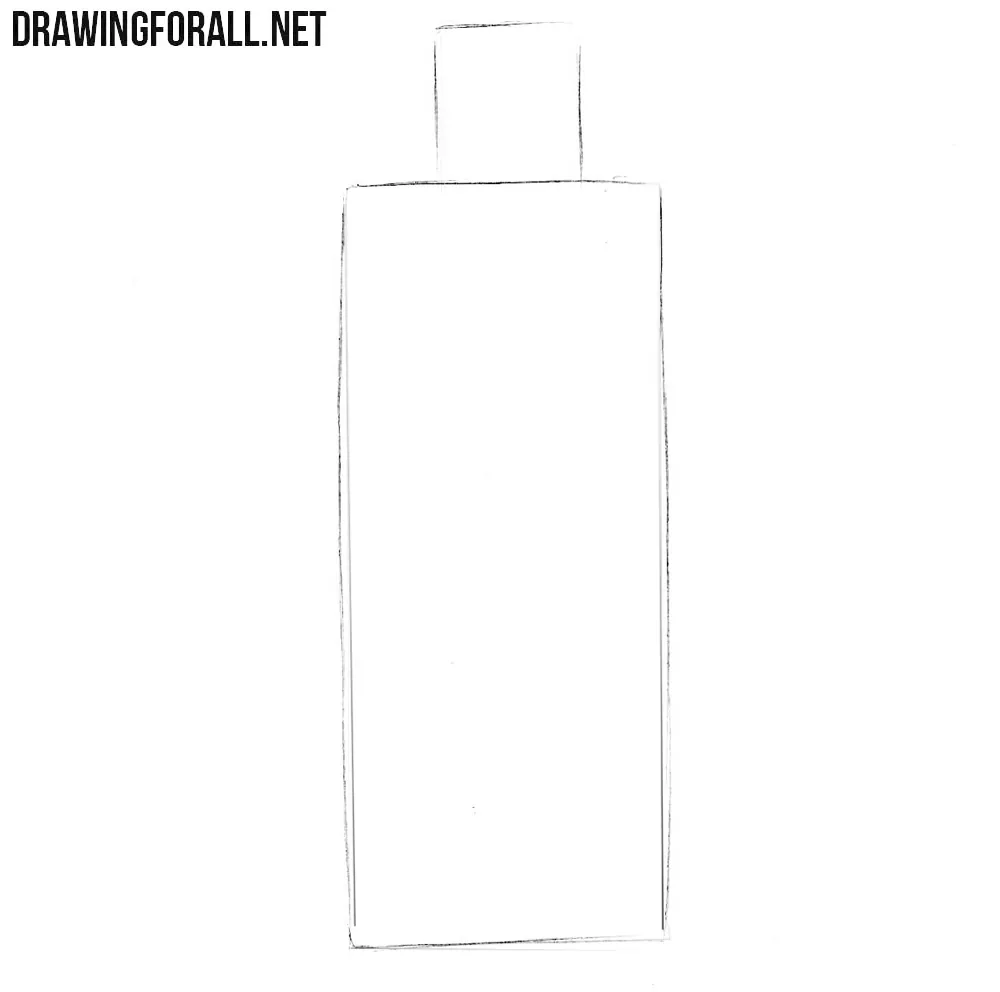
Step 1
First we draw two rectangles. The lower rectangle should be more elongated vertically and large.
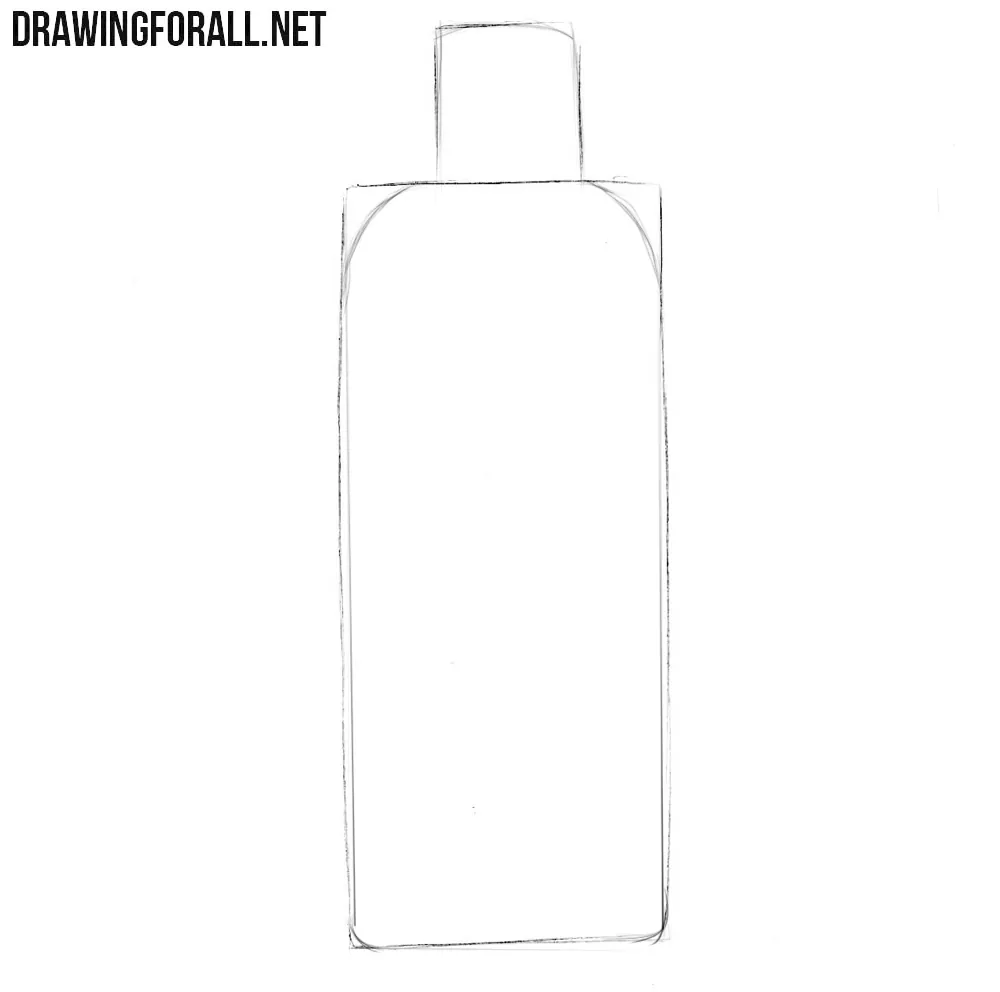
Step 2
In this step we will work with the corners. And on the top and bottom rectangle we draw rounded edges.
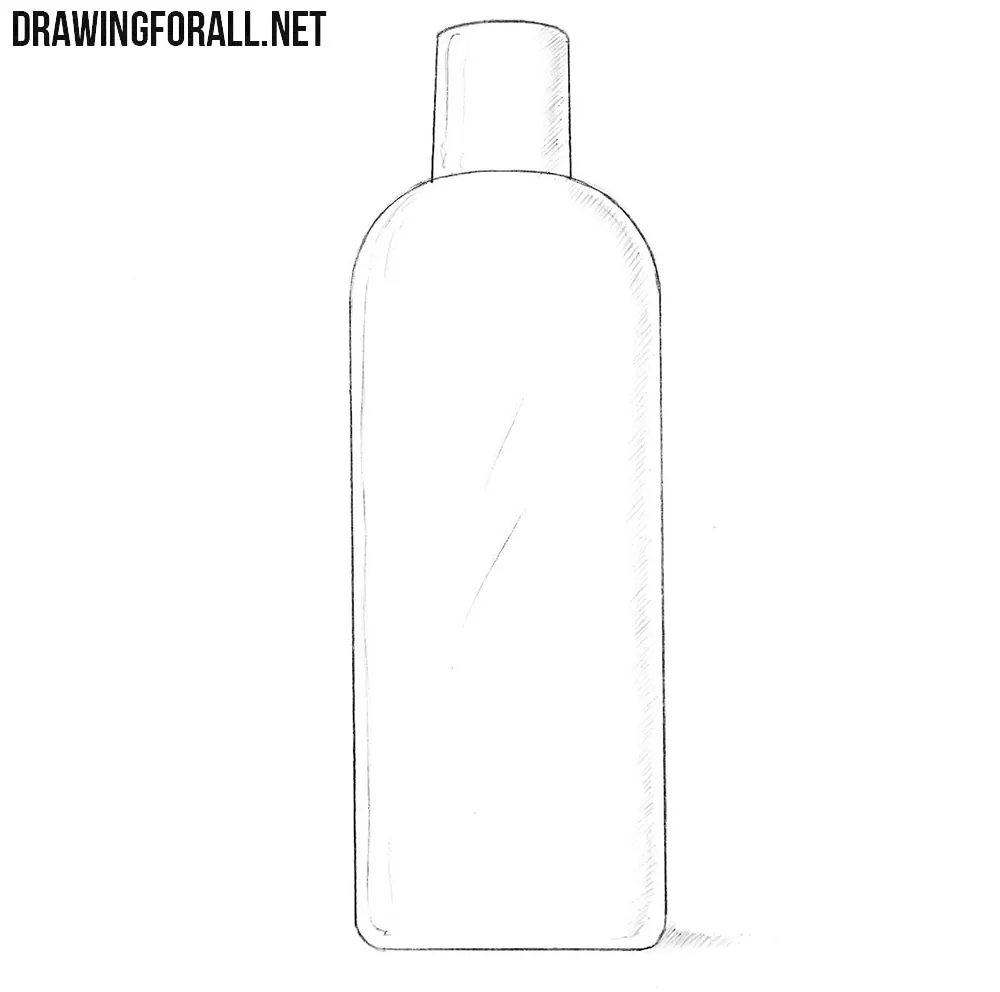
Step 3
Now we erase the lines that have become unnecessary after the actions in the previous step. You should get a clean picture like in our example.

Step 4
Now all we have to do is work with shadows. Draw a light shading in those places where the light does not fall. Don’t forget to make a hatching on the ground.
Our super simple drawing lesson about how to draw a shampoo is finished, and we hope that all our readers, even the youngest, will be able to create such a simple drawing. We see in the next articles. Goodbye!


Thank you so much ohh…im so happy