How to Draw a Cowboy

We love to draw people from different eras and professions. In the “People” section there are huge number of similar drawing lessons. And today we will continue this theme with a lesson on how to draw a cowboy. As you can see, we will draw a classic cowboy in a fairly realistic style.
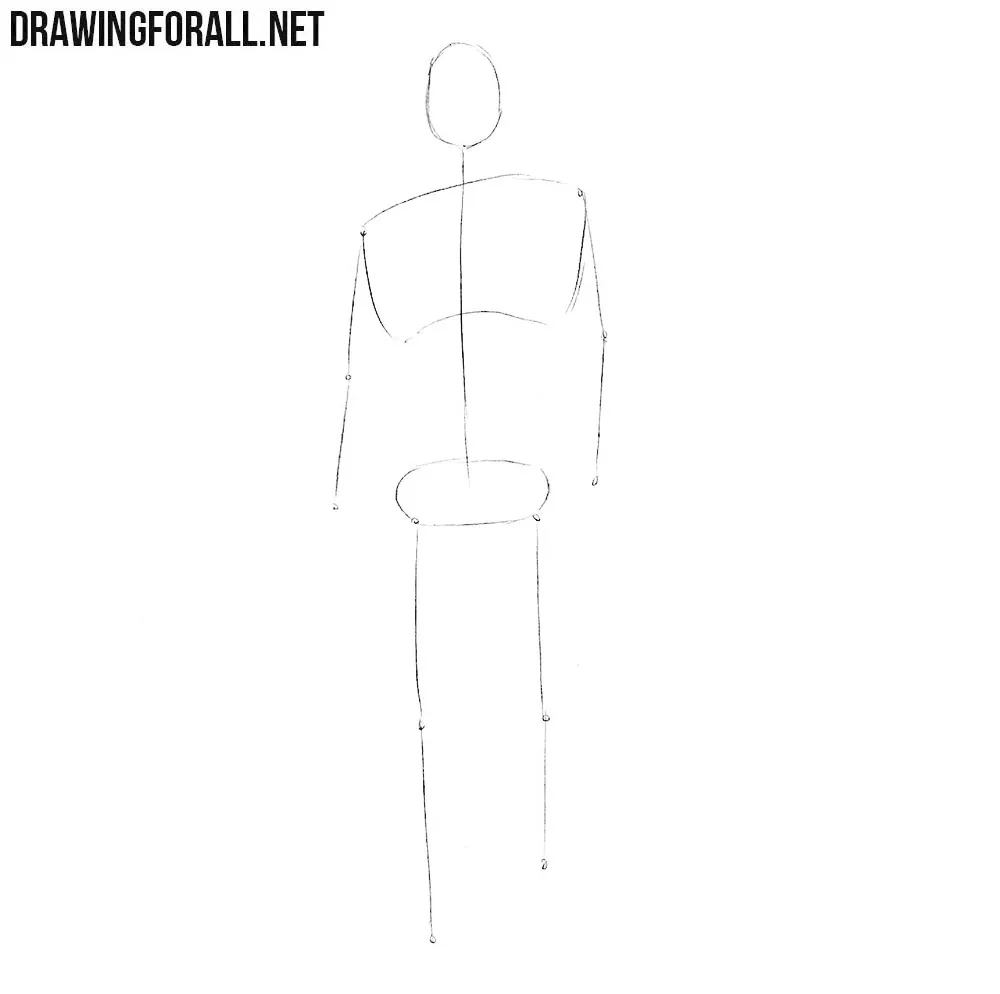
Step 1
First of all, sketch out the outlines of the oval head of cowboy, the neck line, which passes into the spine. Next, we draw a chest and a pelvis. With the help of simple lines, sketch out the arms and legs. As you could understand, all people are drawn about equally, and this drawing lesson is no exception.
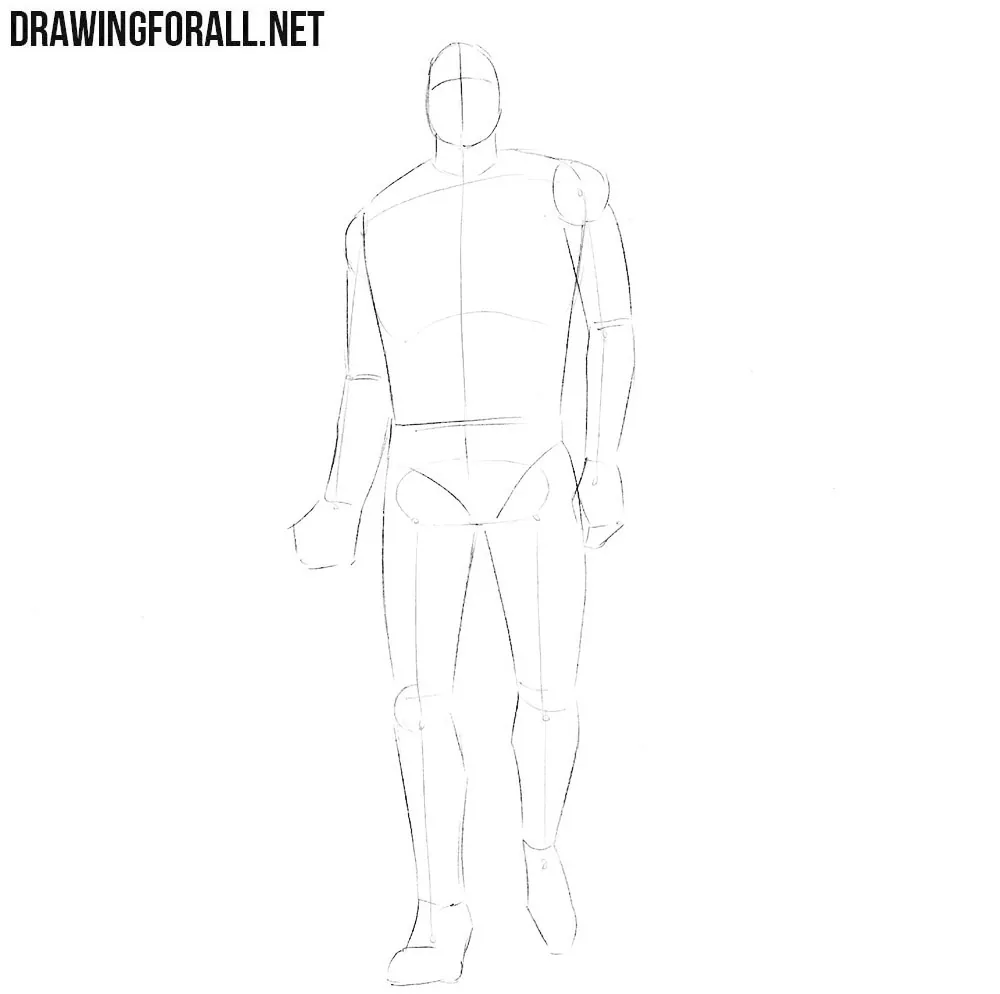
Step 2
Let us now draw two simple lines that intersect in the center of the face, which is slightly raised. After these lines, we need to outline the neck, which moves into the torso. In the form of a triangle we outline the pelvis of cowboy, and with the help of cylinders we outline arms and legs. We conclude this step by sketching the hands and feet.
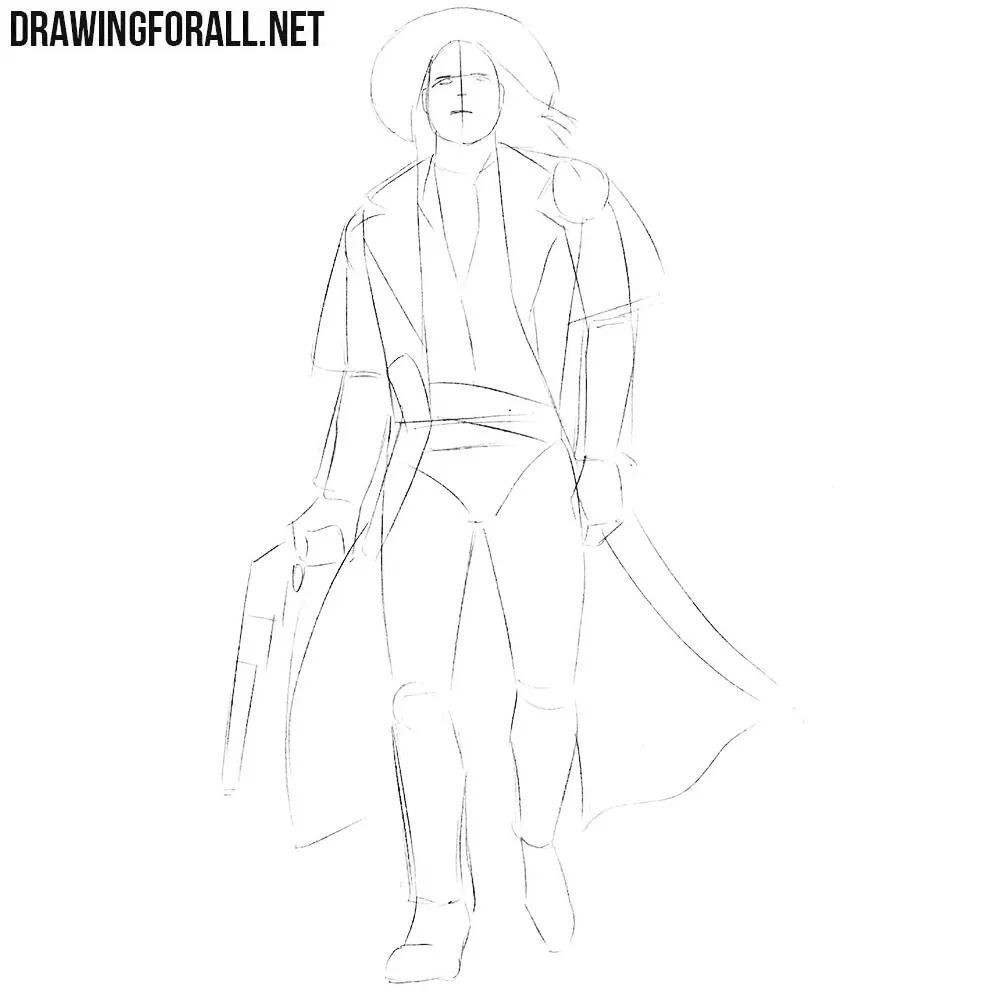
Step 3
So now is the time to outline the most basic details. Here we will use two intersecting lines of the face, with the help of which we will sketch out the outlines of the face. After that, we sketch out a famous cowboy hat. We move a little lower and sketch out the outlines of the coat and the revolver in the hand of our cowboy.
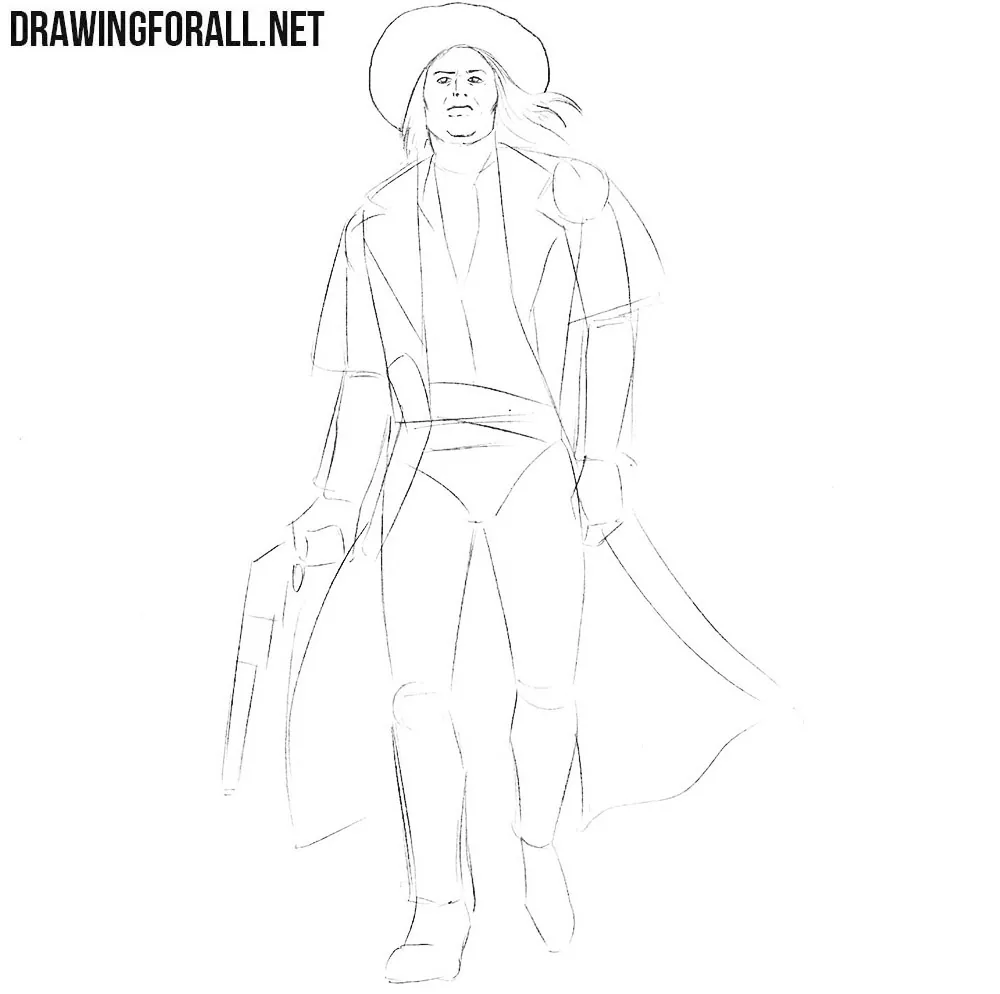
Step 4
Starting from this step, we need to start drawing the final details. Using clear lines, gently draw the eyes, nose and mouth. Next, we need to draw the outlines of the face (cheekbones and chin). Now draw the hat and long hair. By the way, you can draw a mustache or sideburns, so characteristic of cowboys.
Step 5
So let’s move below. Here we draw the outlines of the neck. Then we carefully draw the contous of the shirt and the very wide collars of the coat. Now we need to draw all the folds on the shirt and coat of the cowboy. We conclude this step by erasing all unnecessary guidelines from the torso.
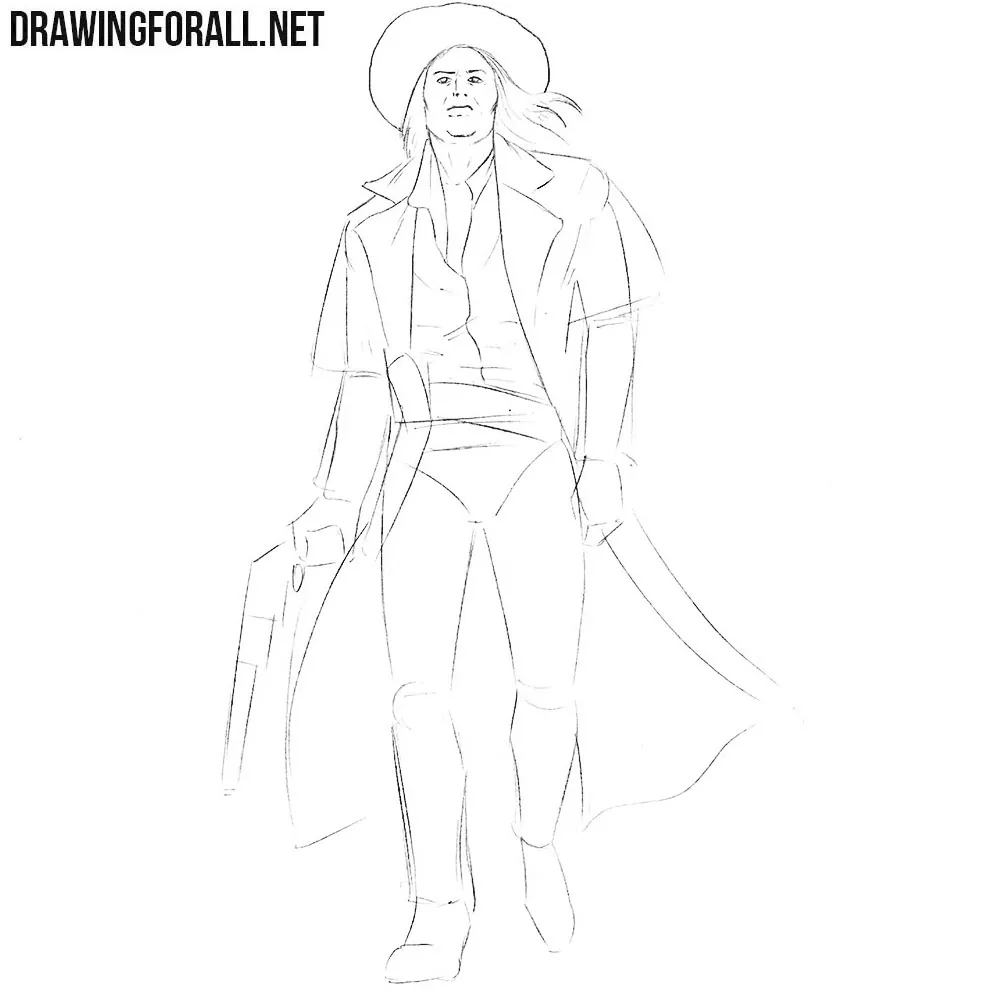
Step 6
Quite a difficult step in which we need to draw out the arms. So, first draw the outlines of the sleeves, taking into account all the necessary folds. Next, we draw out the hands, in one of which a long cowboy revolver is clamped. Another revolver hanging on the cowboy belt.

Step 7
So in this step we will draw the lower body of our cowboy. Using long and clear lines we carefully draw out the outlines of the pants, also remembering to draw all the folds as in the example below. In the same step, let’s draw the shoes and the bottom of the cowboy coat.
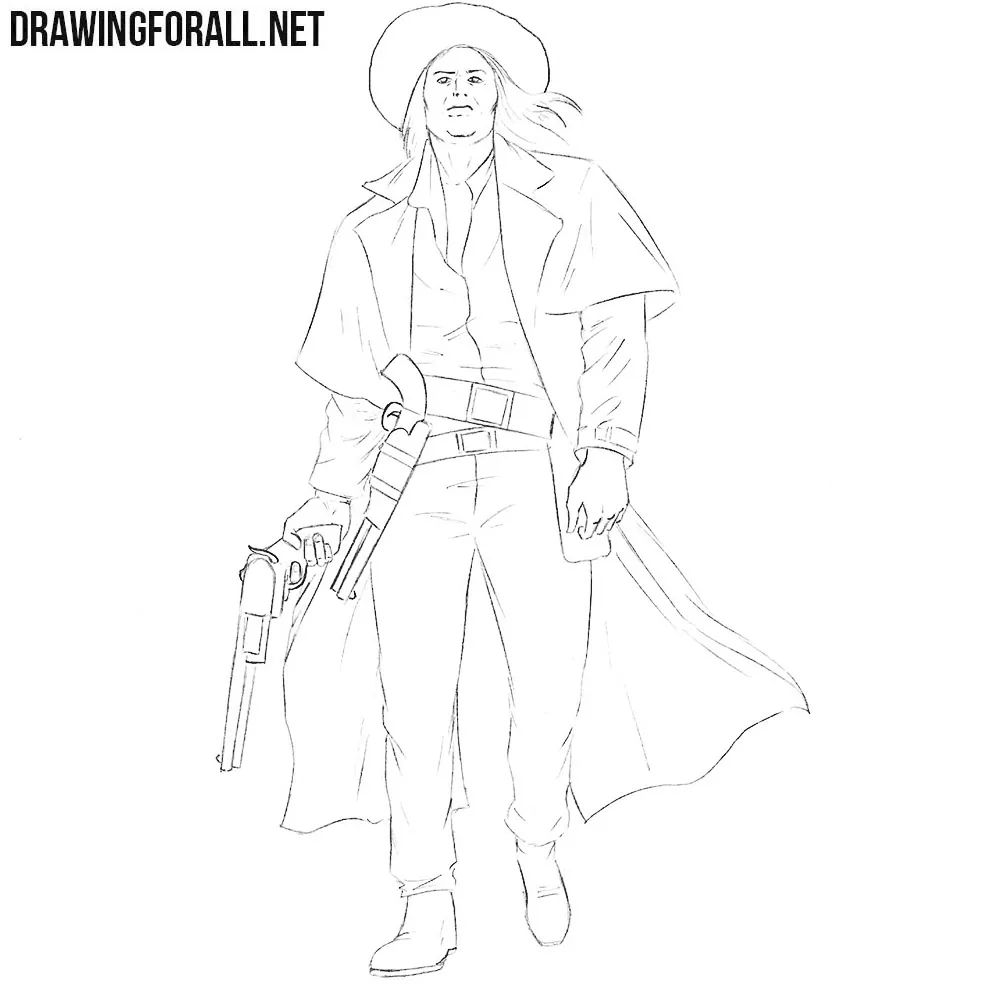
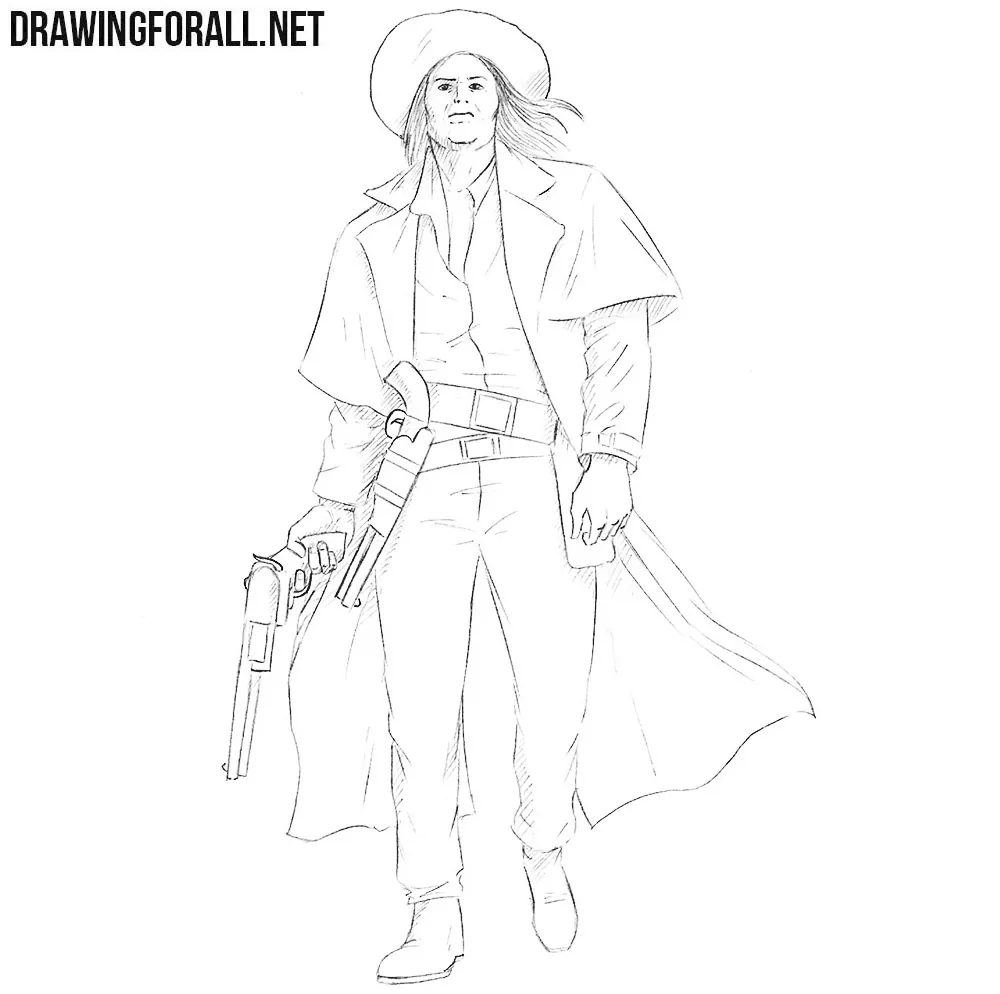
Stpe 8
So, the cowboy is almost drawn, but it doesn’t look quite voluminous. To make it more voluminous, let’s add some shadows. As in previous lessons like this, we first determine the source of the light. Further, taking this into account, we outline shadows with the help of dense hatching.
We very much hope that the lesson on how to draw a cowboy was useful for you. If you have any questions about this or our other drawing lessons, then write us about it here or in our social networks.

I think that along with the cowboy should be a Native American.