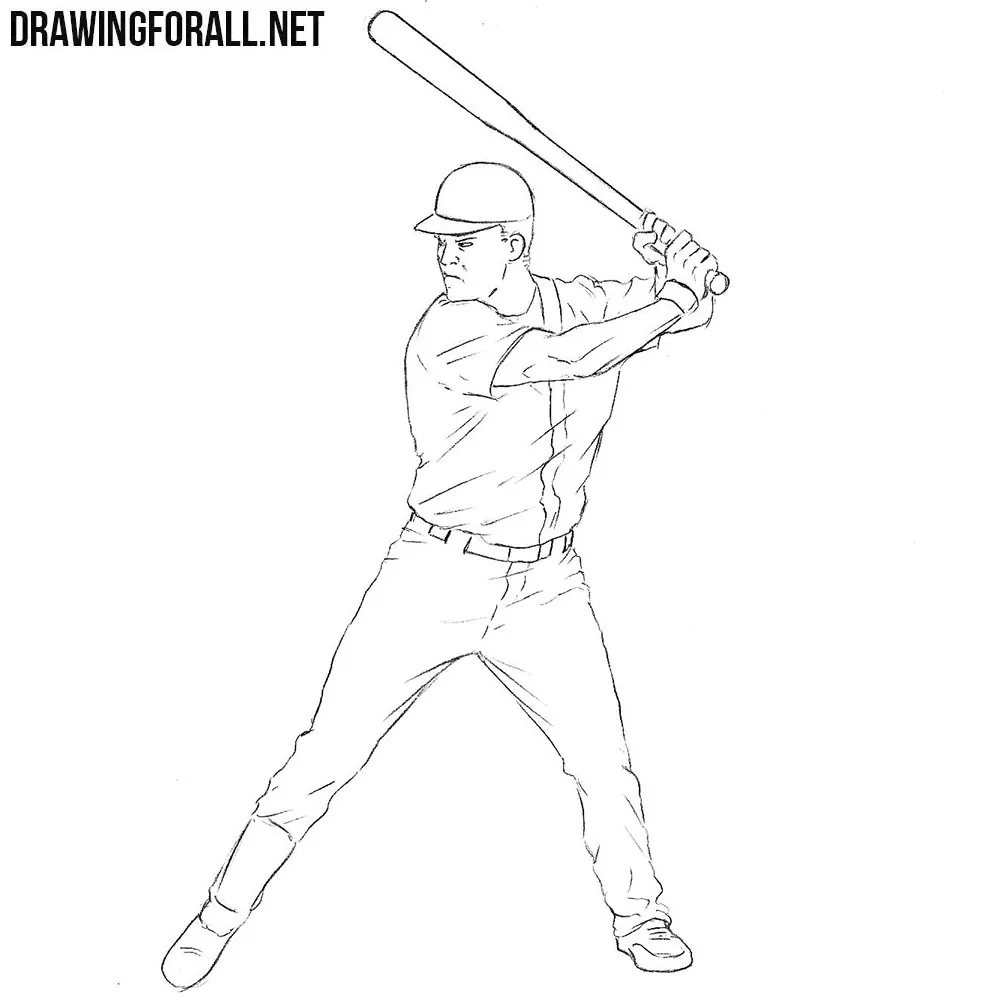
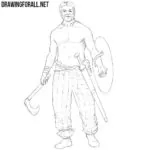
How to Draw a Baseball Player
Baseball – a favorite and habitual game for Americans and unusual and incomprehensible to the inhabitants of the rest of the globe. This interesting bat-and-ball game has its origins from the Middle Ages, and is one of the most exciting games that unite a huge number of fans and very different people. In this drawing lesson we want to show you how to draw a baseball player.
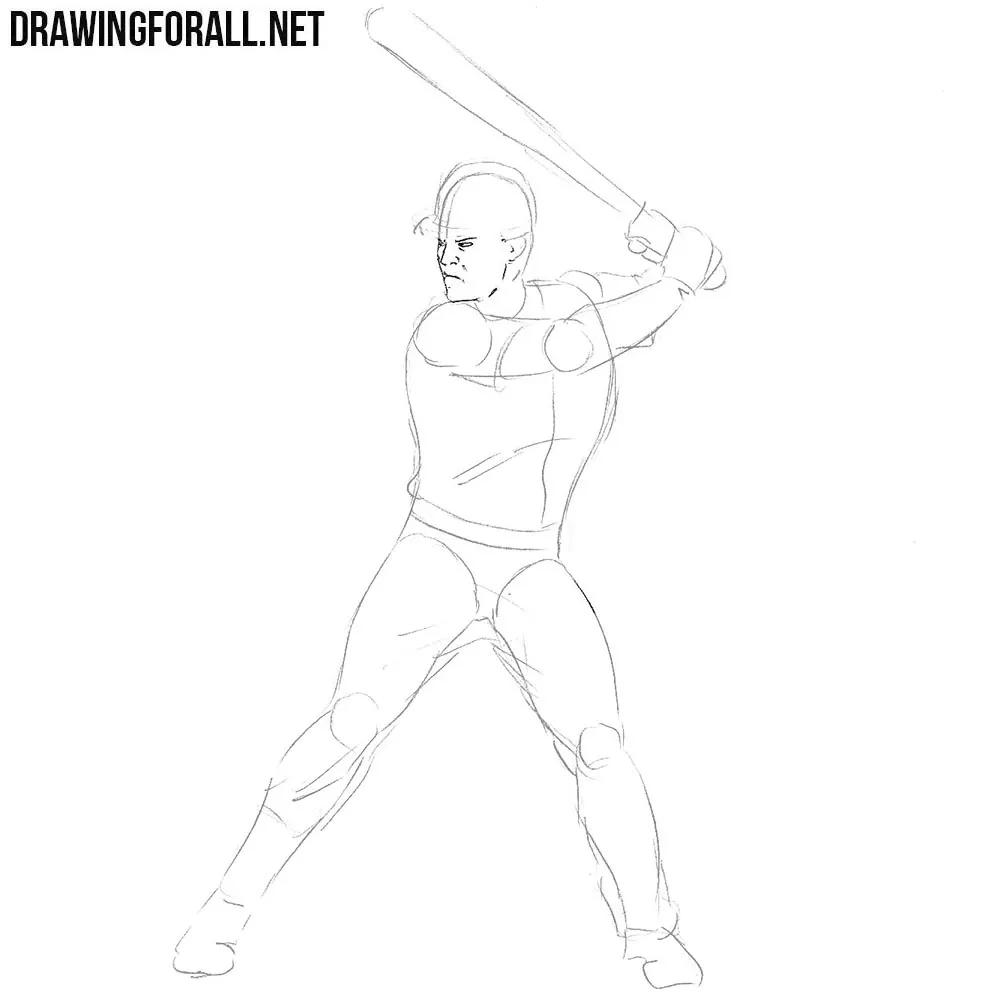
Step 1
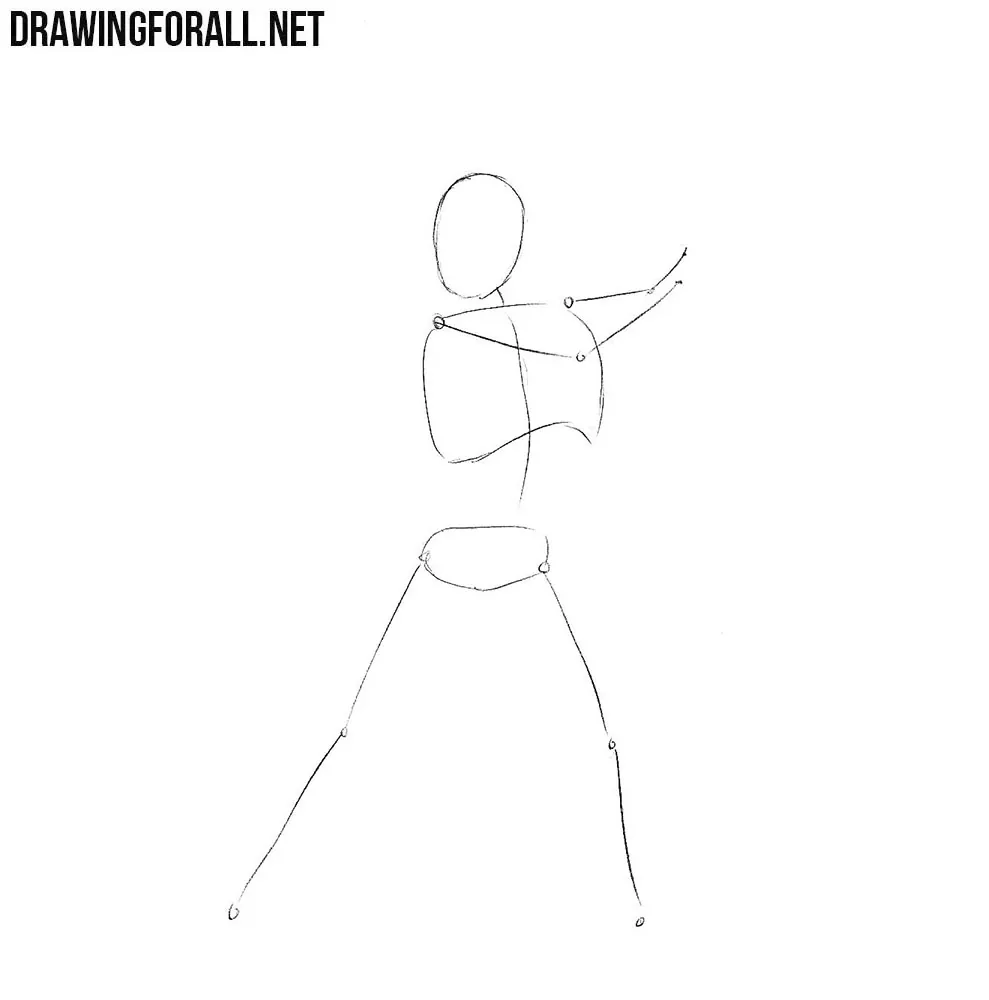
Like any person, a baseball player starts with a skeleton. In our example, he will stand in a pose ready to hit. First, sketch out the head in the form of an oval, or rather an enverted egg, then draw a line of the spine, on which we draw the thorax and the pelvis. Using light lines sketch out the arms and legs.
Step 2
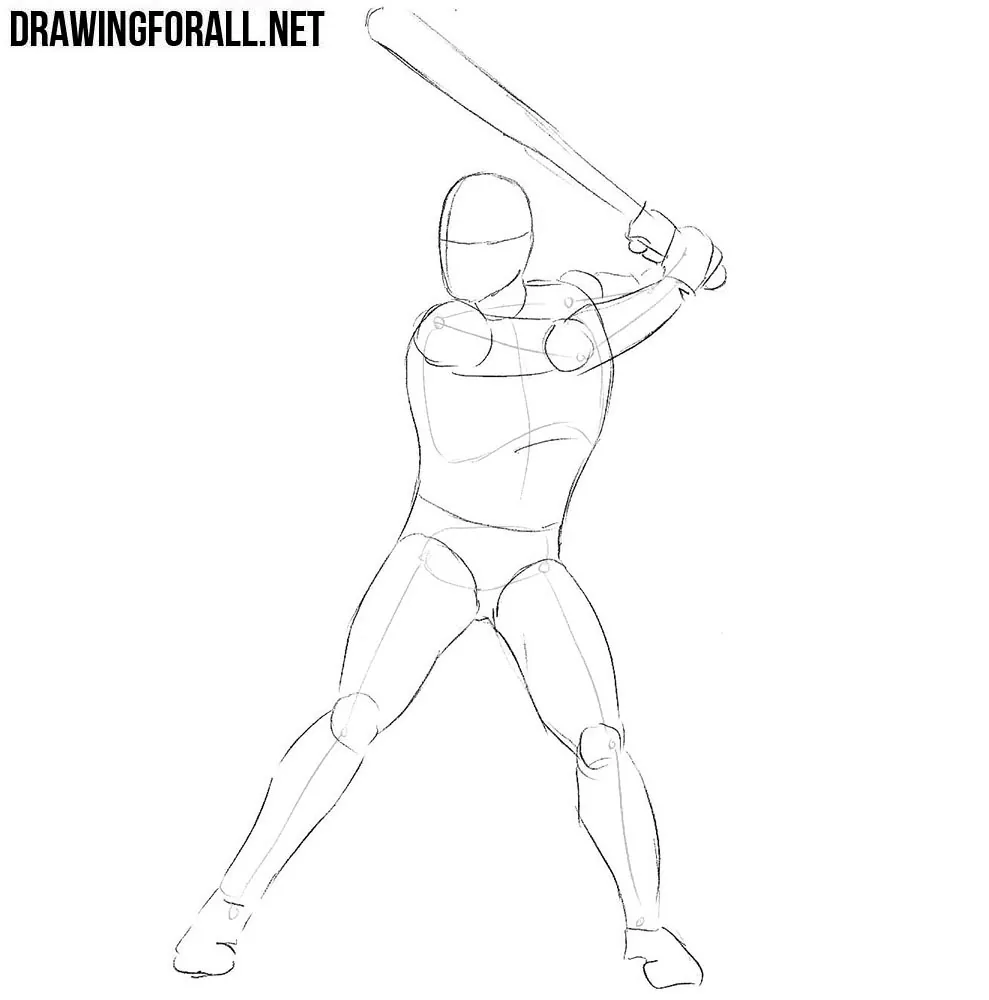
tch out two intersecting lines on the head, with which we will draw the details of the face. Next, sketch out the neck and outlines of the torso, which narrows in the waist. With the help of simple geometric figures sketch out the arms and legs as in our example. At the end of the step sketch out a bat in the hands.
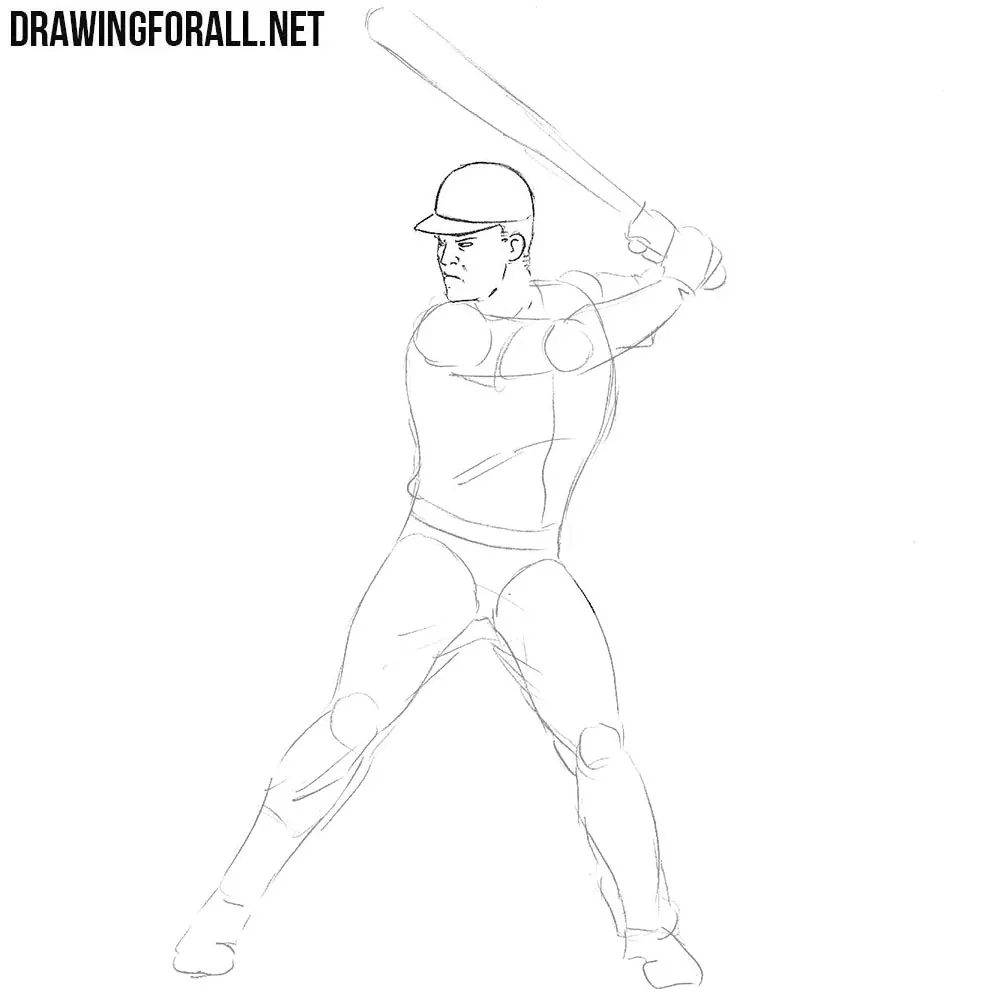
Step 3
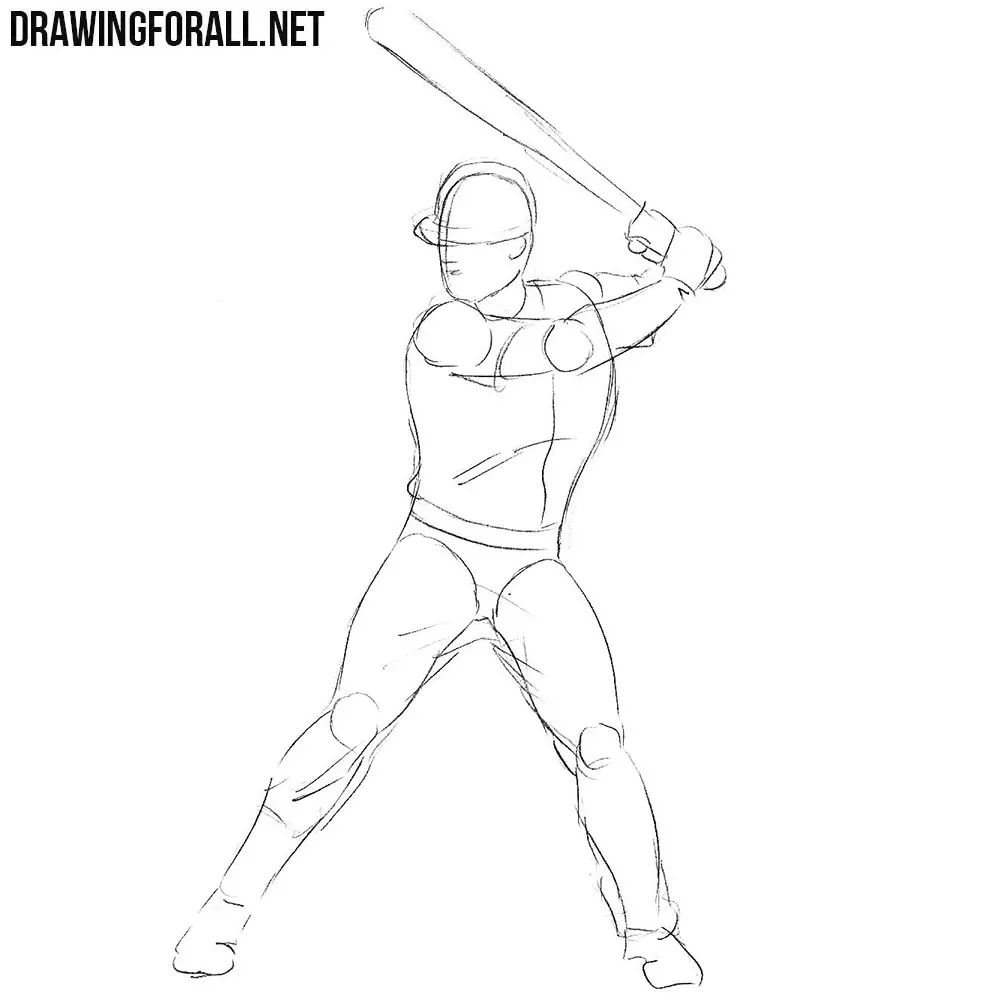
Let’s now sketch out some details on our baseball player drawing. On the head we will sketch out a rounded helmet. Next, sketch out the elements of the costume and add some folds of fabric. The main forms and details of the drawing are done, and from the next step we will begin to draw the final details.
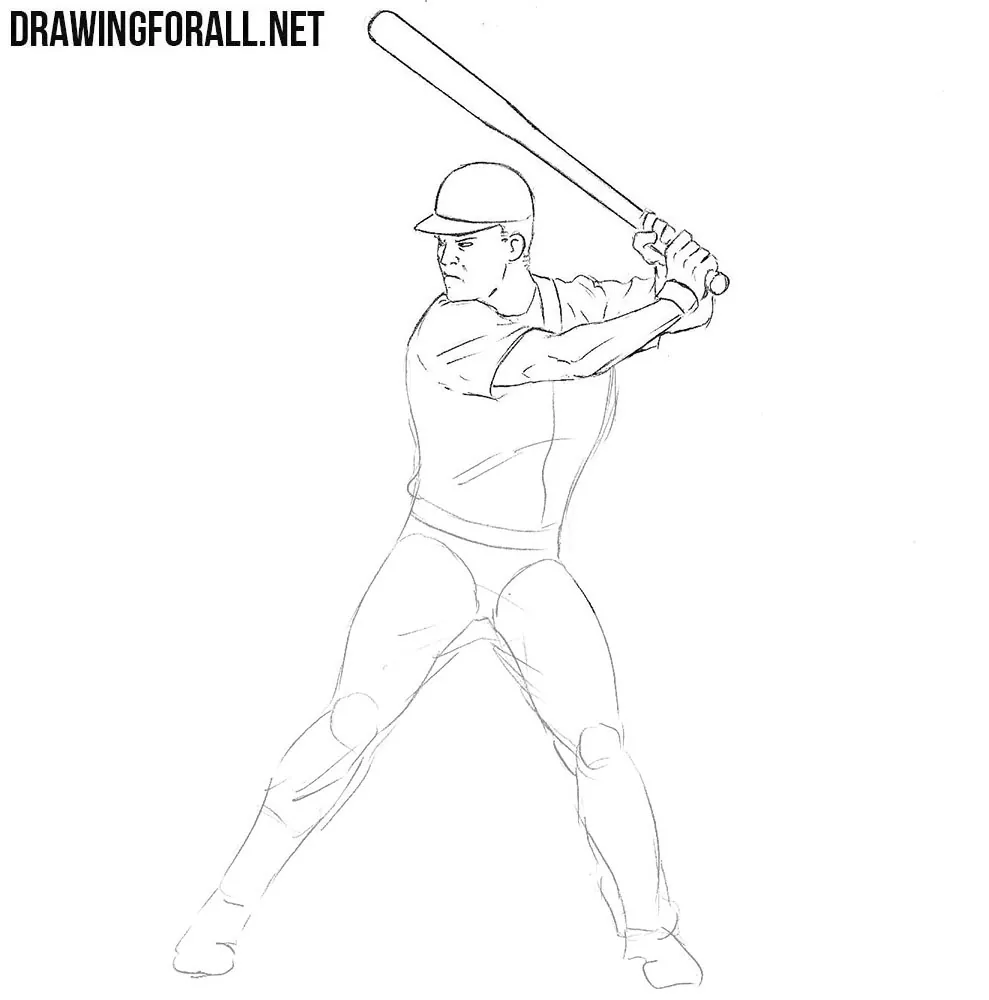
Step 4
Draw out details of the face, that is the eyes, nose and mouth using clear and dark lines being guided by the intersecting lines from the second step. The face of our baseball player should be very focused. Also, be sure to erase unnecessary guidelines from the face area.
Step 5
In this step, we finish drawing the head of the baseball player. Using clear lines draw out the contours of the circle helmet and visor. Next, draw the visible part of the hair, the ear and neck. Erase all unnecessary lines from the head.
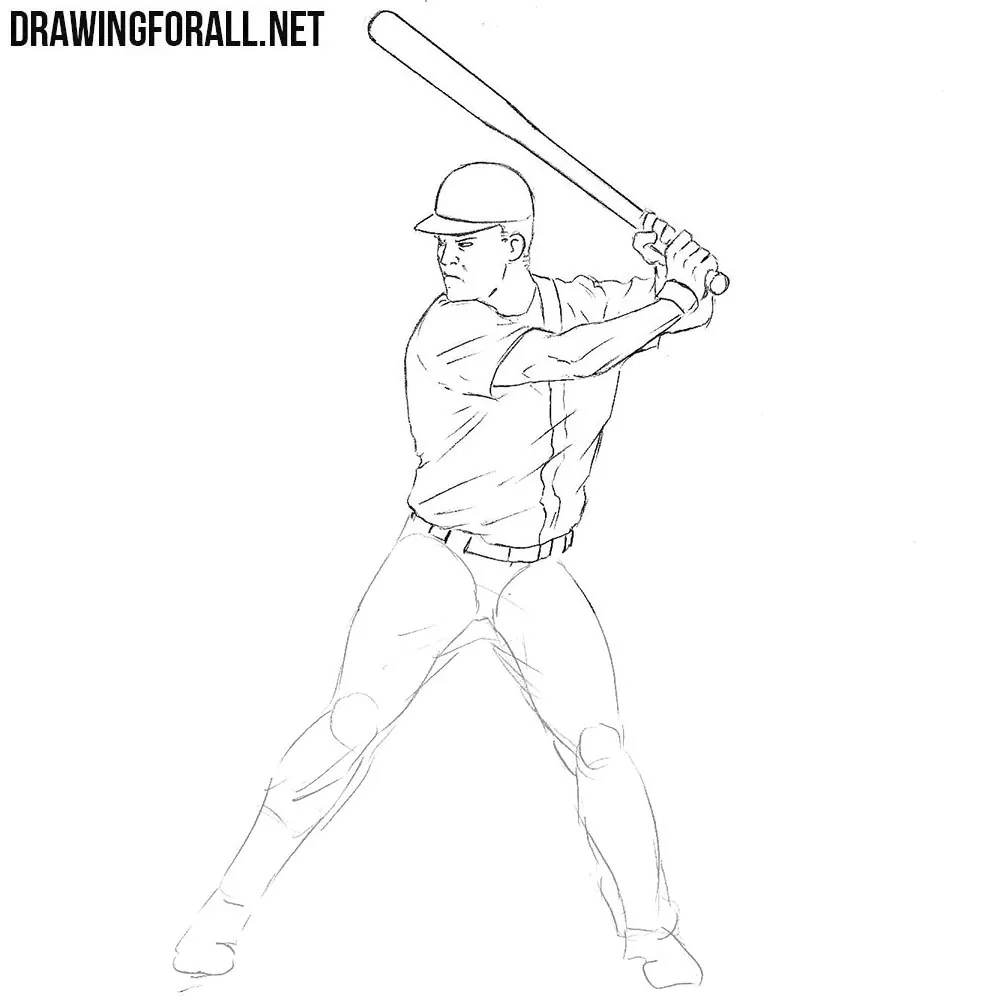
Step 6
Now we move a little lower and work with the arms and upper body of the baseball player. Draw short sleeves and outlines of the arms. Carefully draw out all the necessary muscles, outlines of fingers and folds.
Step 7
Now finish drawing out the upper part of the body and clothes of the baseball player. When you draw clothes, keep in mind that the folds should lie in the direction of movement of the body. In the same step we need to draw a belt and erase all the guidelines from the top of the body.
Step 8
It remains only to draw the lower part of the body. With the help of clear, dark and smooth lines, carefully draw out the outlines of pants and folds on the pants. In the same step we draw the baseball player’s shoes and erase all the lines that we drew in the first three steps.
Step 9
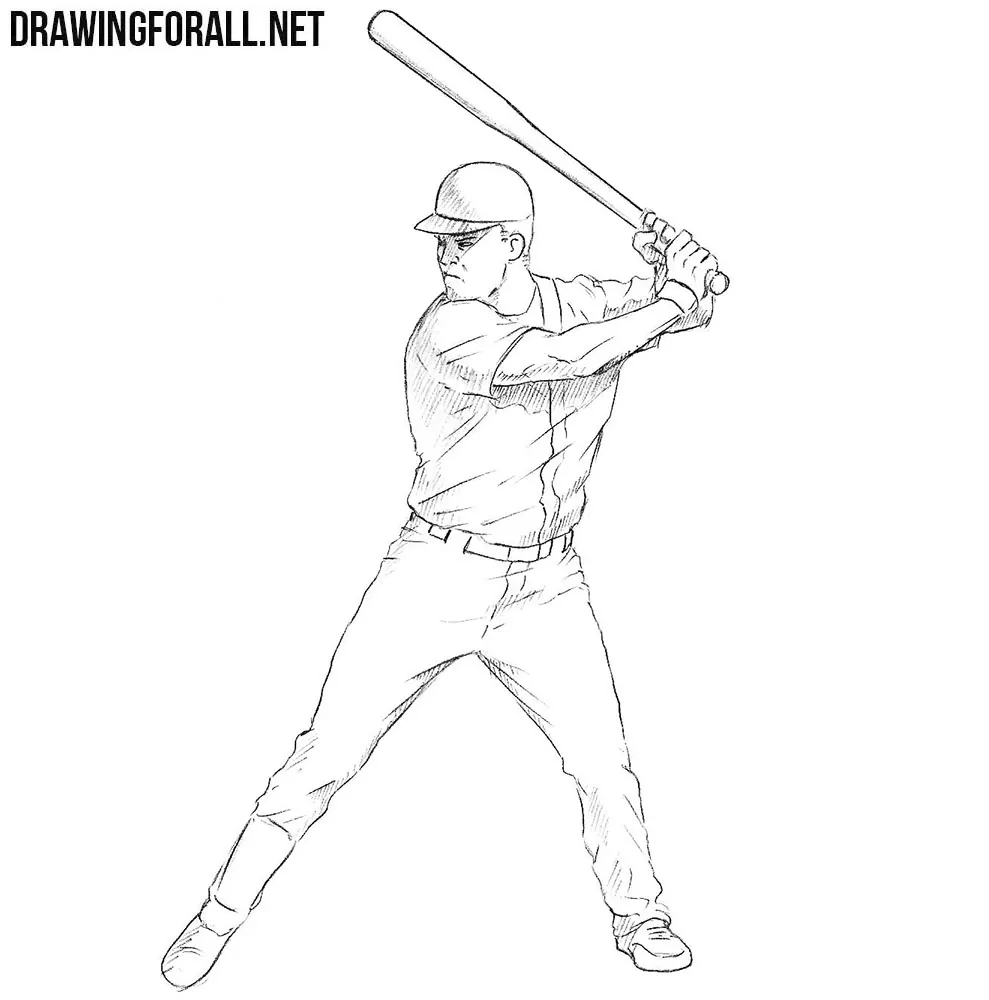
In order to draw shadows, you first need to think of where the light comes from. In our example, the light falls from the upper right corner. Next, using hatching of different density add shadows in the least lit areas of the body. Also, you can make the shadows darker by adding another layer of hatching.
Today we showed you how to draw a baseball player. The lesson was quite complicated, but at the end of it we got a realistic baseball player drawing. This lesson was one of a series of drawing lessons about various sportsmans. In order not to miss the new drawing lessons from this series, subscribe to us on social networks and visit our site as often as possible.

Great baseball player drawing, love your tutorials It’s very helpful for me. Thanks for sharing
ahahah