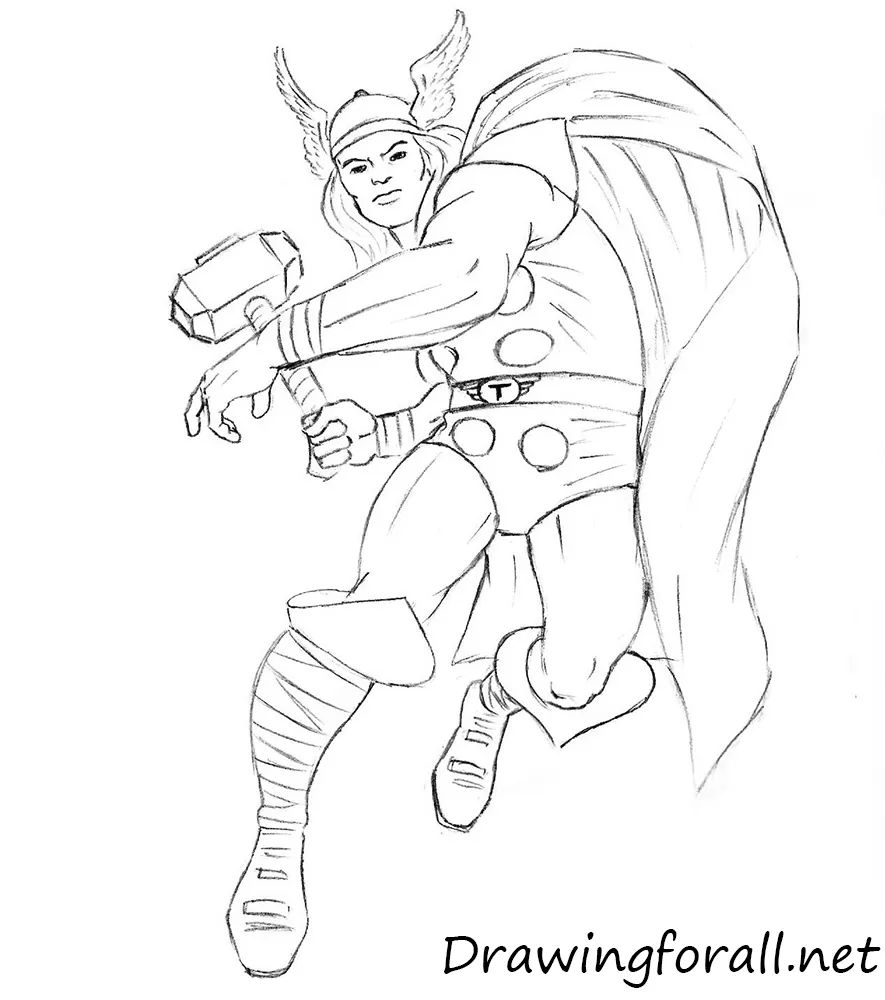
How to Draw Classic Thor

Hello, dear readers! Today we have prepared for you a new drawing lesson, which will tell you about how to draw Thor from the team “The Avengers” from Marvel Universe.
Thor from Marvel – known character, whose image was born from ancient myths and fantasies of modern comic writers of the second half of the twentieth century. On our site you might see a lesson about how to draw Thor, but in that article, our artists used modern sketches by David Finch. In this drawing lesson we will show you how to draw classic Thor.
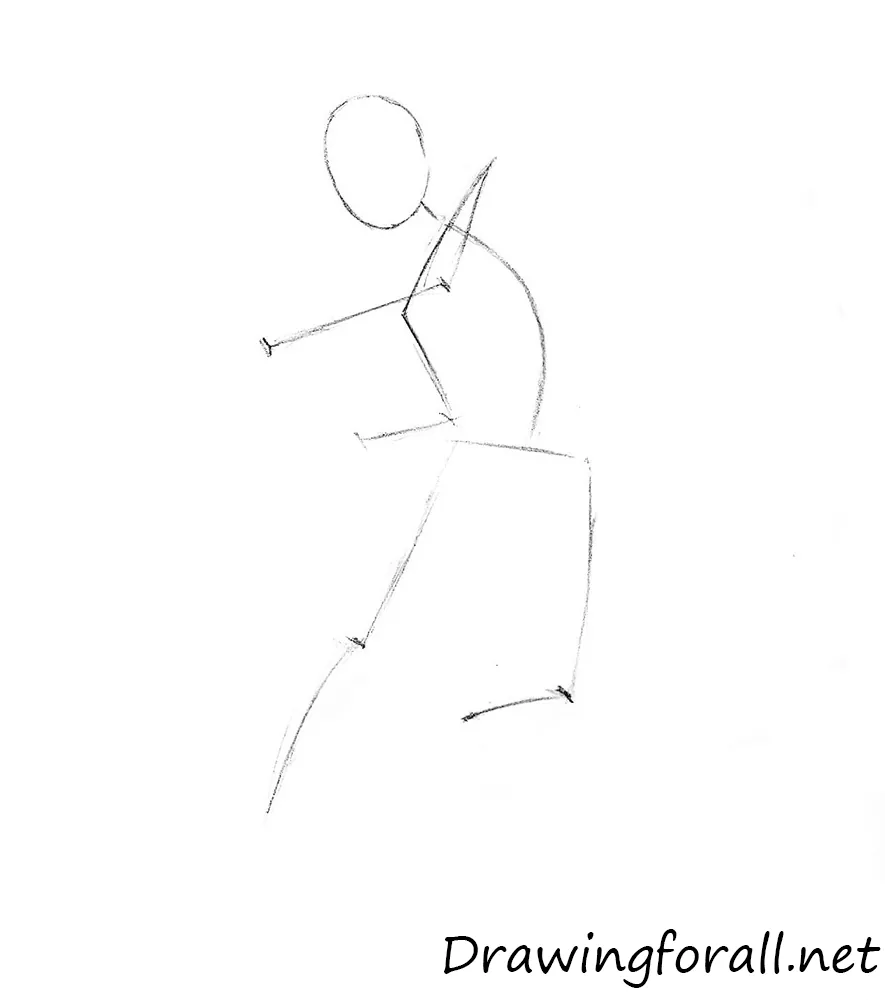
Step 1
As in other our drawing lessons (for example about Superman and Spider-Man) we start with a stickman – the man, made of simple lines, which will show us the main proportions and location on the paper.
At first draw an oval, which will help us to draw head of Thor. Using a curved line draw the spine. The height of the spine is equal to two heights of the head. Draw lines of the shoulders and arms, using straight lines. In the same way draw line of the pelvis and legs.
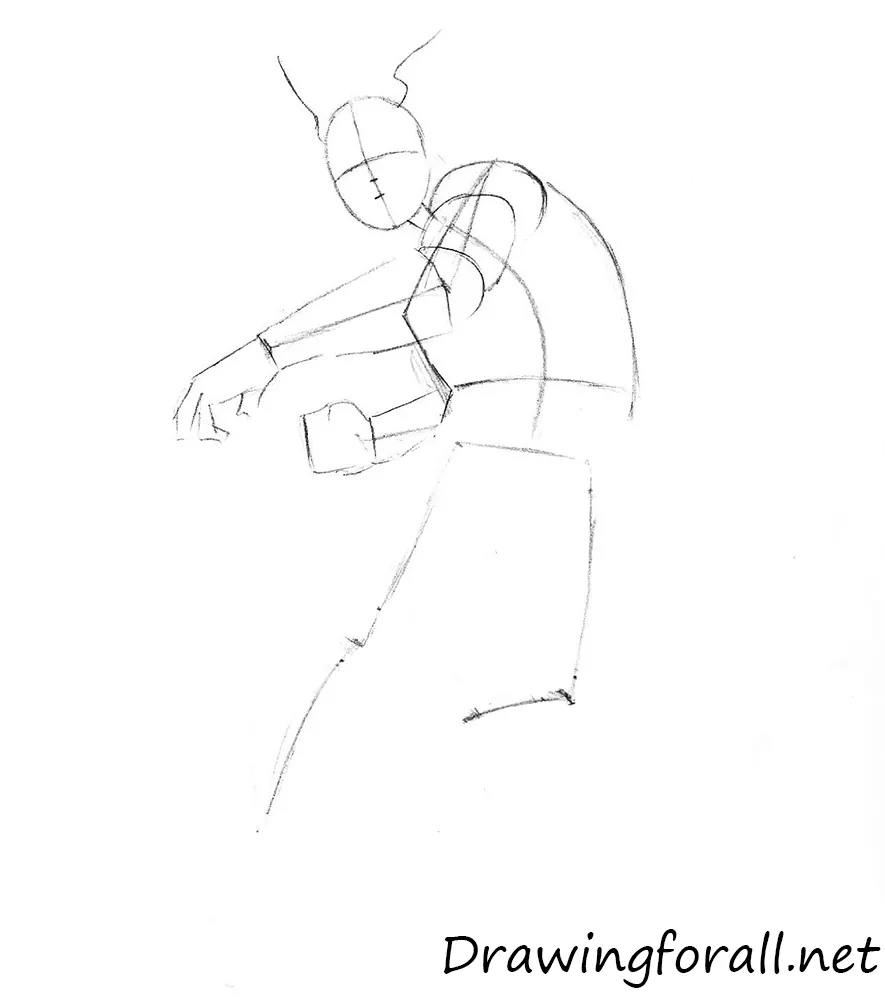
Step 2
Sketch out the perpendicular lines of the facial symmetry, which intersect in the center of the face. The vertical line for the eyes and the horizontal lines which shows us the center of the face. Below the line of the eyes draw two short lines for nose and mouth. Using two curved lines sketch out the wings on the head of Thor.
Start adding volume to the stickman. Using circles sketch out the shoulders and elbows. Using cylinders draw the arms, as in the example below. Draw the outlines of the torso. Draw the outlines of the hands, and move to the next step.
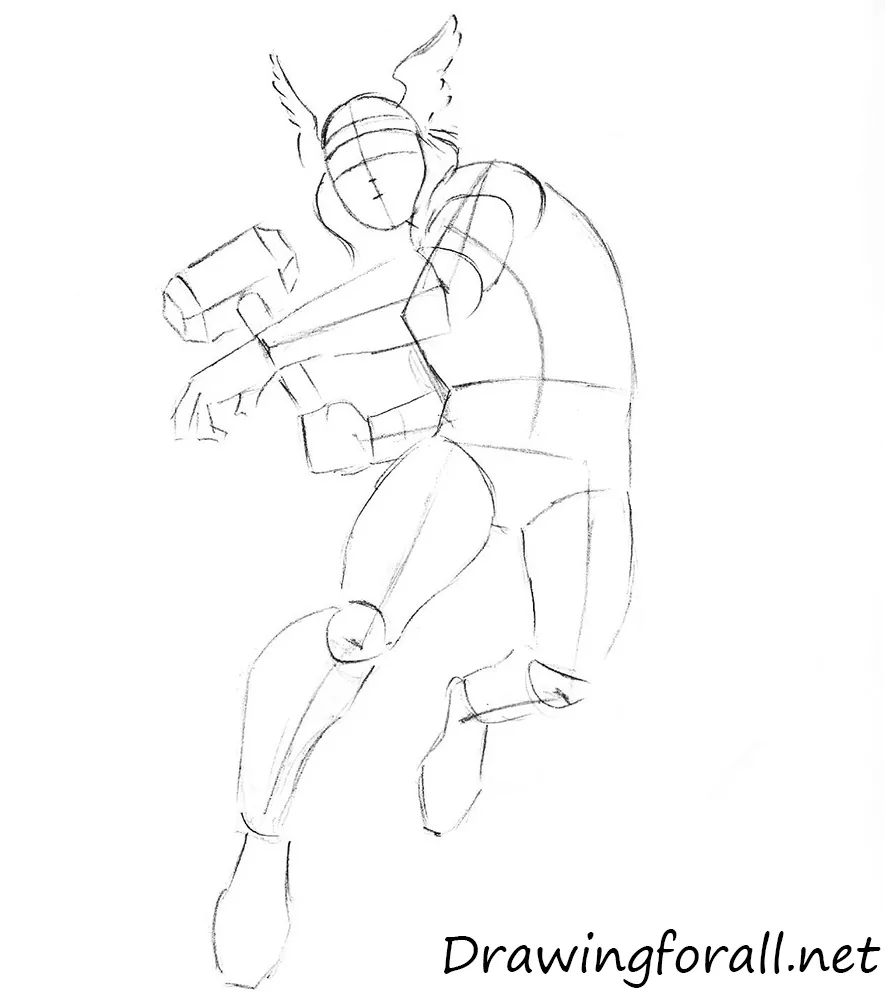
Step 3
Continue drawing Thor. Draw the lines of the helmet, and add some feathers to the wings using short curved strokes. The upper part of the body is ready, and we start adding volume to the lower part of the legs. Sketch out the triangular pelvis, as in our example. Using modified cylinders sketch out the legs. Sketch out knees in the shape of circles. Sketch out the outlines of the hammer. To learn more, visit the drawing lesson about how to draw Mjolnir.
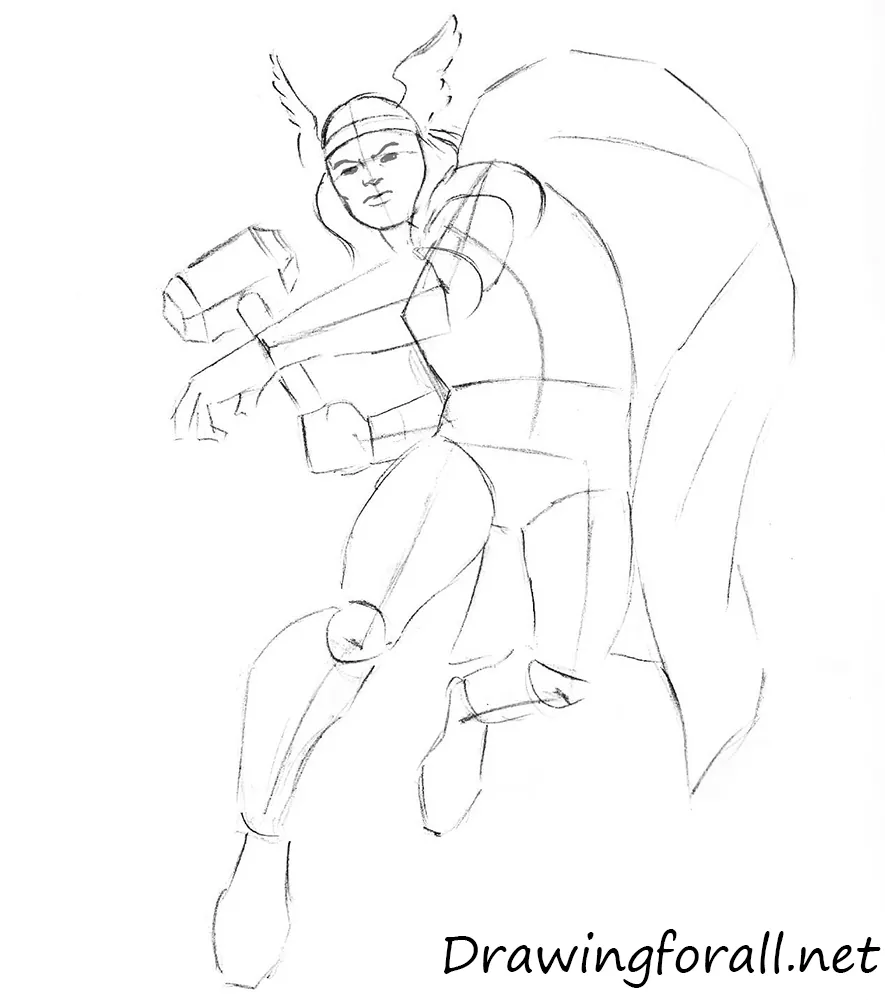
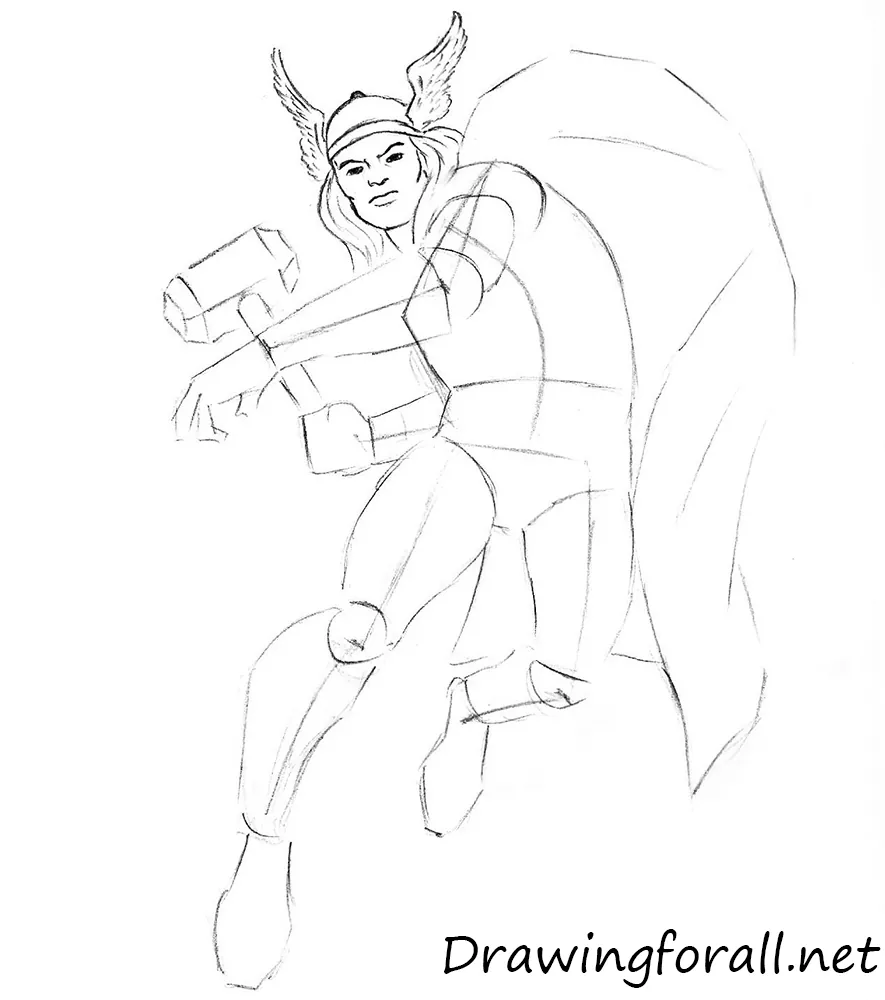
Step 4
Draw the outlines of the cape with light and loose lines. Pay attention to the curves and folds of the cape. The general shapes are ready, and we start adding details. As in other drawing lessons, we start from the face. By using the horizontal line of the face, that we drew in the second step, draw the eyes. Using two thick curved lines draw the brows. Draw the nose and mouth, using the short lines from the second step.
Step 5
In this step we finish drawing the face of the mighty Thor. Erase the guidelines from the face. Circle the lines of the face, to make them clean and smooth, as in our example. Add the feathers to the wings on the helmet. Draw the powerful cheekbones and chin. Using long curved lines draw the hair.
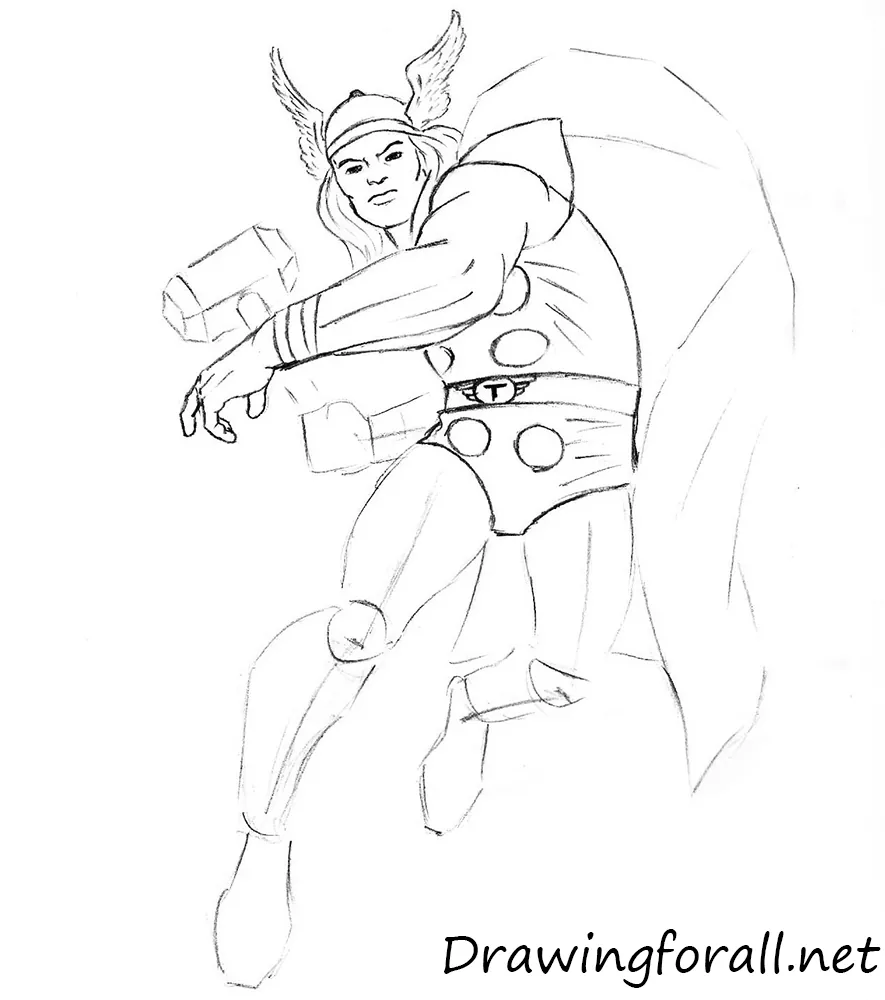
Step 6
It’s time to draw the trunk and the closest arm to us. Let’s start with the arms – erase the extra auxiliary lines and draw smooth horizontal lines of the muscles on the mighty arm of Thor. Then draw a couple of lines on the wrist to indicate the bracer and draw the fingers. Draw the elements of the costume as in our example. Add the circles and folds on the torso. Draw the belt with sign and move to the next step.
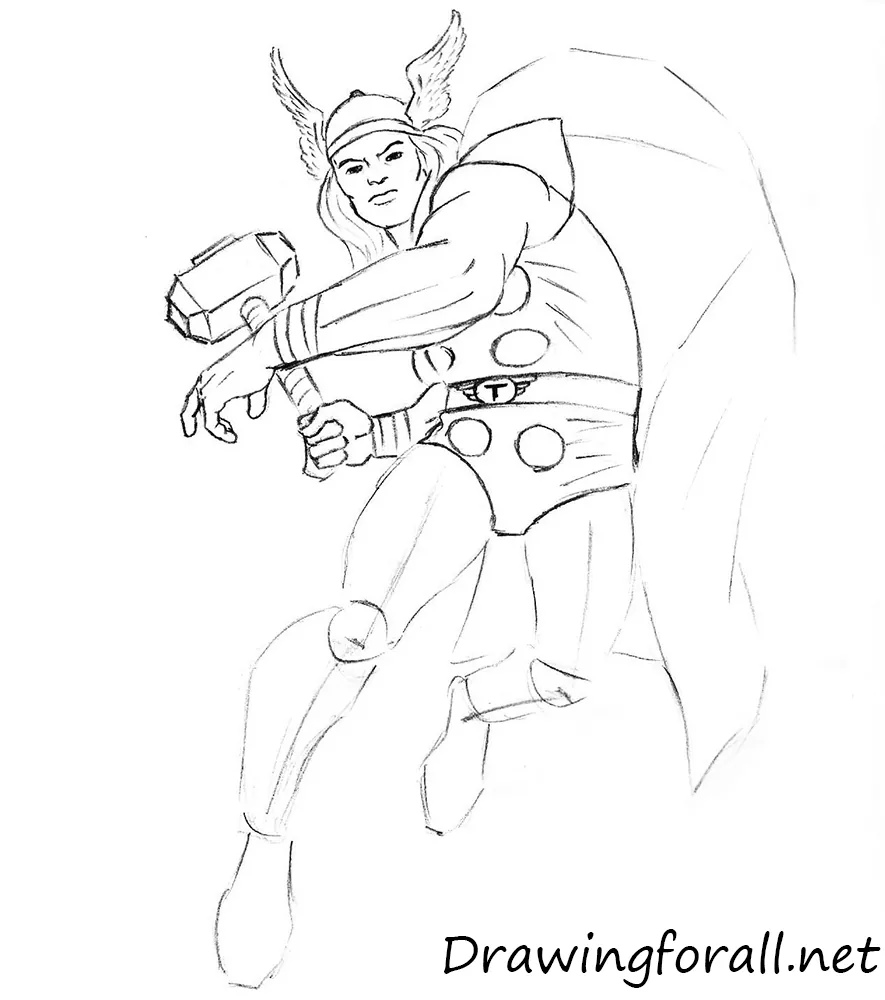
Step 7
And we continue drawing the mighty Thor. This step will be very simple. Erase the guidelines and circle the lines of the hand, draw a couple of lines, that denote bracer. Using straight lines draw the Mjolnir. Draw the fingers and the lines on the handle of the hammer, and move to the next step.
Step 8
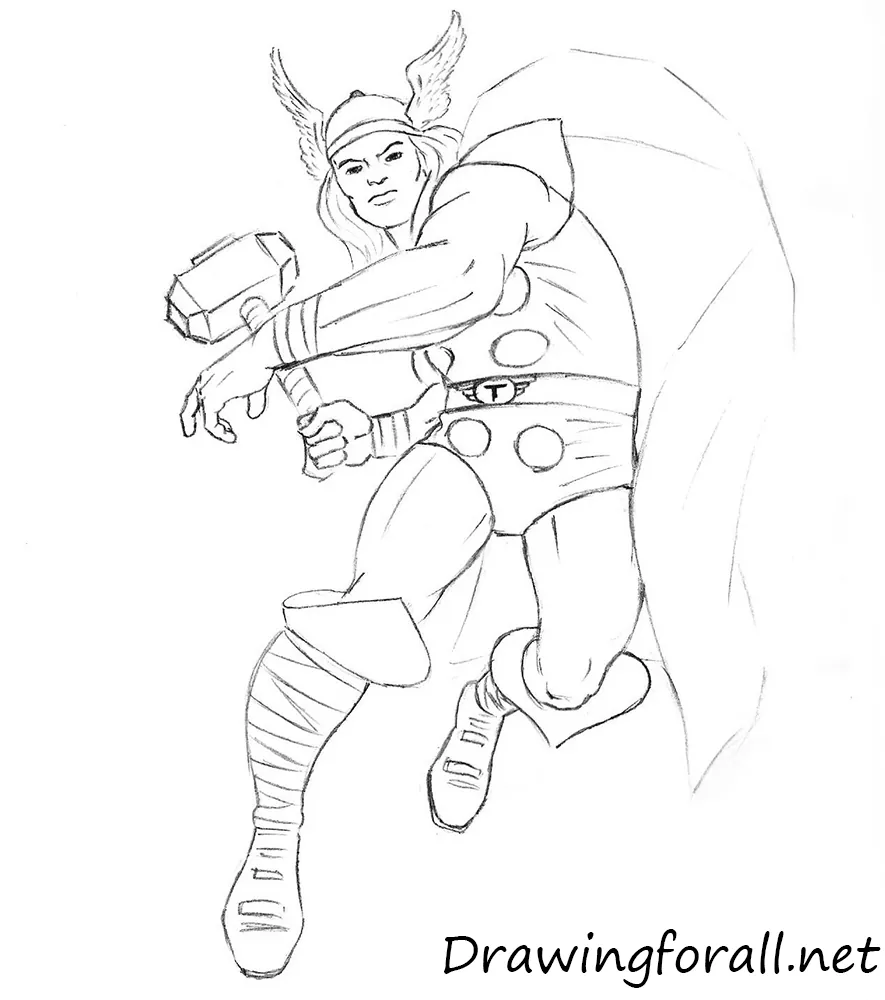
The upper part of the body of Thor is ready, and in this step we add details to the lower part of the body. Erase the guidelines from the legs. Circle the lines of the legs.
Add some lines of the muscles, as in the example below. Draw the strips of the fabric on the shins and details of the shoes in the areas of the knees.
Step 9
So, we move to the last steps of the lesson about how to draw classic Thor. In this step we draw the cape. Erase the guidelines and extra strokes from the cape. Using smooth and clean lines draw the shapes of the cape.
Step 10
And we on the last step of the lesson on how to draw classic Thor. Using two long curved lines draw the trace of a hammer. Start adding the shadows. The shadows we have to add in two steps – at first, we draw the outlines of the shadows, and then paint them. To draw the light shadows, use hatching, as in our example.
We hope, today’s drawing lesson helped you to learn how to draw Thor from Avengers.
very nice