How to Draw Ashitaka
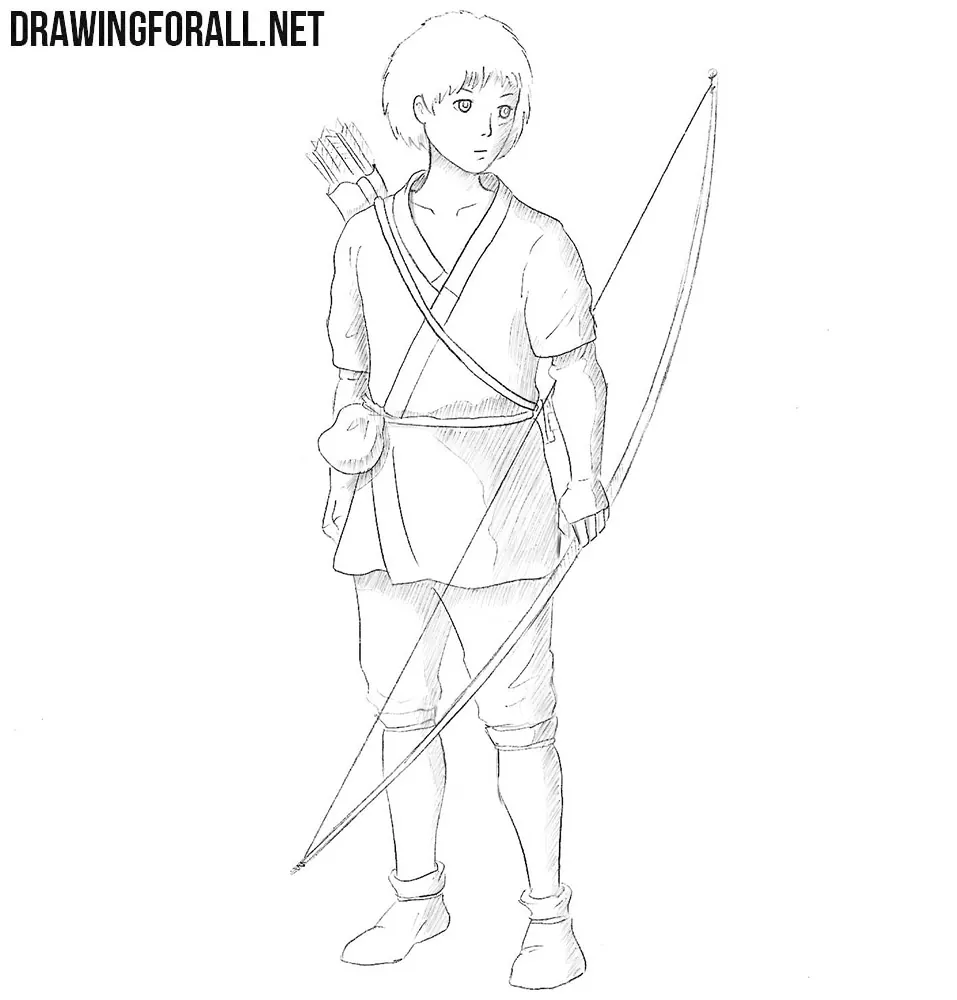
Already enough vegetables and fruits, is not it? We back to the anime theme, because we know that you love it. And in this drawing lesson we will show you how to draw Ashitaka from Princess Mononoke.
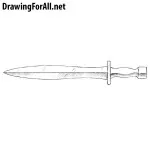
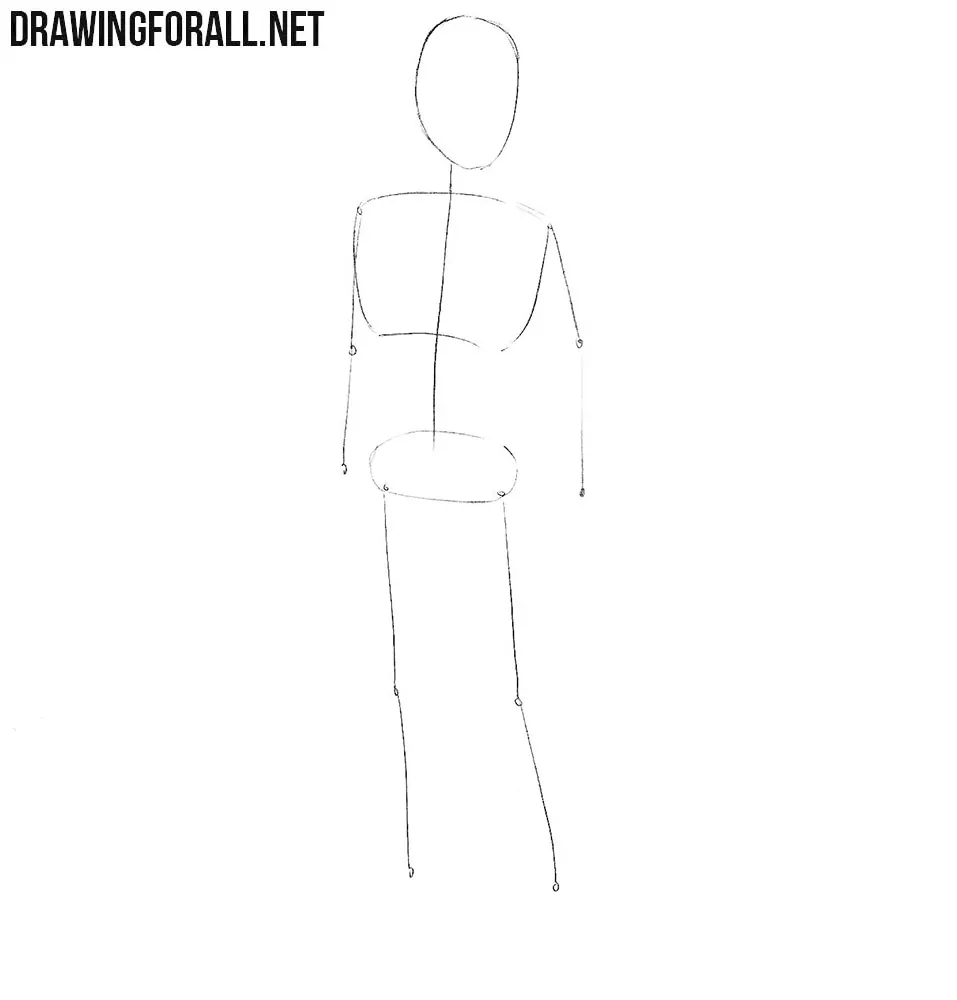
Step 1
At first we draw a stikmen (essentially a character skeleton). In this drawing class we have the stickman of a teenager boy. There are no signs of anime style In this step, despite the fact that we are sketching in this style. And so we will use the rules for drawing stikmen from the article where we showed how to draw young man. Read this post – it will be much easier to draw.
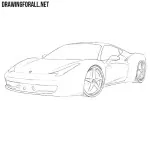
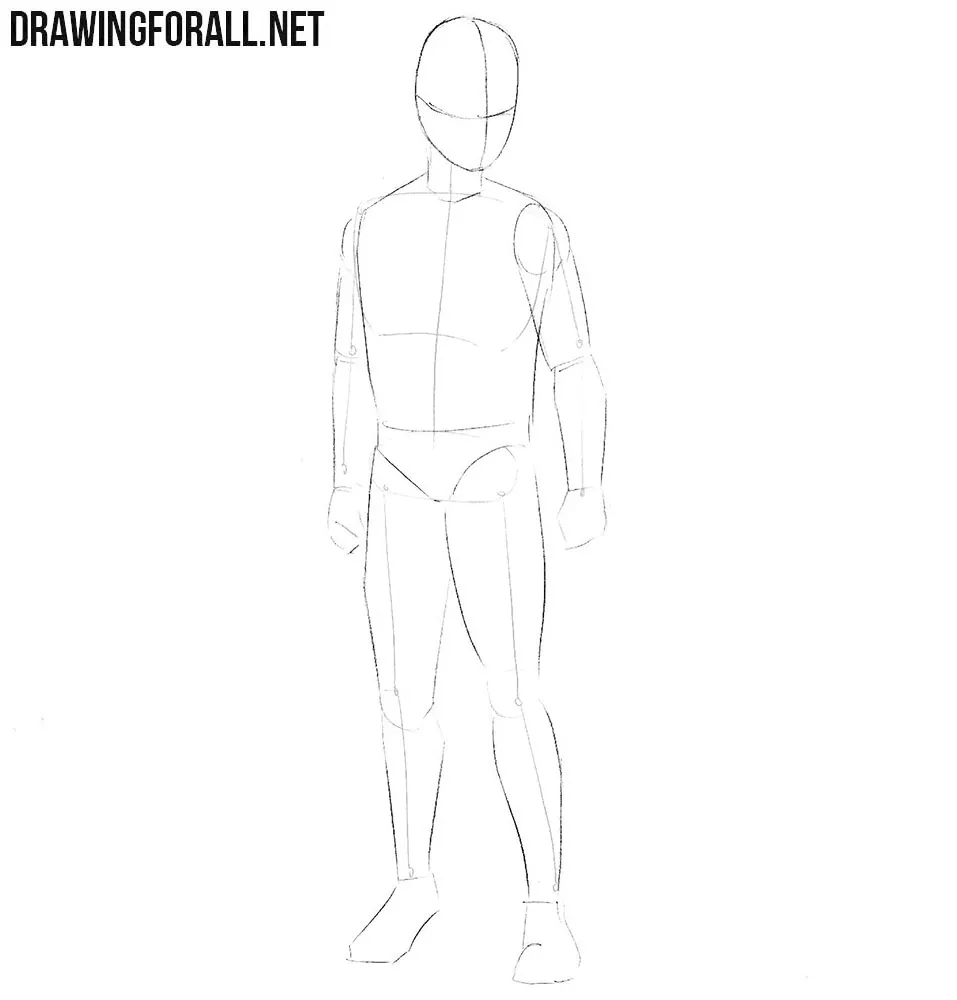
Step 2
We sketch out the intersecting lines on the face of our Ashitaka. Next draw the neck in the form of a cylinder. Pass to the torso, which little narrows to the pelvis region. Next sketch out the limbs. The shoulders and knees are drawn in a shape of circles and arms and legs in a shape of cylindrical figures.
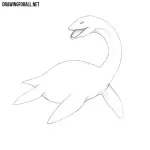
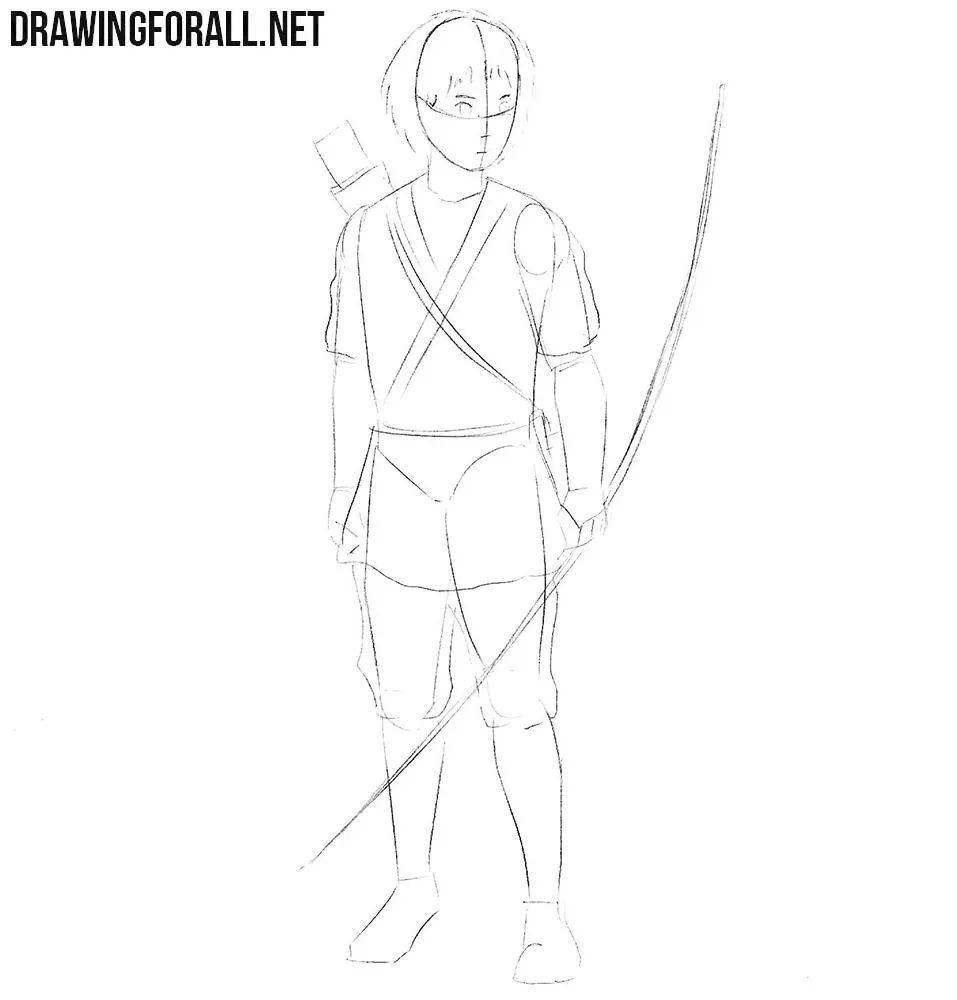
Step 3
This will be the last step of working with basic contours. Using circles and short lines, we draw the main features of the face. One rounded figure denotes the outlines of hair. In this step, we will also draw the approximate contours of our character’s clothing and weapons.
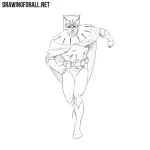
Step 4
From this step we start to work with the final details. And we start doing it with the head, gently drawing the outlines of the eyes, nose and mouth. Next, draw the outline of a narrowing down face, ears and hair. You should get a classic anime face. Delete all the unnecessary guidelines from the Ashitaka sketch.

Step 5
On the seventh step we will work with the details of the upper body. With clear and dark lines, let’s draw the outlines of the torso and arms. Remove unnecessary guidelines from the body of our character and add the necessary folds and details.
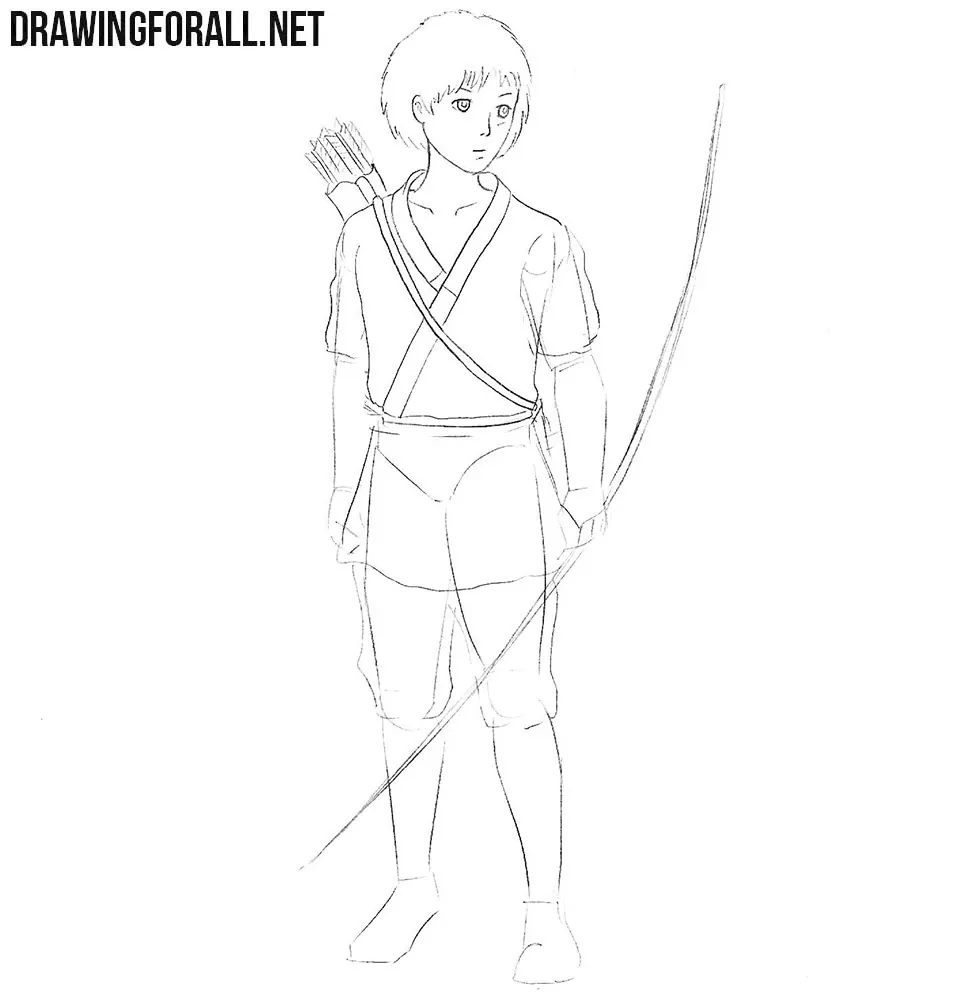
Step 6
Now we on one of the most difficult steps. We are talking about drawing arms. You can draw out the outlines of the shoulders and sleeves without any difficulties. But to draw the palms you will definitely need this drawing lesson where we teach to draw hands.
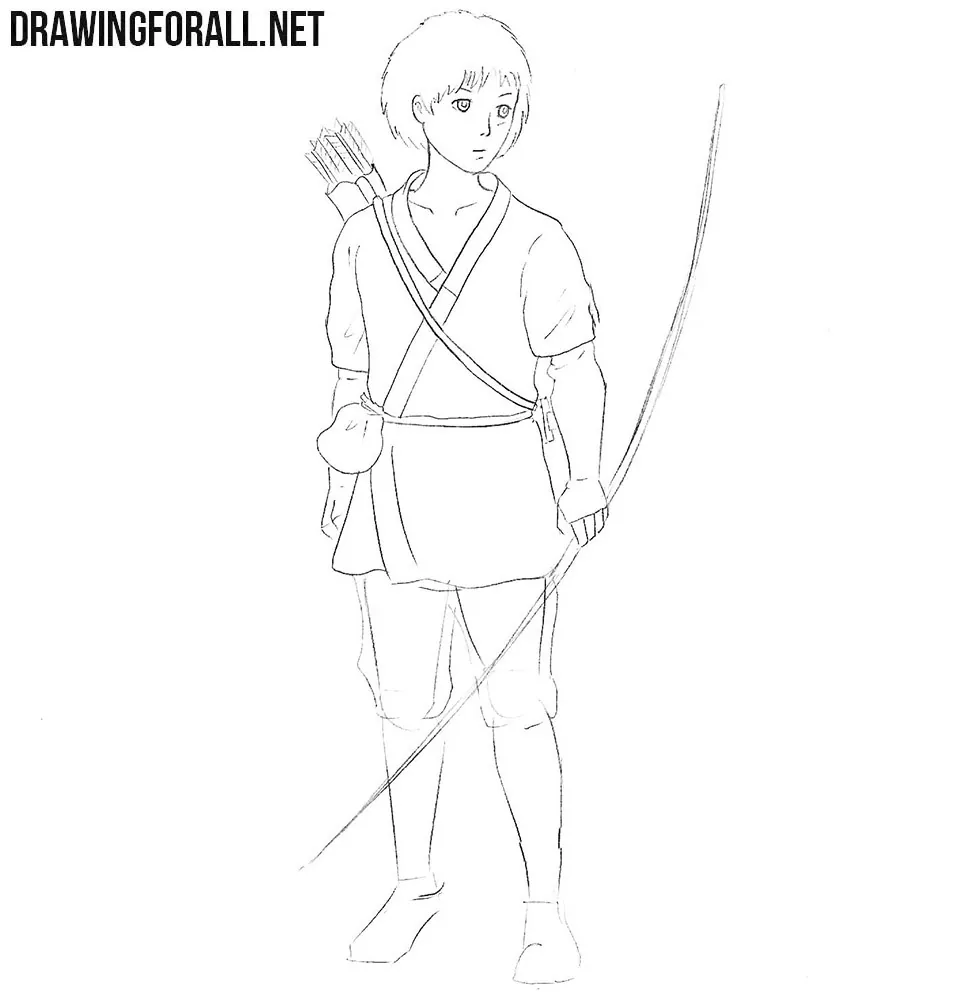
Step 7
In the step number seven, we add details to the legs of our character. Add some folds to the pants. After this you can add some folds on the Ashitaka’s boots. Don’t forget to erase all extra guidelines from the previous steps.
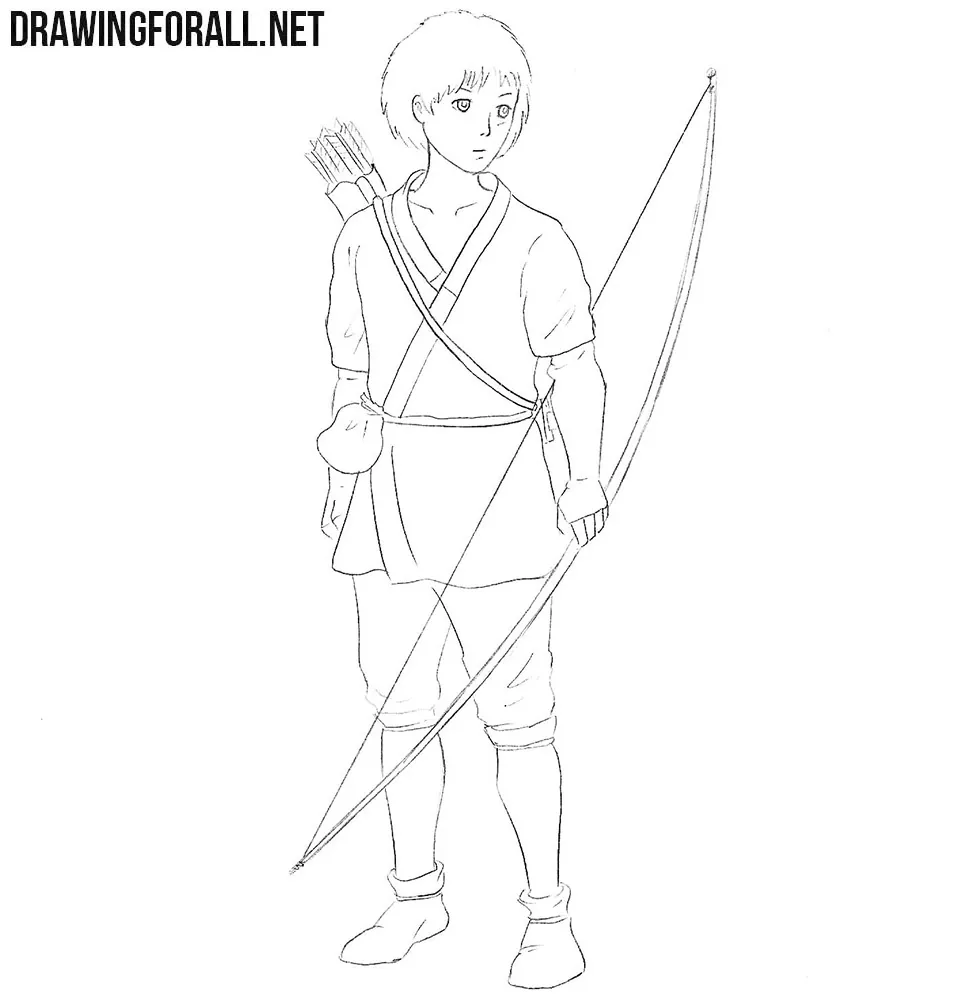
Step 8
Now it’s time to draw the shadows. We will do this to make the drawing of Ashitaka look more voluminous. Let’s first determine the source of light in order to add shadows in the area with the least light. Shadows will traditionally be drawn with dense hatching.

We hope you have a great result. If you also like the theme of anime and manga, do not forget to write about it in the comments and visit our category called “Anime”. In this category, we place not only such complex lessons as this one, but also simple and cute lessons in which we learn to draw chibi characters. By the way, soon a chibi version of Ashitaka will also appear on drawingforall.net.