How to Draw a Wrestler
In this drawing tutorial we wil show you how to draw a wrestler step by step.We tried to draw this character in a realistic but not very hard style. We hope that you will not have many problems with drawing this lesson.
Step 1
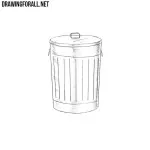
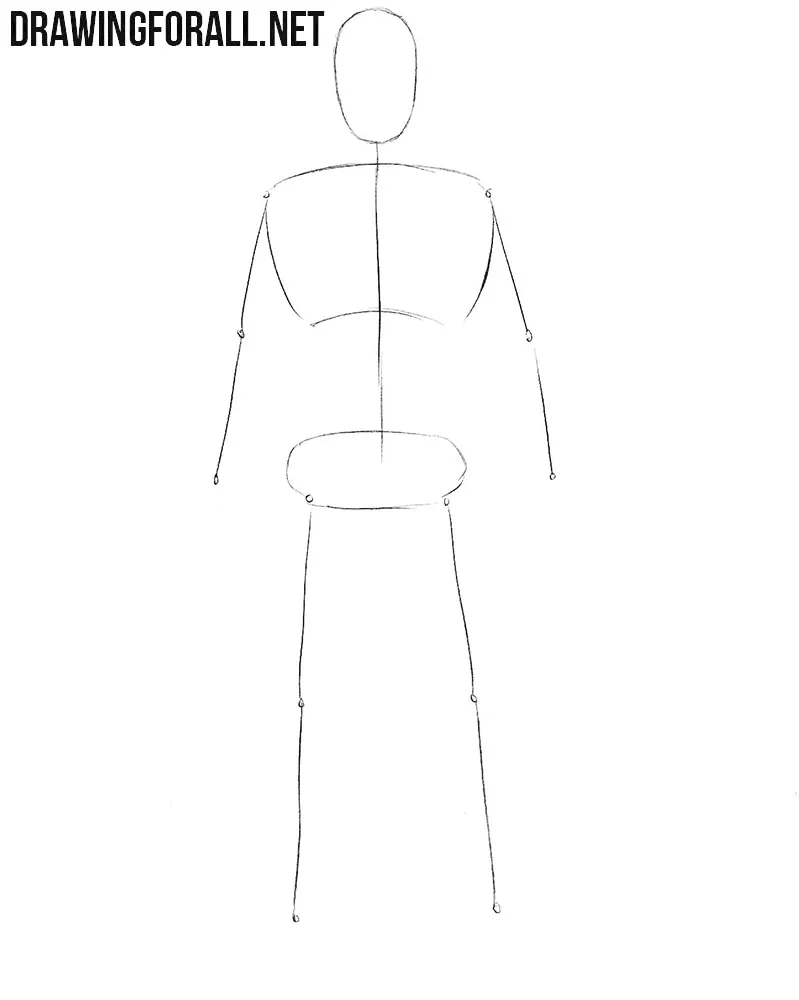
In order for our character to be symmetrical and smooth, first action we will do is skeleton’s drawing. The stickman will be the the base of the wrestler’s figure. So we start with the head, drawing it in the shape of an oval. Next, draw the line of the spine. On the line of the spine draw the chest and pelvis. The chest should be much wider than the pelvis because we draw a person with an athletic figure. Next sketch out the arms and legs and the move to the next step.
Step 2
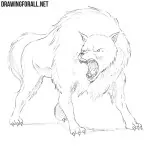
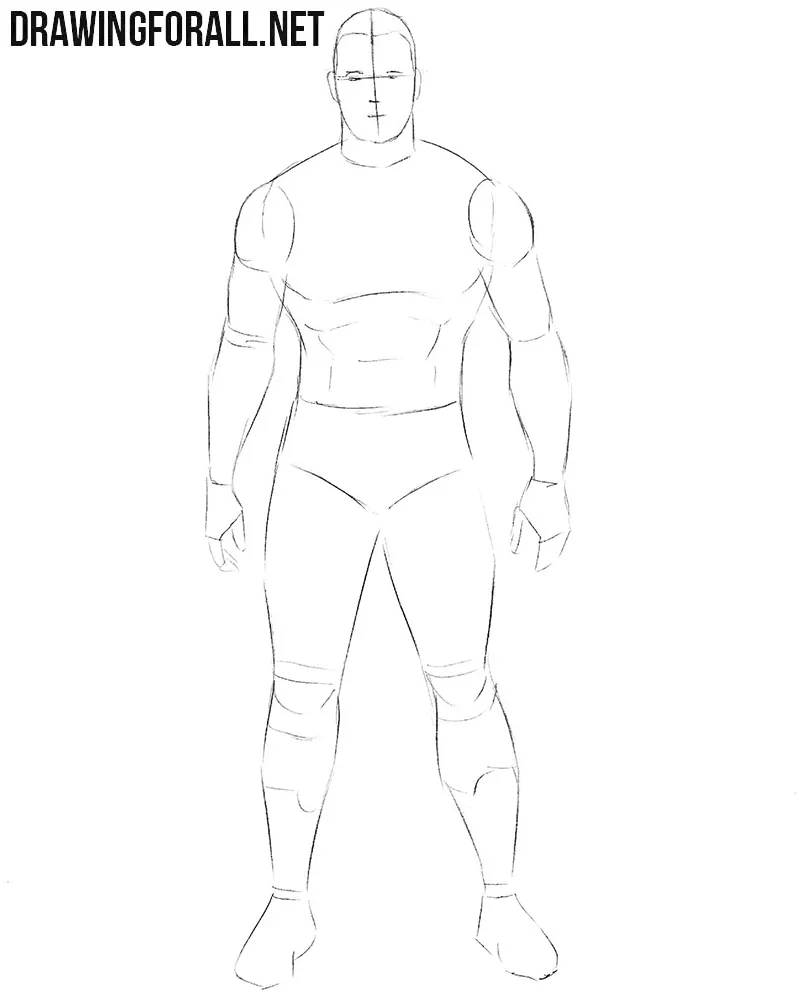
Now let’s draw two crossing lines on the face that will help us draw facial features. The vertical line is the center of the face and horizontal line is the location of the eyes. Next sketch out the neck in the form of a cylinder. Using curved lines connect the thorax and pelvis, forming a torso, which strongly narrows in the waist region (don’t forget that we draw a very athletic person).
After that draw the contours the arms with the help of simple shapes. Note that the forearms should strongly narrow in the wrist area. Sketch out a triangular pelvis and legs using simple geometric figures. Note that the legs should little narrow in the area of the knees and ankles.

Step 3
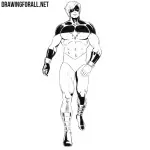
A very simple step in which we add the most basic details to our character. We start from the top and will move down. Using the intersecting lines from the previous step, sketch out the eyes, nose and mouth. Next, draw the outlines of the hair, the ear and face. After that draw contours of pants and shoes.
Step 4
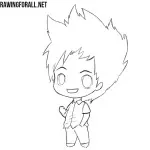
Now is the time to take care of the final details. Using clear and dark lines, carefully draw out the outline of the head. Then draw the eyes, nose and mouth. Remove all unnecessary guidelines from the head.

Step 5
Now we will draw the details of the body. Continuing the neck lines to the shoulders and you draw a trapezoid muscles. A little below draw lines of clavicles and large pectoral muscles. Drawing wide back muscles and abdominals.
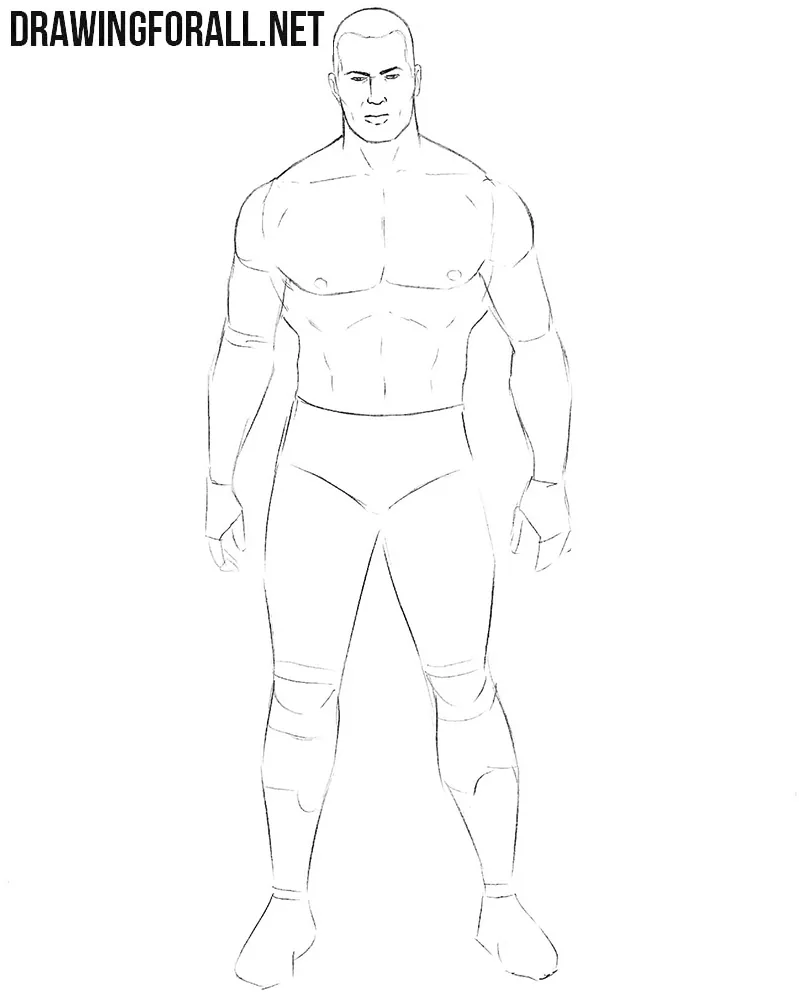
Step 6
In this step we will draw the arms. Draw them with clear lines as you can see in our picture. When drawing arms, consider all the muscles and wrinkles. Also be careful when you draw the clenched fists. Don’t forget that we have a specially post about how to draw hands and fists (it is really hard thing in drawing)
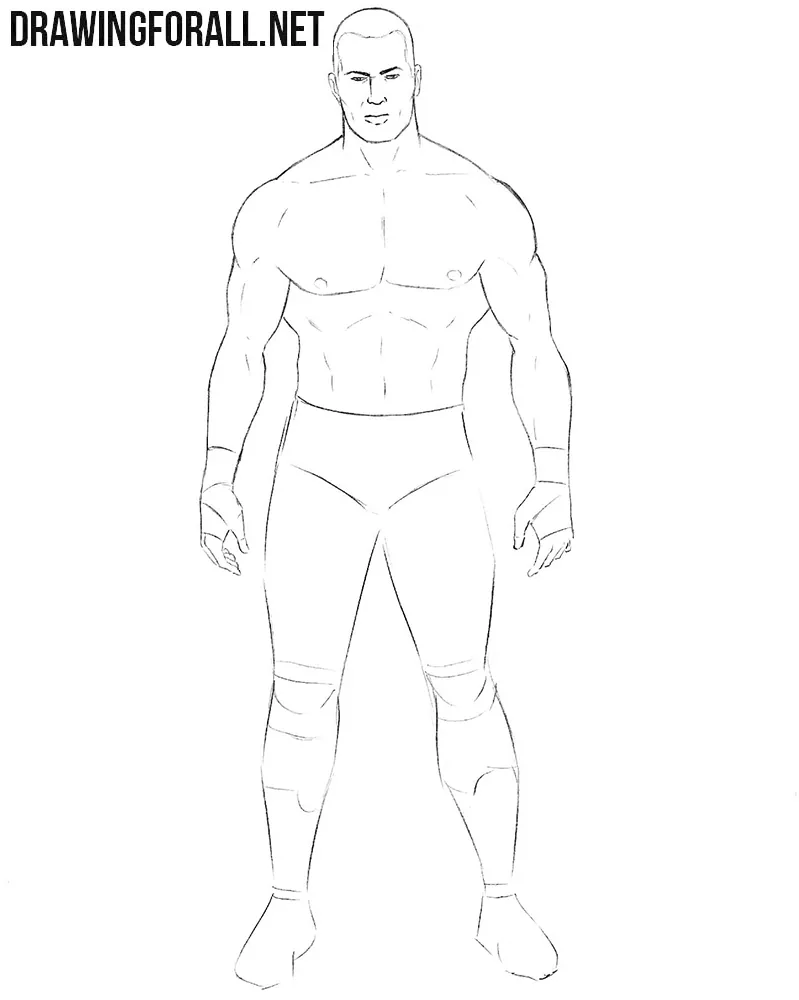
Step 7
In this step we will draw the legs. Draw the leg muscles (we mean just pair of lines) and erase all the extra lines from the first steps. Don’t forget to add some lines to the shoes.
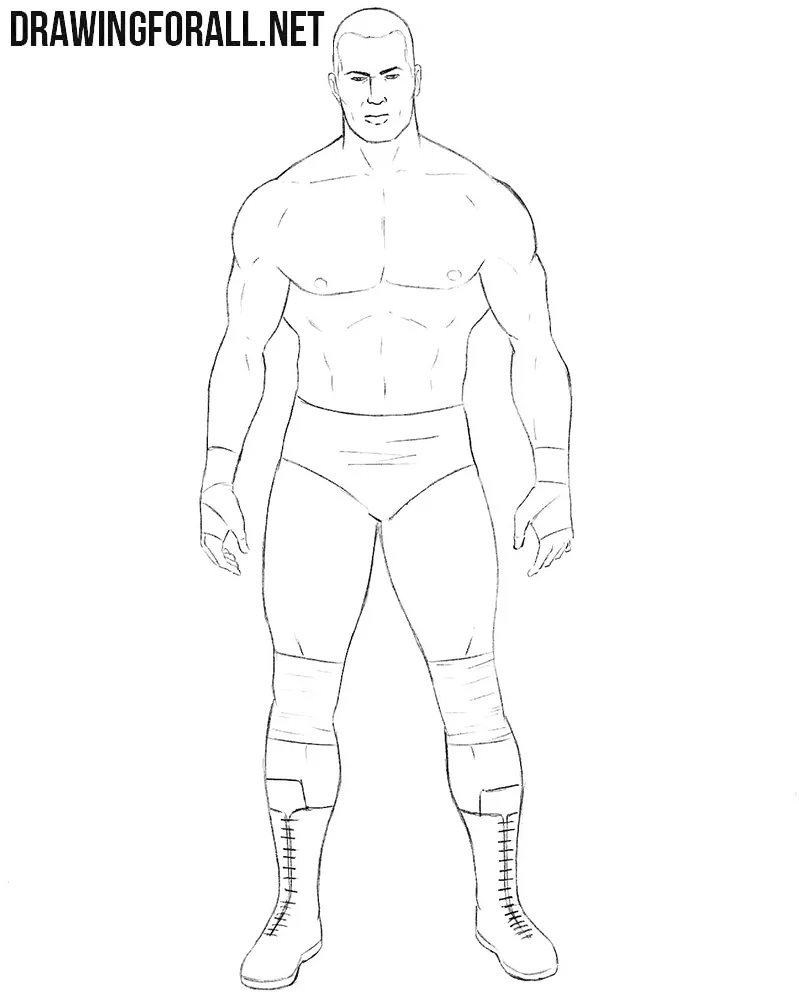
Step 8
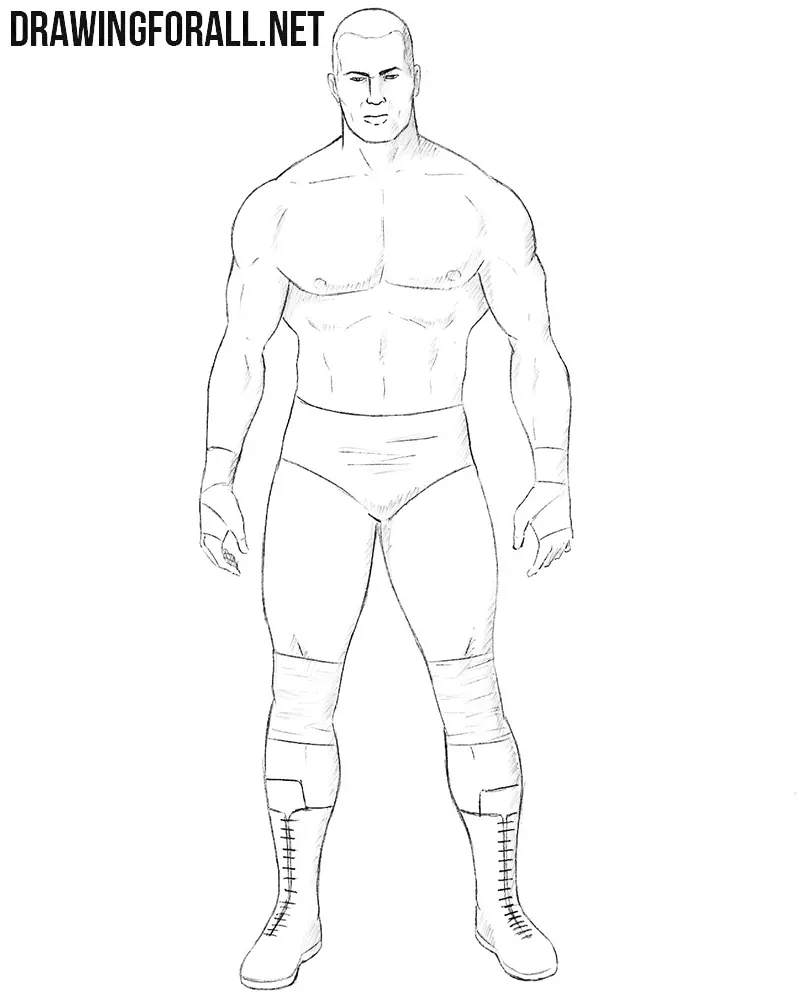
So,this wrestler is almost complete, and we only need to add some shadows. As in drawing tutorials, the first action is determine the source of light. Further, taking this into account, draw hatching of different intensity in areas with the least illumination. You can add some shadows on the ground to make your picture more realistic.

So, it was drawing tutorial about . Do not forget to visit and share our drawing lessons with your friends. Also, you can subscribe to us on social networks, in order to be aware of all the new drawing lessons from our site.