How to Draw a Samurai in Armor

We really like Japan, and everything related to this country, and often draw a variety of things related to it. In previous lessons we drew a ninja and a classic samurai. Today we want to show you how to draw a samurai in armor. The lesson will not be very difficult, but at the end of it we will get a pretty relistic samurai drawing.
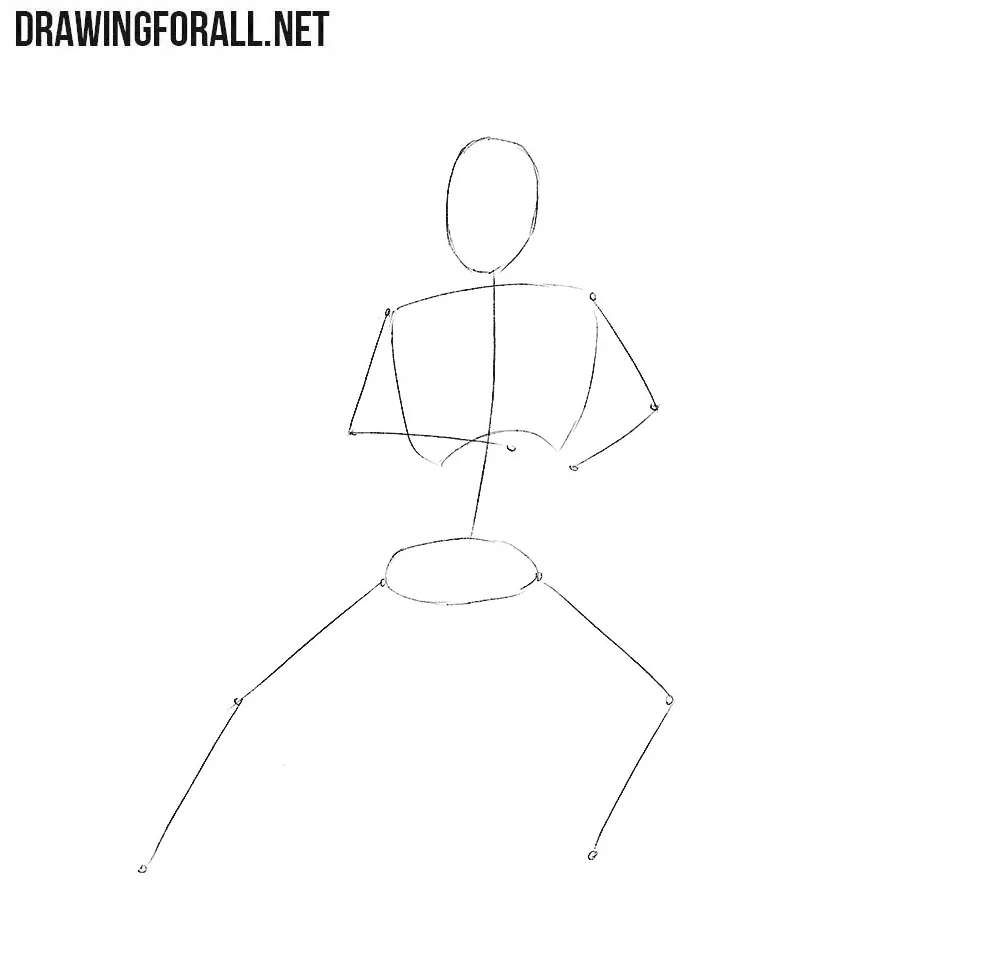
Step 1
The beginning of the lesson will be very simple, we will need to draw a samurai skeleton. We start it with an oval for the head and a simple line for the spine, on which we draw the chest and the pelvis. Next, we outline the arms and legs with simple lines. At this step, we need to press on the pencil very weakly, since in the future all these lines will be erased.
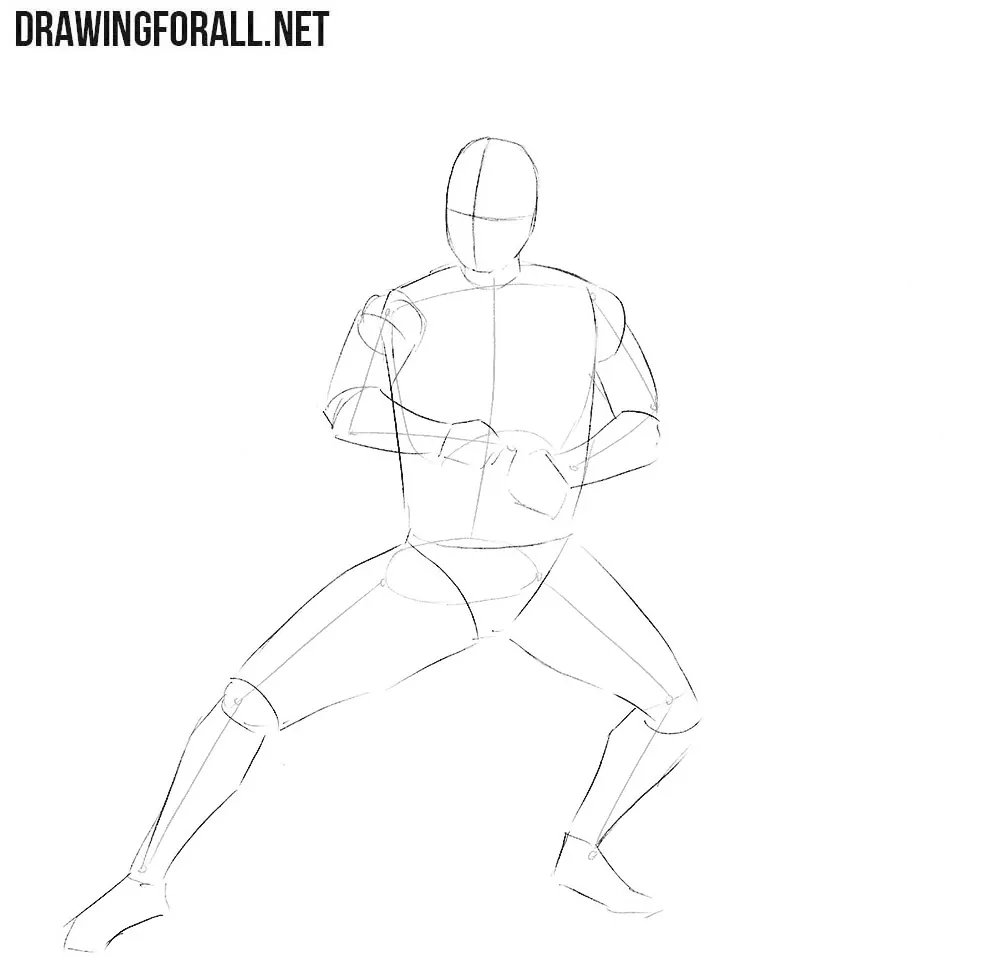
Step 2
Now we sketch out two lines of symmetry of the face, intersecting in the center of the face, in the area of the nose bridge. Next, we outline the neck and torso. After that, we sketch out the legs and arms, which will be depicted using very simple geometric shapes.
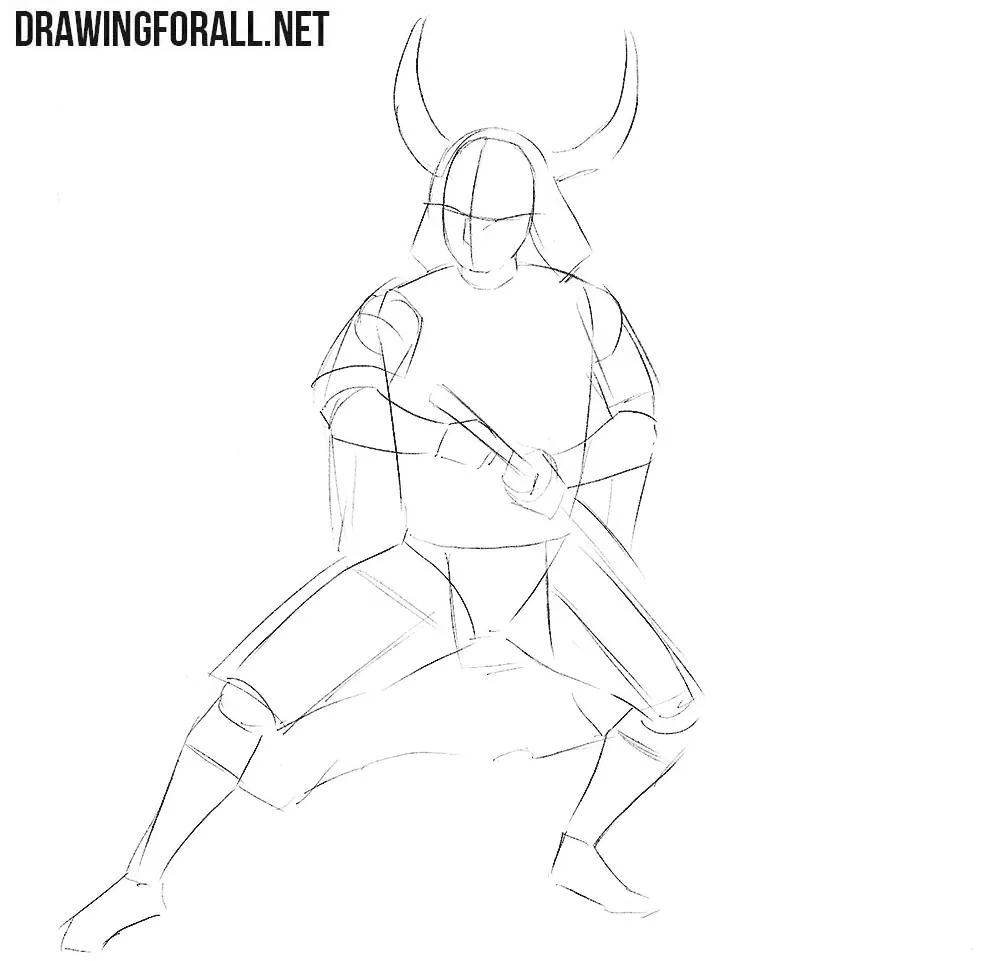
Step 3
Our samurai is dressed in armor from head to toe, and it is this armor that we will draw now. Starting from the head, we will outline a helmet with huge horns. Then go to the body, outlining armor with simple and light lines. In the hands we sketch out the sword and the cape behind the back.
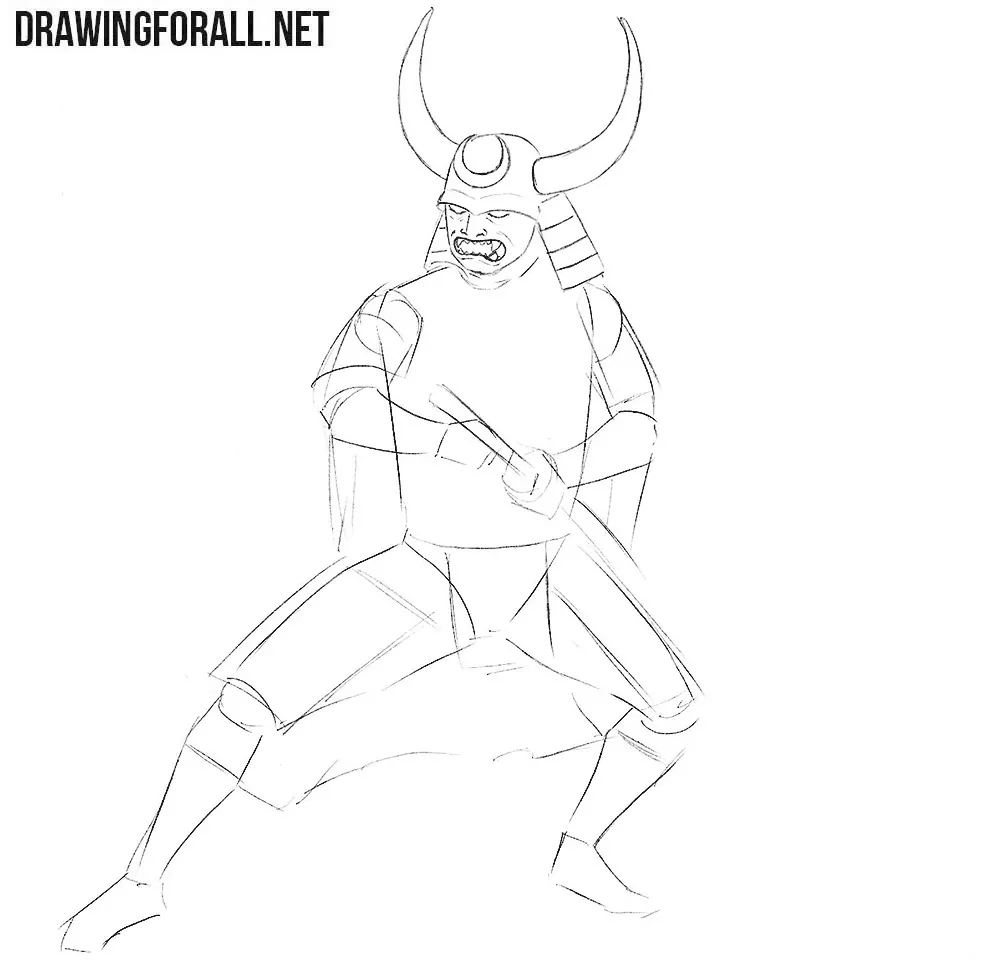
Step 4
Now let’s get down to drawing details. By tradition, we will do this from the head and finish with the legs. Thus gently draw out the outlines of the characteristic samurai helmet, long horns and a terrifying mask on his face. You can draw a slightly different mask, since all the samurai wore quite different masks.
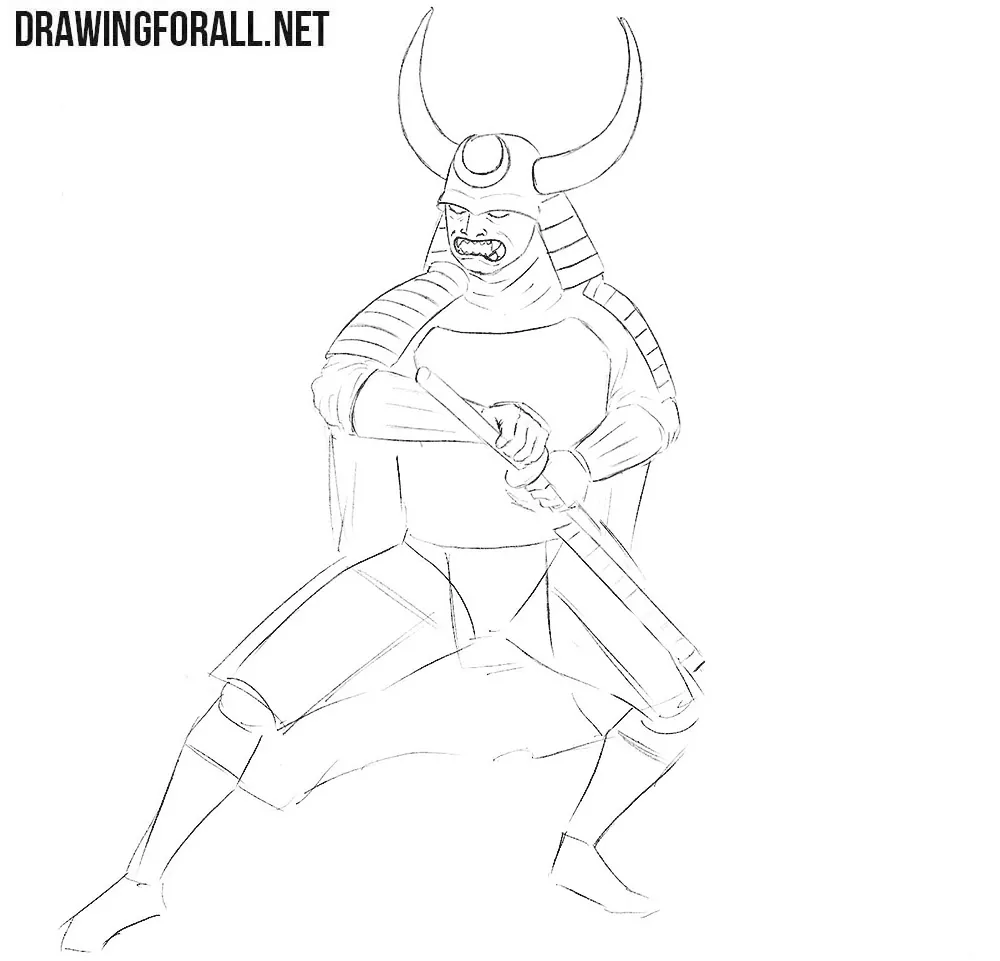
Step 5
Now we descend a little lower and carefully draw the shoulder elements of the armor. After that we draw the sleeves and arms in which the sword will be clamped. Draw all the necessary lines and folds, delete unnecessary guidelines and go to step number six of the lesson on how to draw a samurai in armor.
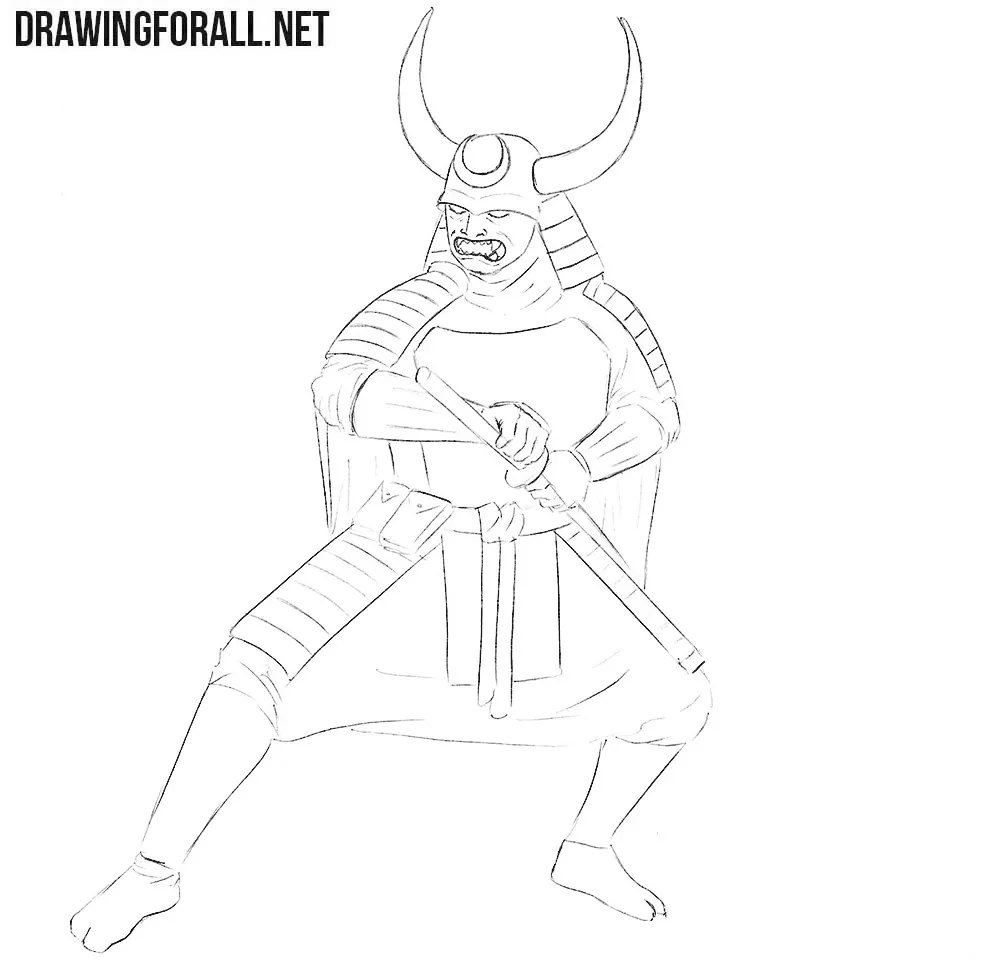
Step 6
So, here we need to draw a sword, and in order to learn how to do it perfectly, visit the lesson on how to draw a katana. Now we move even lower by carefully drawing the samurai belt, on which the pockets are located. Next, draw elements of armor on the legs and wide pants.

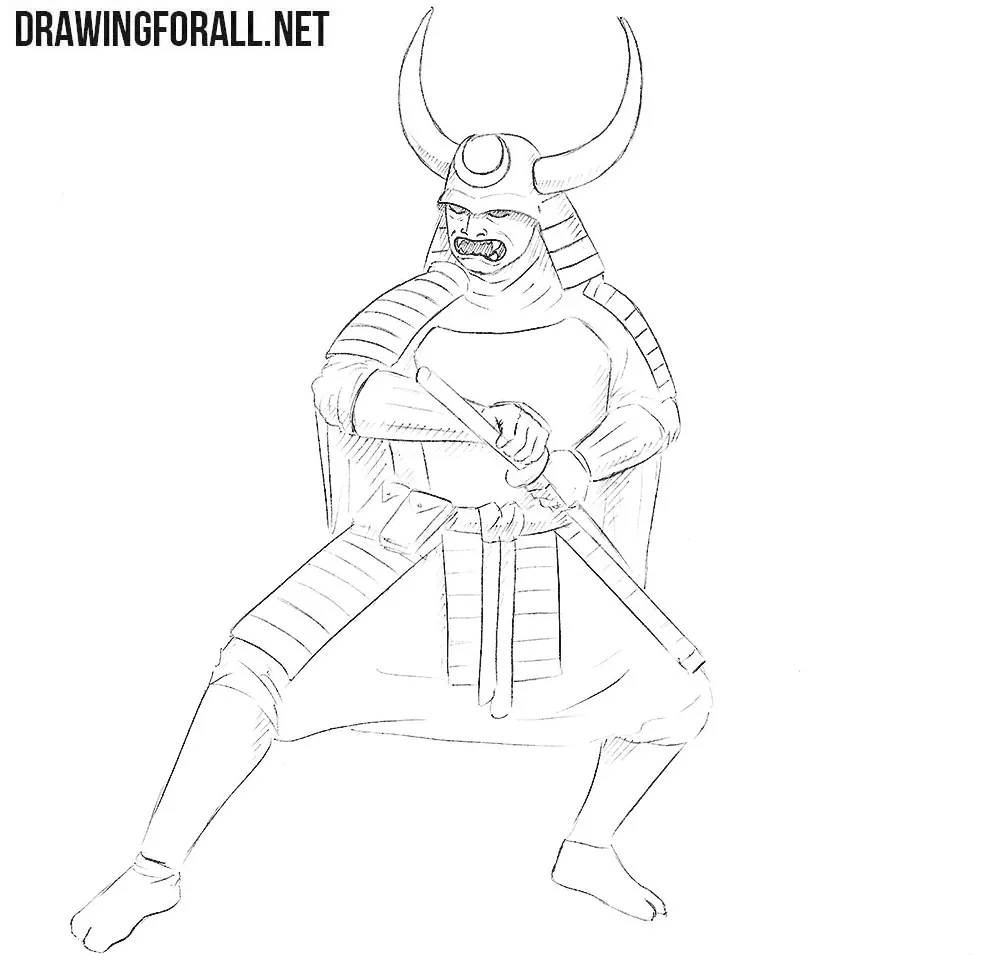
Step 7
Now will probably be the easiest step of the lesson about how to draw a samurai in armor. Here we will need to draw the lower part of the legs and feet. Also here we will need to draw all the necessary folds and remove all unnecessary guidelines from the drawing of samurai.
Step 8
The samurai in armor is almost drawn, and we just have to make it more voluminous and realistic. To do this, we will draw the shadows using the classic hatching method. As you can see, the hatching here lies in the least illuminated areas of the samurai’s body, that is, where light does not fall.
As you may know, we like to draw different warriors from different cultures and eras. In the “People” category on Drawingforall.net, you can find them all. But if you didn’t find your favorite warrior there, be sure to write us about it, and we will create for you the appropriate drawing lesson.