How to Draw a Rose

We start one of the most challenging and interesting topics in art. We mean everything related to drawing flowers.
You can see a lot of different styles and different approaches to this section of drawing. But today we will try to tell you how to draw a rose in a realistic style. We will try to make this lesson suitable for artists of all skill levels.
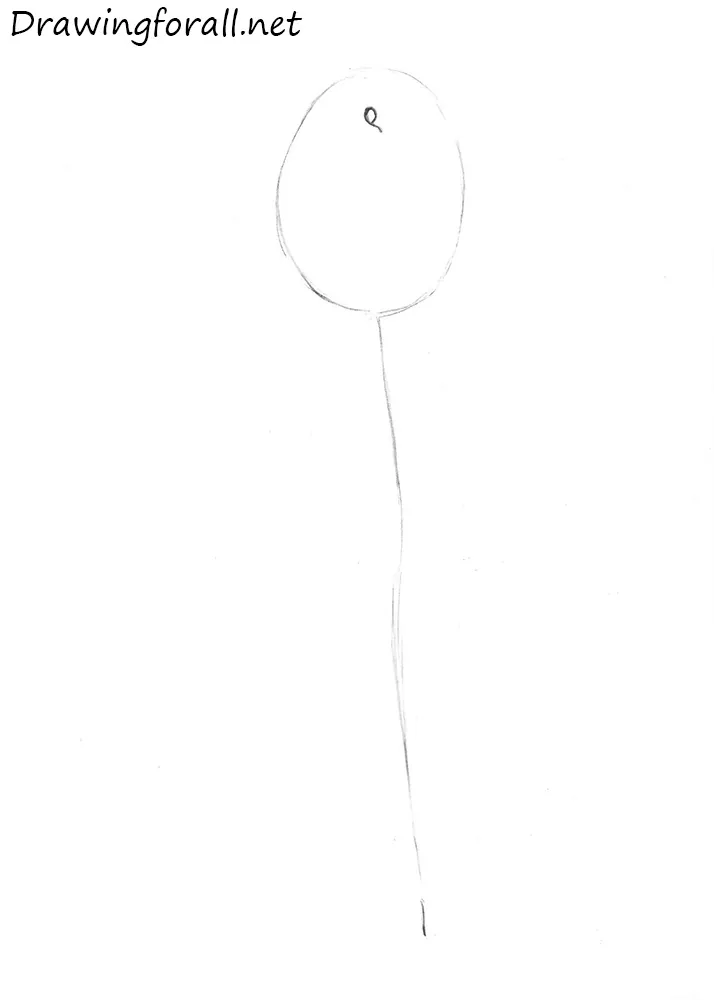
Step 1
At first draw an oval, tapering upwards. It is the contours of the future rosebud. Under the oval draw a line, as a guide for the stem.

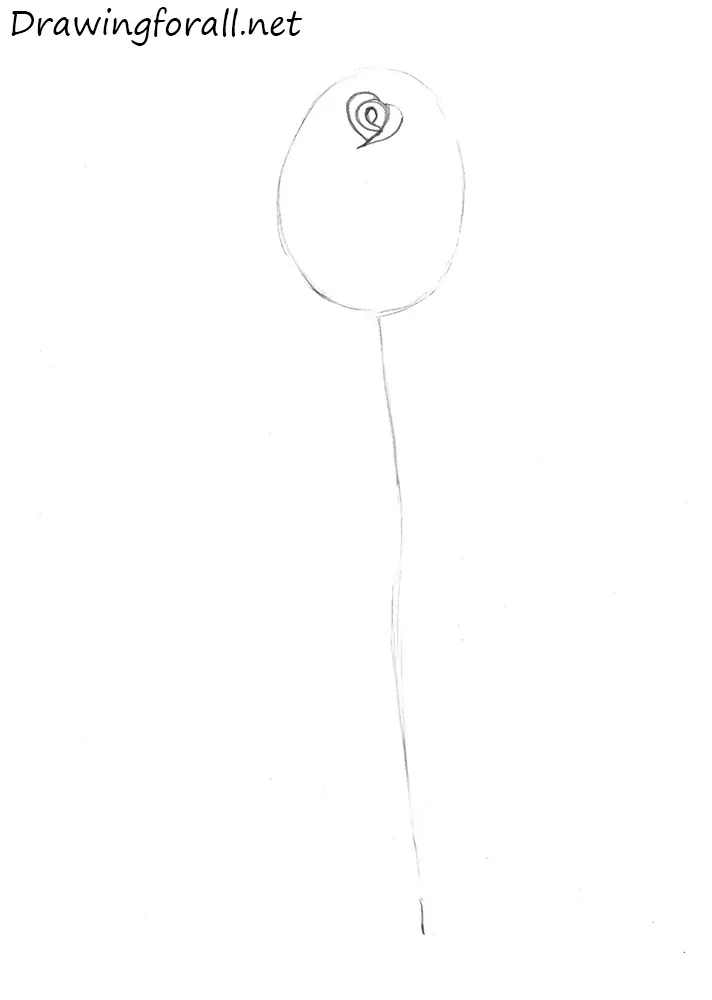
Step 2
Now at the top of the oval draw a shape similar to the comma, which would become the center of the rosebud. If you do not want to draw a fully blooming flower, you should draw this shape very small.
Step 3
Start to draw the petals from the center, as in our example. These petals around the center of the rose bud should also be very small and neat.
Step 4
Using curved lines continue drawing petals. Each subsequent petal should slightly cover the previous one. You can use as a guideline the largest part of the petal that looks like a triangle. This part is located below and little right.
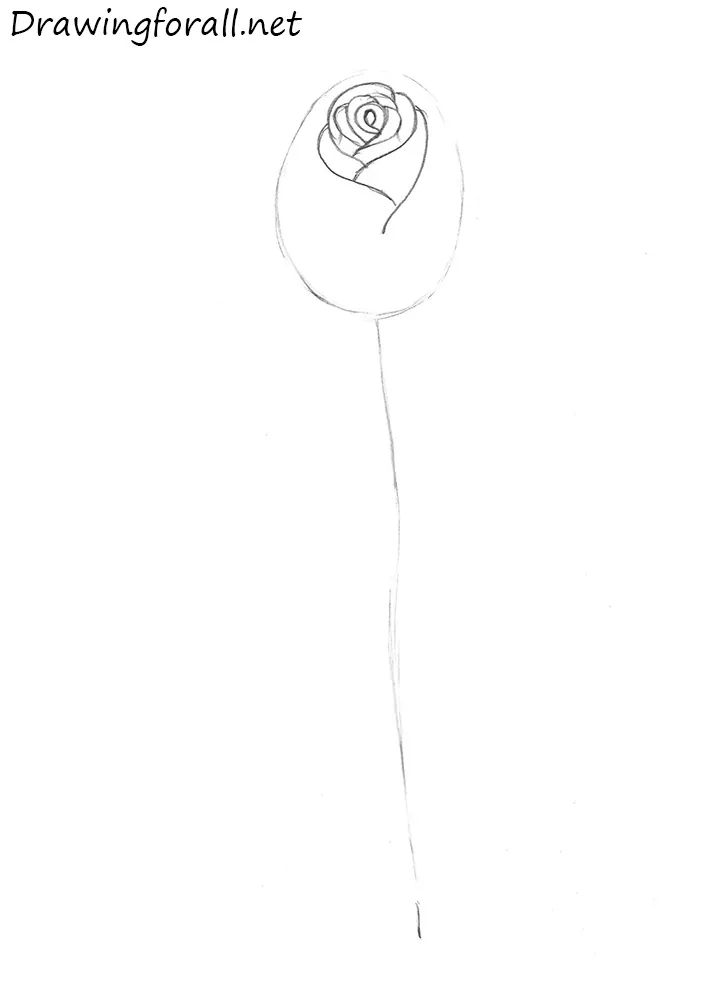
Step 5
Continue adding petals as in our example. Note, that the each next petal should be larger than previous. In this step we will draw the outermost petals. They should be the largest on the bud and frame the remaining petals.

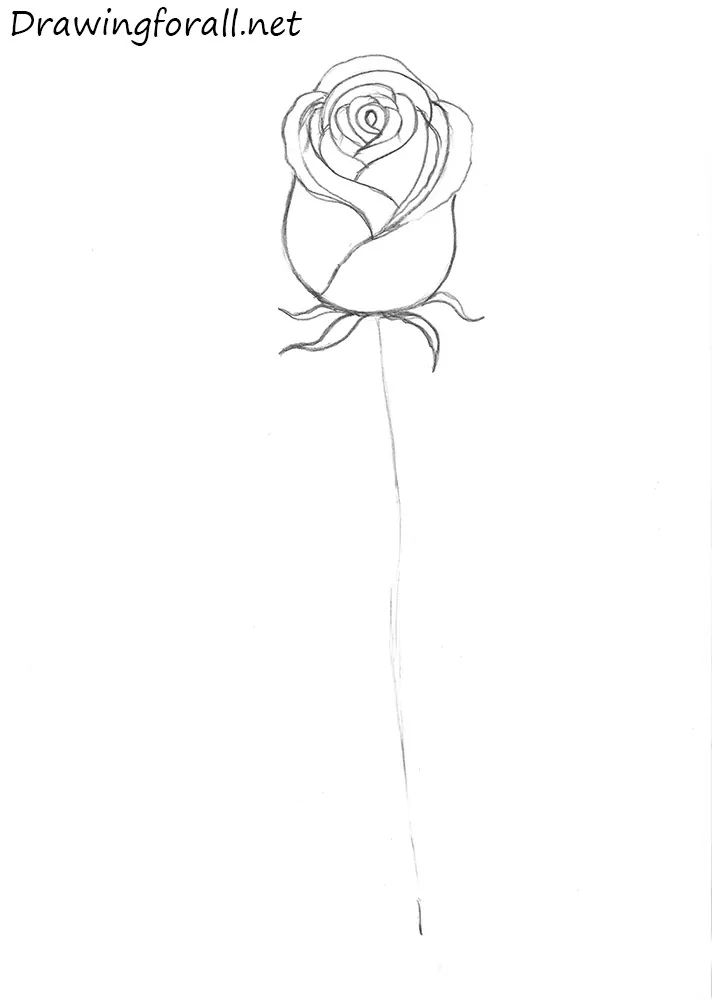
Step 6
Now make the rosebud sleeker, slightly changing the shape of its edges. It looks like the “waist” of a flower. We mean the place where the smooth narrowing is localized.

Step 7
Erase the guidelines. Circle the lines to make them smooth and clean. Under the rosebud draw the sepals (leaves).
Step 8
Thicken the stem as in our example. Note, that the stem does not have to be straight. The stalk may taper slightly and expand in different points. It is not critic
al.

Step 9
Using smooth and curved lines draw the leaves. As you can see, leaves should not be strictly symmetrical.

Step 10
Using z-shaped lines create the edges of leaves. If you are drawing a special flower, you can skip this step.
Step 11
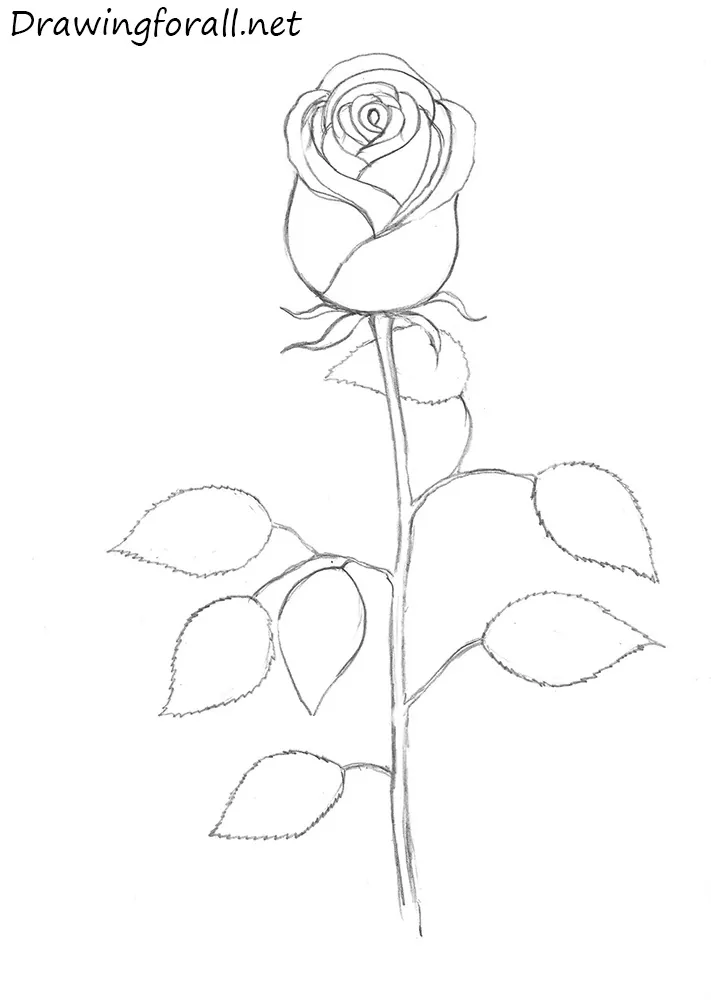
Add thorns to the stem. Note that the spikes should be pointing straight up. The outline of the stem should be clear and dark.
Step 12
Draw the veins on the leaves. Add some shadows to the rosebud. Add hatching to areas hidden from light. The most convex parts of the bud should be the lightest.

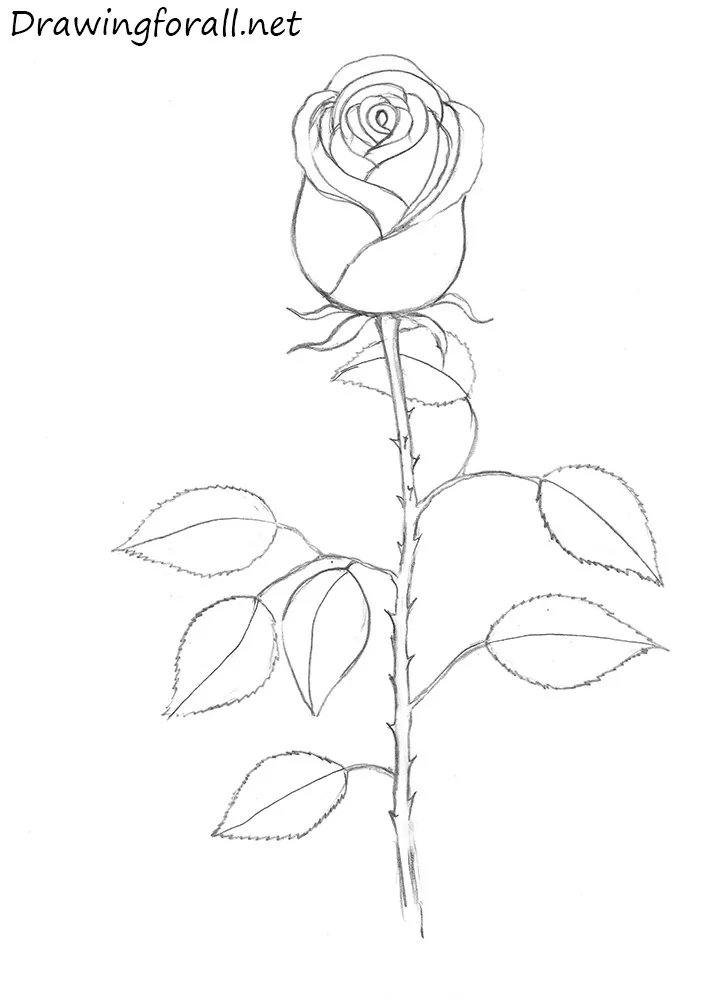
Step 13
At this step just add some shadows to the leaves and stem. Try to achieve maximum smoothness and lightness of the shadows.
It was the drawing lesson about how to draw a rose step by step. We hope the tutorial was interesting and helpful for you. In this step-by-step instruction, our team showed the most basic principles of drawing these beautiful flowers, and using the knowledge and tricks from this guide you will be able to draw a variety of roses.
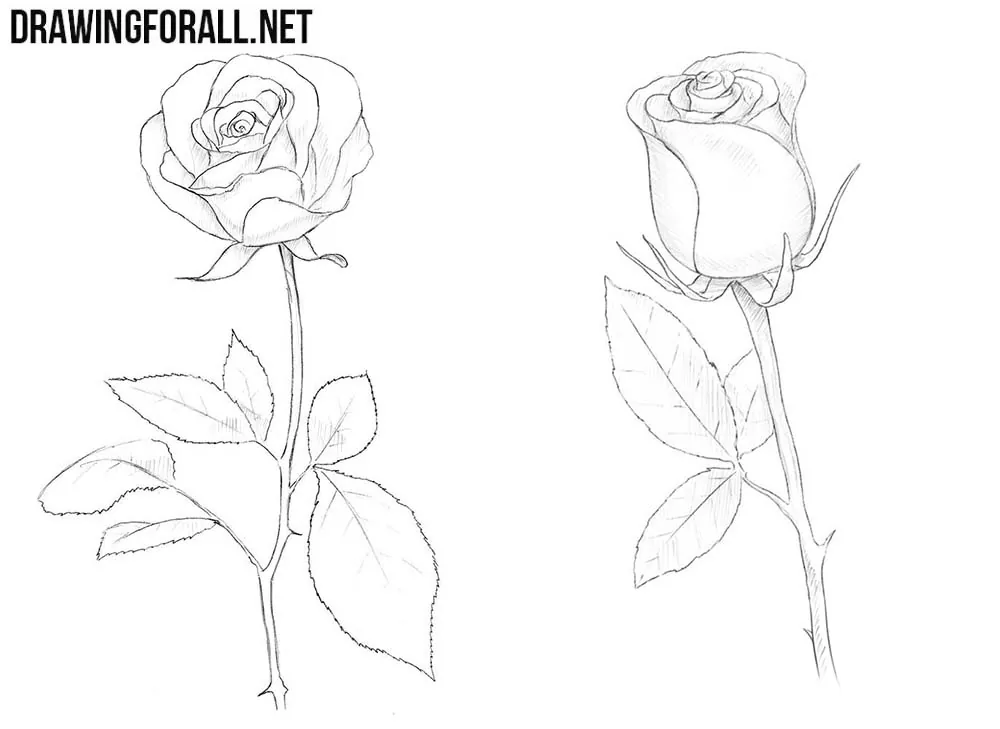
Also, you can depict the roses from different viewpoints, using photos and real roses. This will greatly enhance your ability to draw a rose.
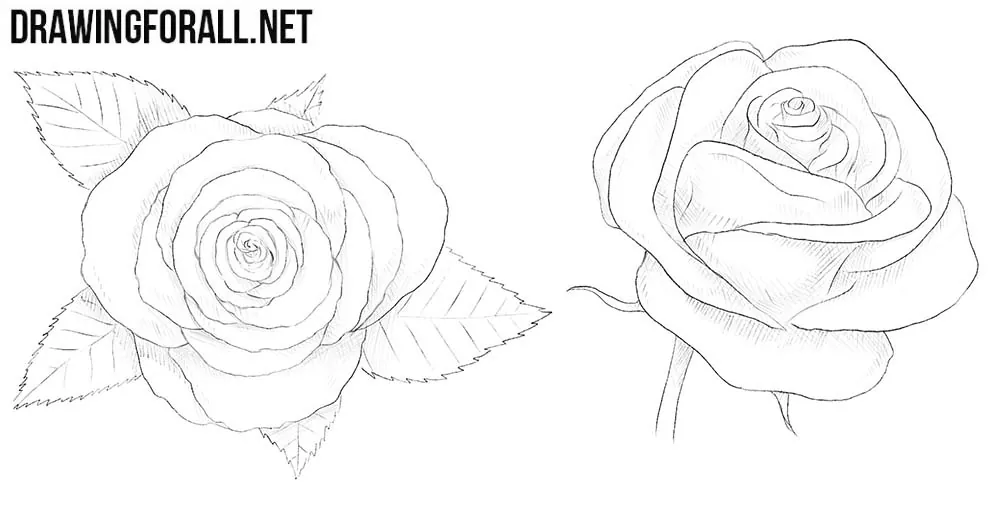
Rose is the most beautiful and elegant flower, the appearance of which is familiar to everyone. That is why it is the subject of close attention from artists around the world. In this drawing guide, we tried to show how to draw a rose in the simplest and most accessible form, getting the most realistic result.


This is the best tutorial ever!
super helpful
Peony pls?
Thx.
thxs helped alot for a mothers day card
Thank you so much