How to Draw a Hockey Player
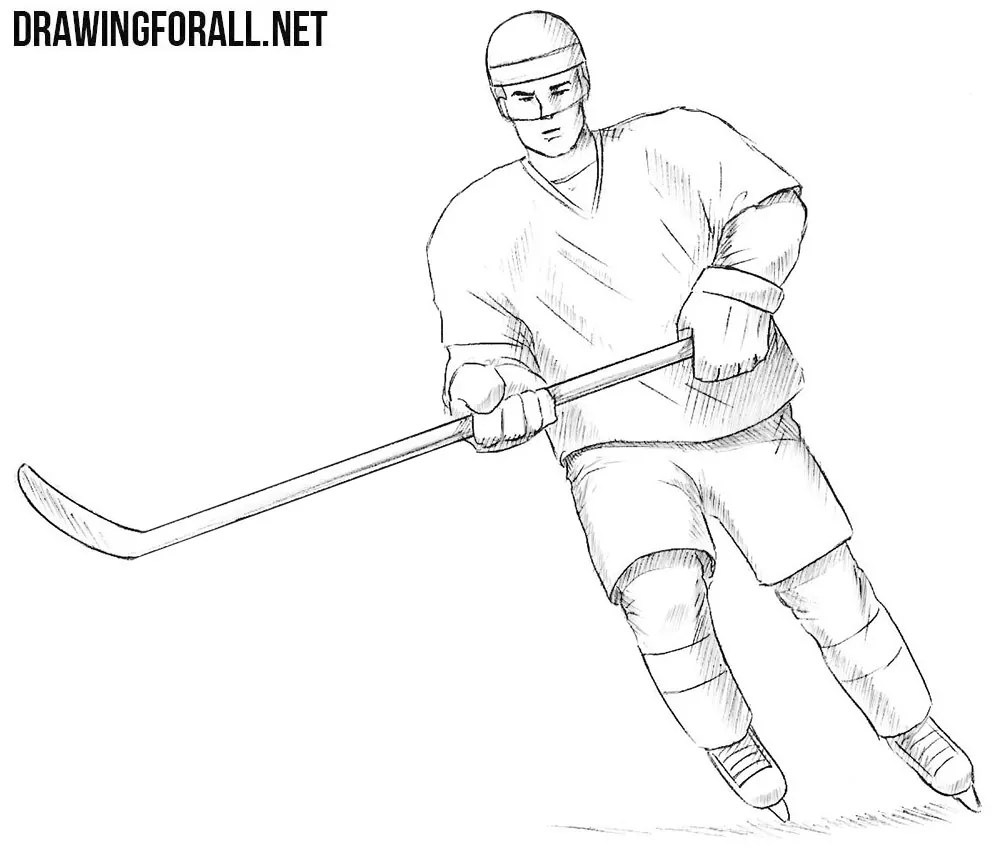
Our site is not in vain called DrawingForAll, because here we publish drawing lessons for both beginners and those who draw well. And today we decided to make a realistic drawing lesson for those who already know how to draw, and as you already guessed, today we will show how to draw a hockey player.
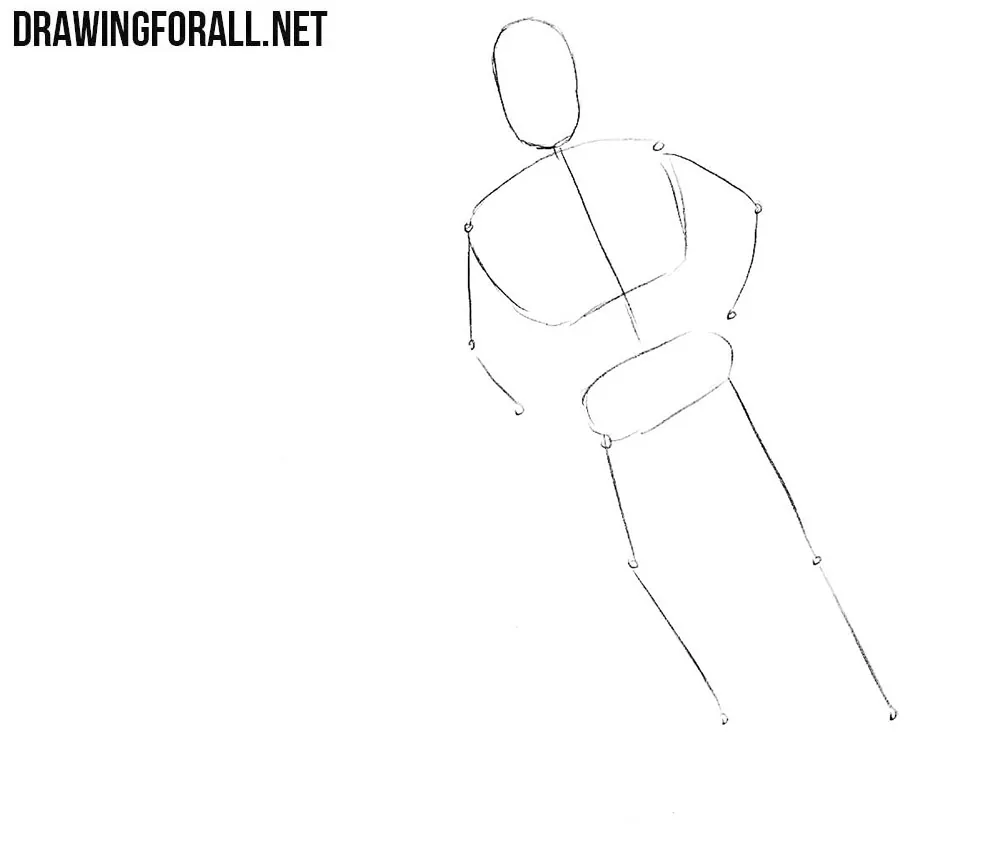
Step 1
We start drawing with a fairly standard step – from the fact that we will draw the skeleton of our character. First of all, we sketch out the head and the line of the spine, on sketch out the arms and legs. As you noticed, we drew the hockey player slightly inclined to convey his dynamics of movement. By the way, do not forget that the first three steps should be drawn with very light lines.
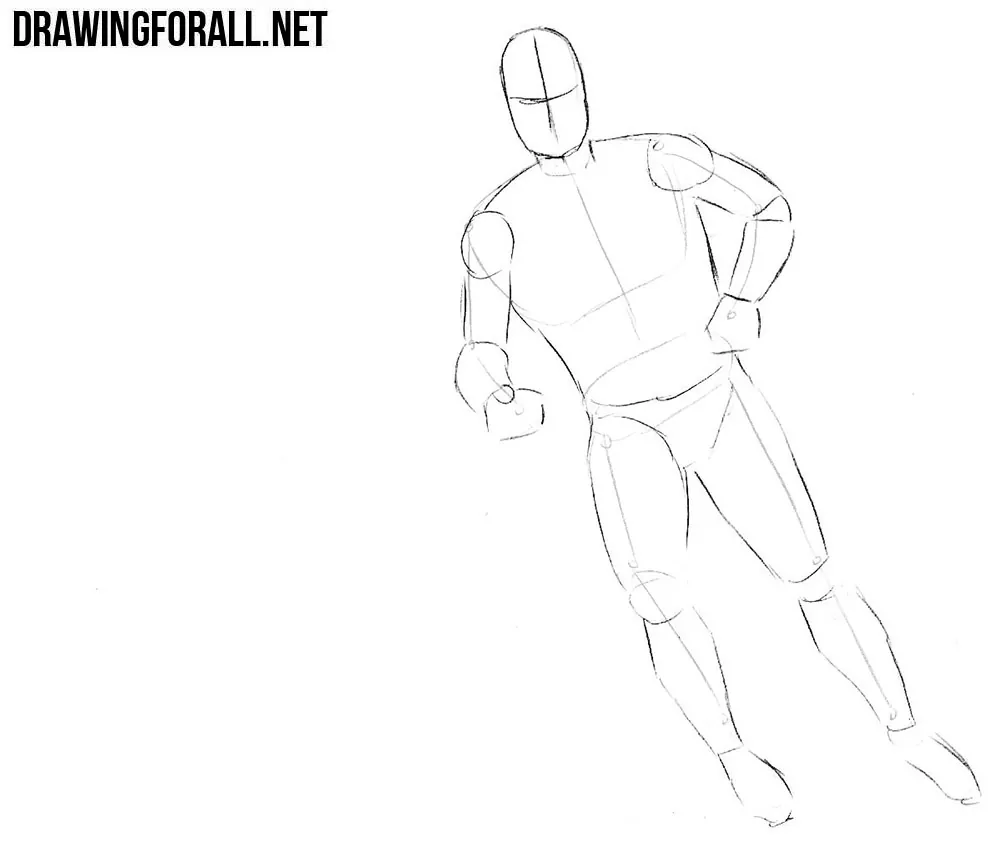
Step 2
Now we need to make our character more voluminous. First sketch out the outlines of the neck and torso. After that, we sketch the arms and legs with simple geometric shapes, such as circles and cylinders. In the same step, we will draw two lines on the head, with the help of which in the future we will draw the details of the face. As in the previous step, use very light lines.
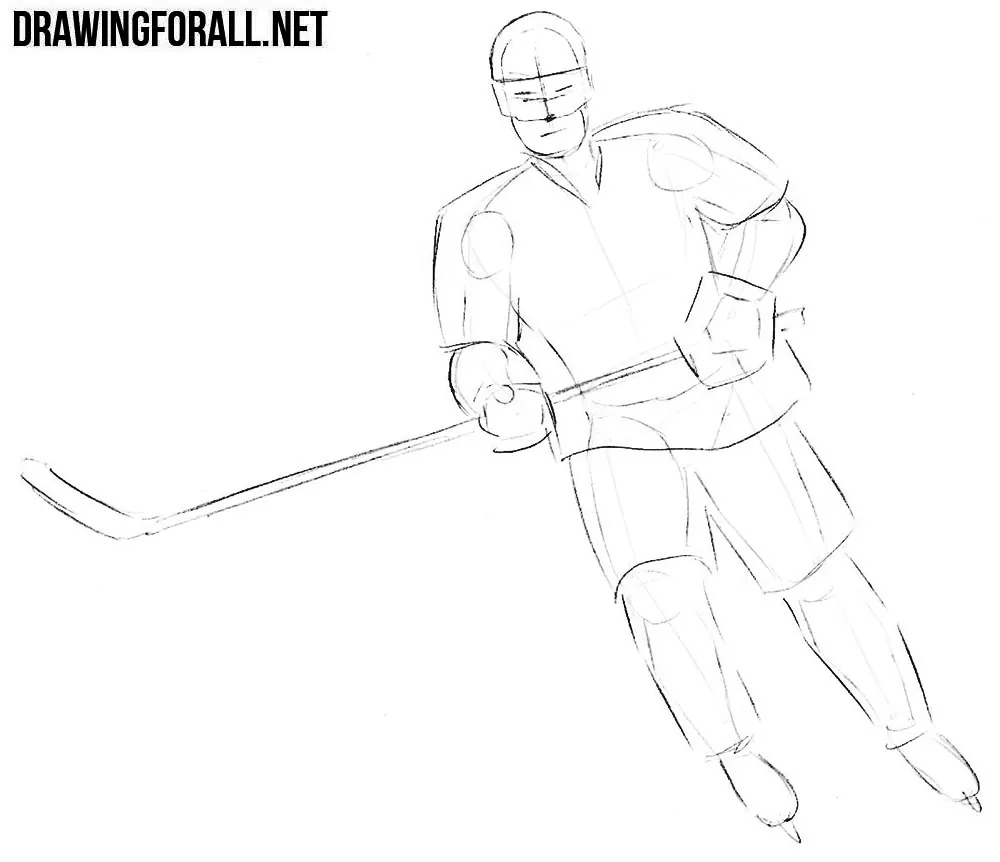
Step 3
We continue to use very light lines. Here we will add the most basic details. Starting with the head, sketch out the outlines of the details of the face and helmet. Next, outline the outer clothing with huge shoulders. Please note that the hockey player’s clothing must be very voluminous and massive. In the same step, we will sketch out a hockey stick and skates.
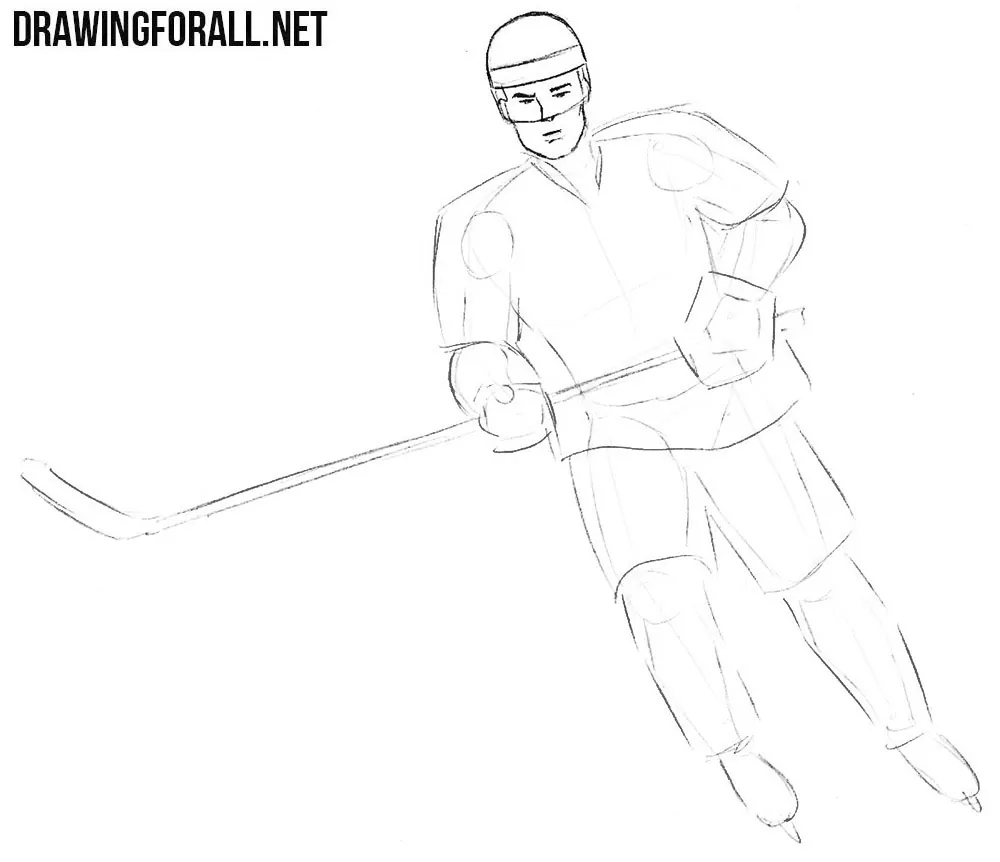
Step 4
Starting with this step we will use clear and dark lines in order to draw out the hockey player in detail. Let’s start with the head, neatly drawing out the outlines of a rounded helmet. Next, draw out the outlines of the eyes, nose, eyebrows and mouth. At the end of this step we draw out the contours of the face and remove the unnecessary guidelines from the head.
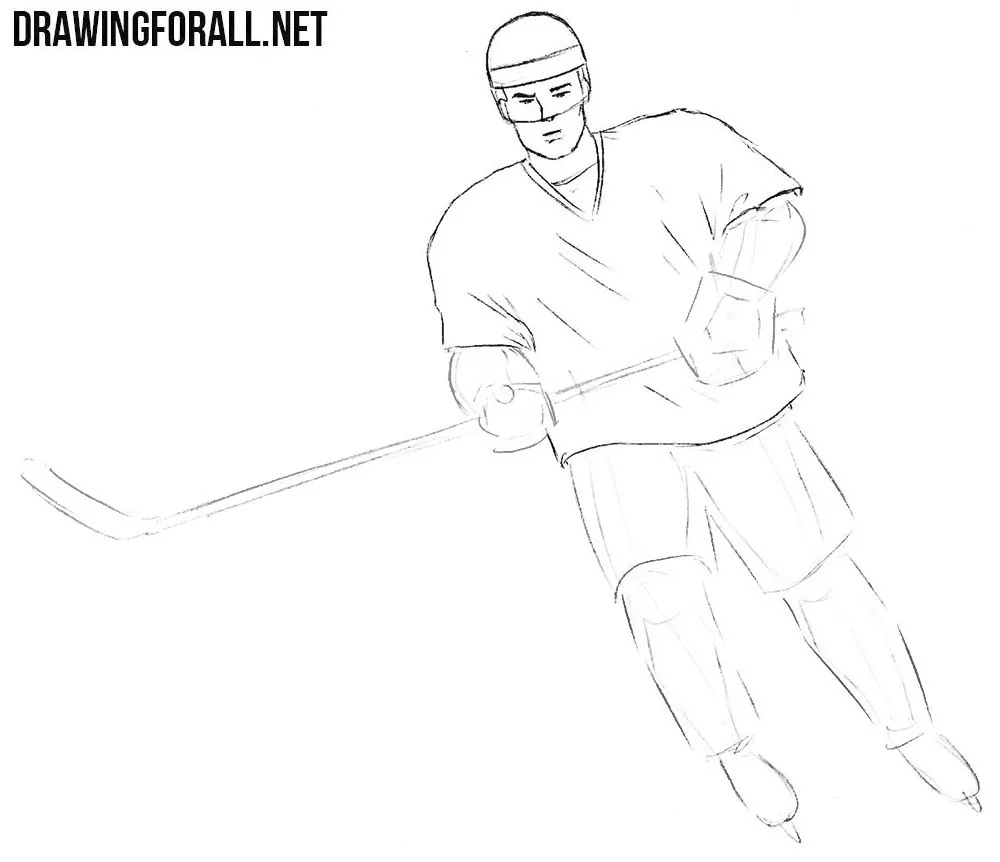
Step 5
So, now let’s move on to the torso of hockey player. This step will be quite simple. Using clear and dark lines, carefully draw out the contours of the upper clothing, drawing all the lines and folds, as shown in our example. Note that the folds should be in the places of compression and stretching of the tissue.
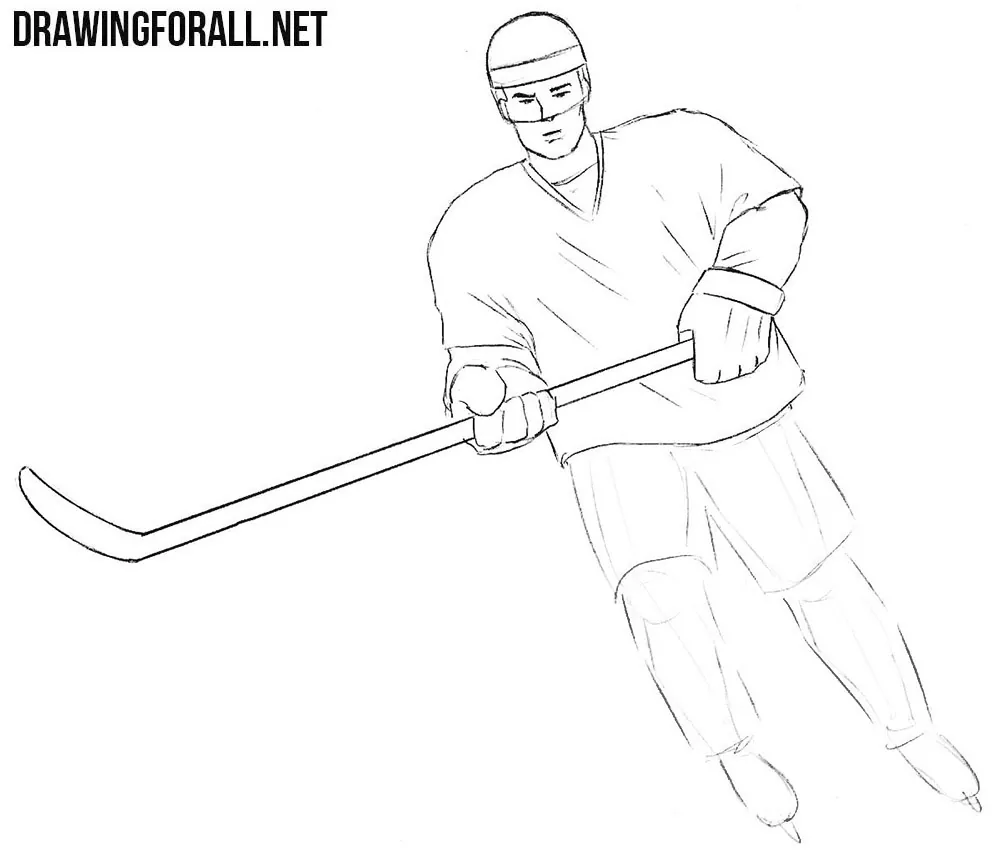
Step 6
We continue to draw the top part of the hockey player. Here we will need to draw out the outlines of the arms using clear and dark lines. First draw out sleeves and huge hockey gloves. In the hands of the hockey player carefully draw out the hockey stick. By the way, do not forget to remove all unnecessary guidelines from the upper body.
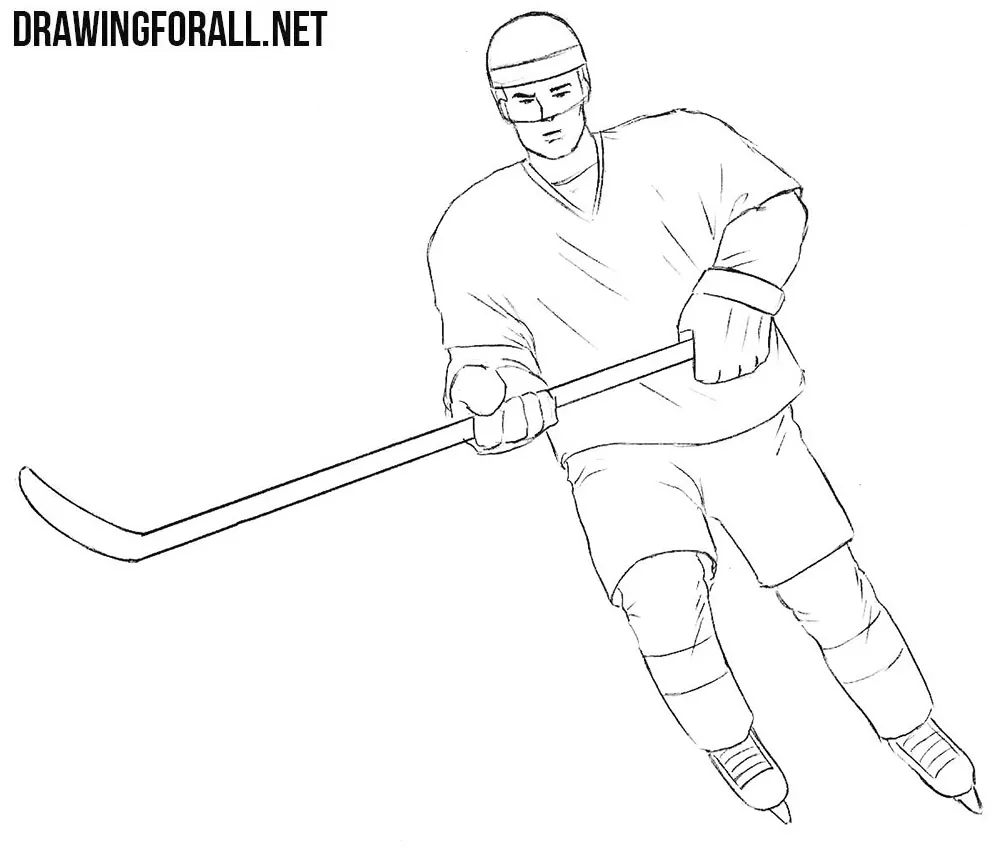
Step 7
The upper body of the hockey player is done, now it’s time to work with the lower body. Here we first draw out the outlines of shorts and pants uner the shorts. Further we move lower and carefully draw out the outlines of massive skates. Finally remove all the unnecessary guidelines from the drawing and move to the last step of the lesson about how to draw a hockey player.
Step 9
It’s time to work with the up shadows. In order to draw the shadows correctly, first imagine where the light comes from. Next, taking this into account, carefully sketch the outlines of the shadows and paint them with hatching. For a darker hatching, you can add another layer of hatching, and for lighter shadows, just use less dense hatching.
As you might have noticed, this lesson was quite difficult, but at the end of the lesson we got a realistic drawing of a hockey player. If you want more such drawing lessons, then post our category under the name “People” and subscribe to us on social networks in order to not miss a single new lesson by DrawingForAll.