How to Draw a Chibi Character
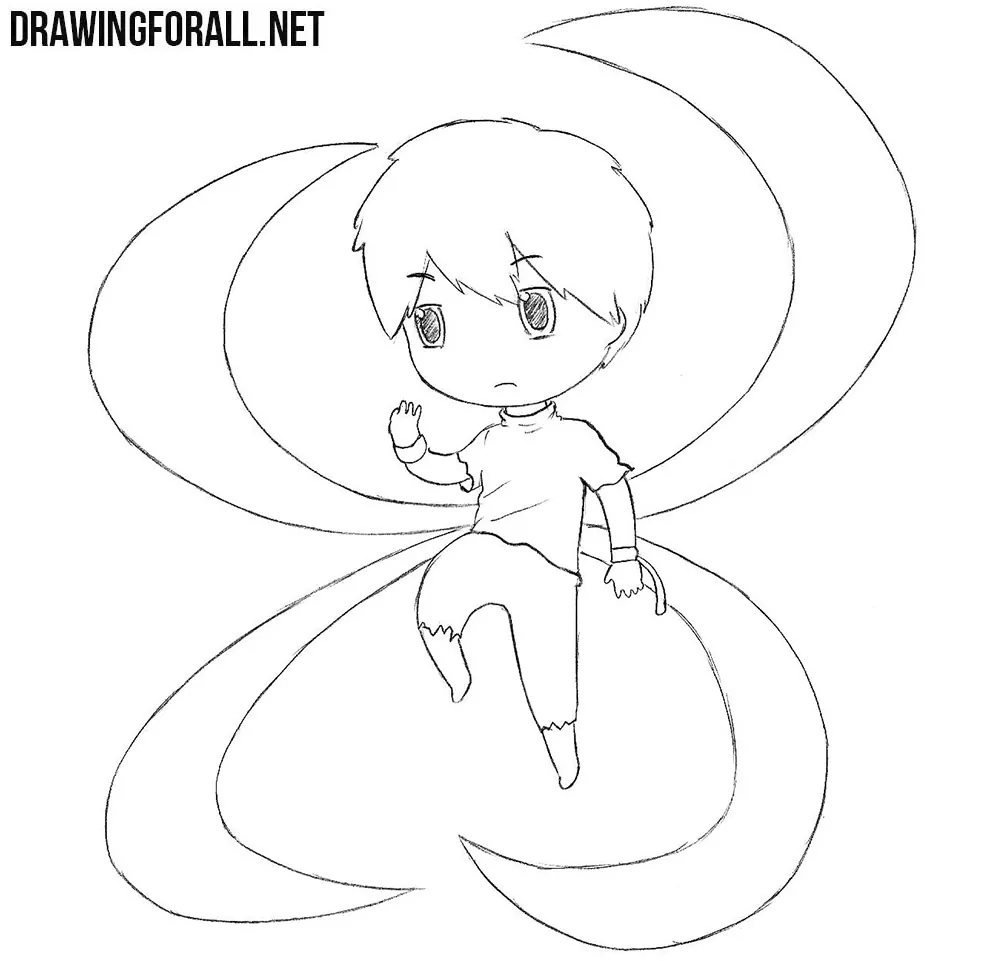
We really like anime and chibi and we already drew a lot of nice characters in the chibi style. But today we decided to make a lesson in which we will talk about the basic principles of drawing chibi characters. So, let’s start the lesson on how to draw a chibi character.
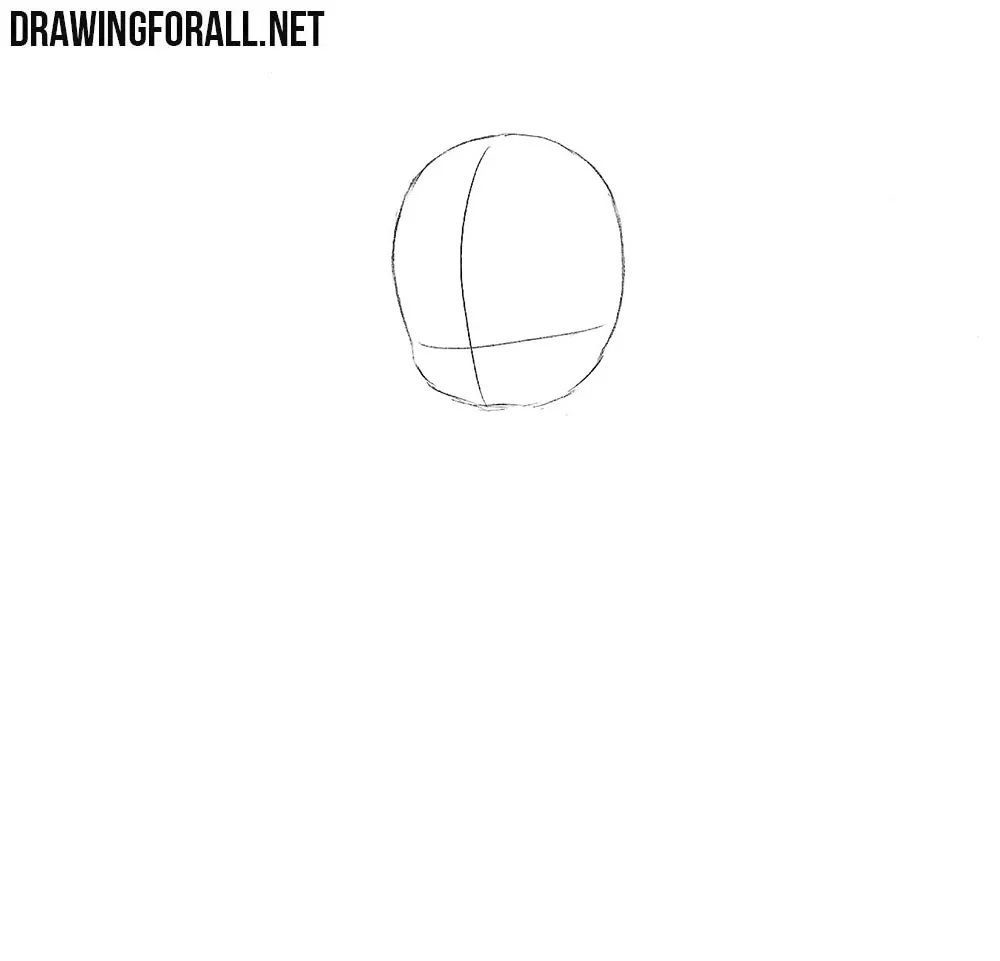
Step 1
At first you need to outline the head. The head should be rounded, as in our example. Now we sketch out two lines intersecting in the lower part of the head. Use very light lines for the first steps.
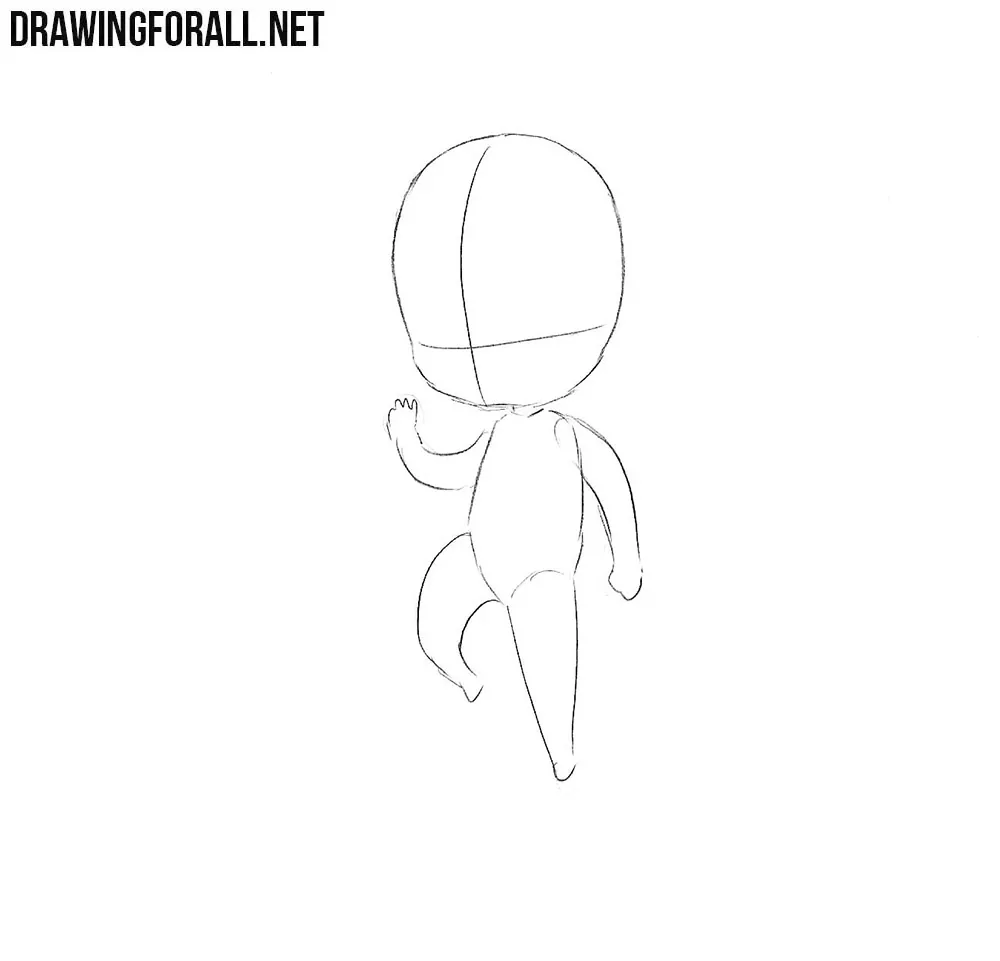
Step 2
Now sketch out the torso in the form of an oval and the limbs of our chibi character. Note that the chibi body must be disproportionately small compared to the head.
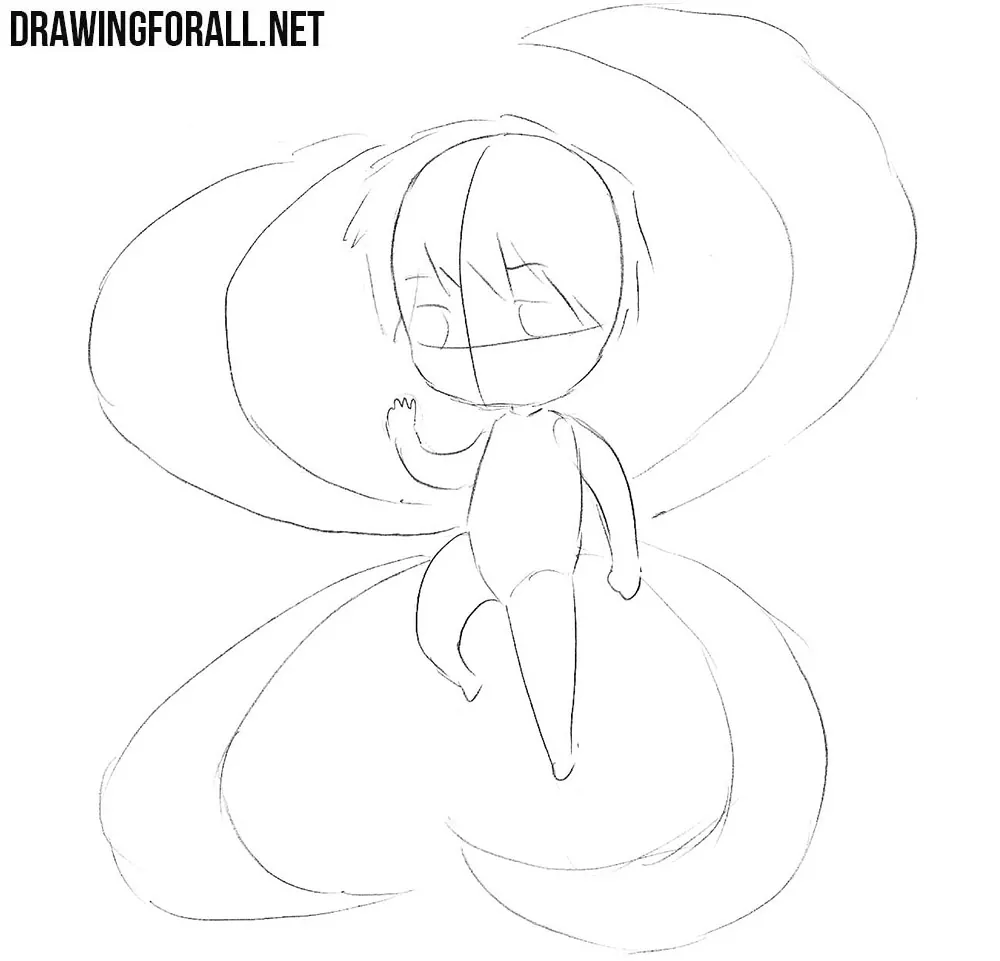
Step 3
Now we sketch out the outline of the hair and eyes. Also we add four tail behind our character. Note that chibi characters often have big eyes and and pretty lush hairstyles.
Step 4
Now with the help of clear and dark lines carefully draw hair, outlines of the head and eyes. Do not forget to sketch out a small mouth and dark eyebrows. Note that chibi rarely have noses.

Step 5
Draw the outlines of the upper body of the chibi with clear and dark lines. Note that the fingers must be drawn very schematically. There is no need to draw too many details.
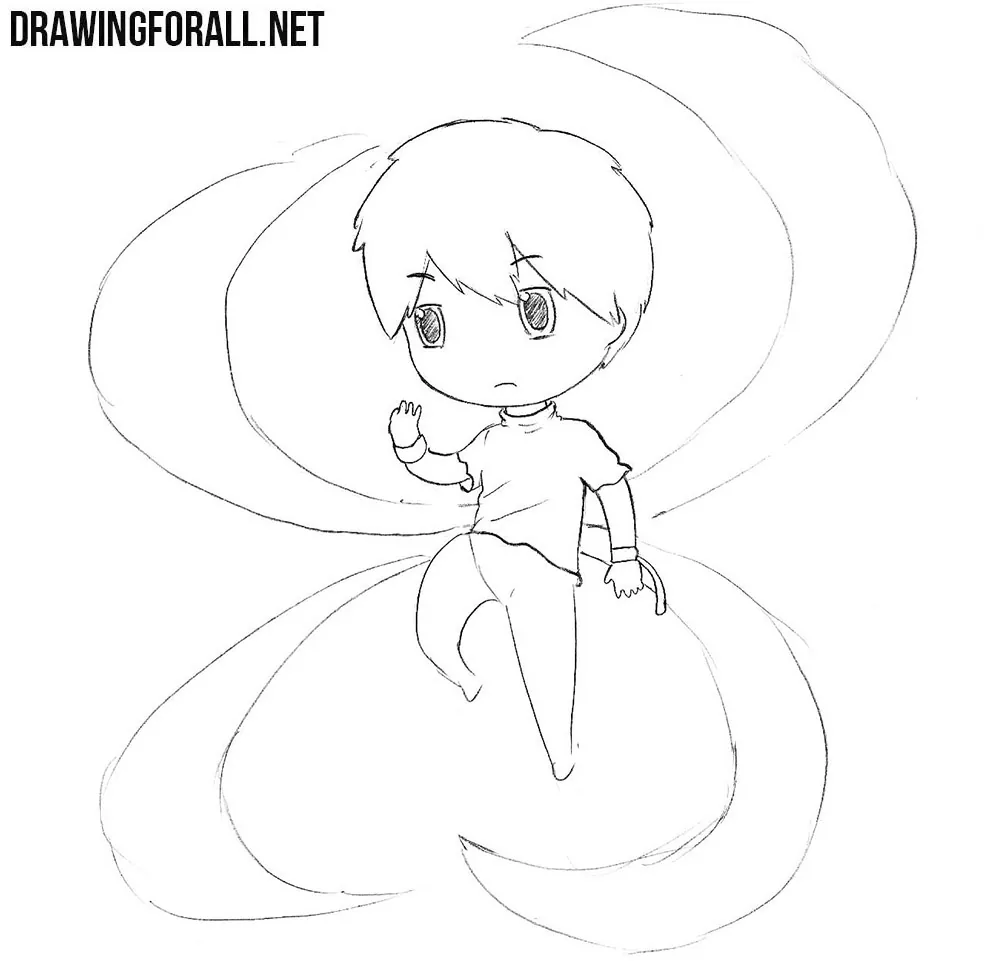
Step 6
Now draw the bottom of the chibi body. There is also no need to draw too many details. Stops of chibi are often drawn as simple hillocks.
So, it was a lesson about how to draw a chibi character. By the way, we did not come up with this character ourselves, it’s a character from a well-known anime. If you guessed from which anime this character is and what his name is, write it in the comments to this article.


Cool